Do you need help with Chargebee setup?
Chargebee is a user-friendly billing and subscription platform designed for startups, eCommerce, and SaaS businesses. As well as integrating with major payment gateways including Stripe and PayPal, it includes tools for accounting, invoicing, customer management, and email notifications.
In this beginner’s Chargebee setup guide, I’ll take you through the process of getting started with Chargebee and integrating it with your chosen tools for sales, analytics, and customer support.
Getting Started with Chargebee Setup
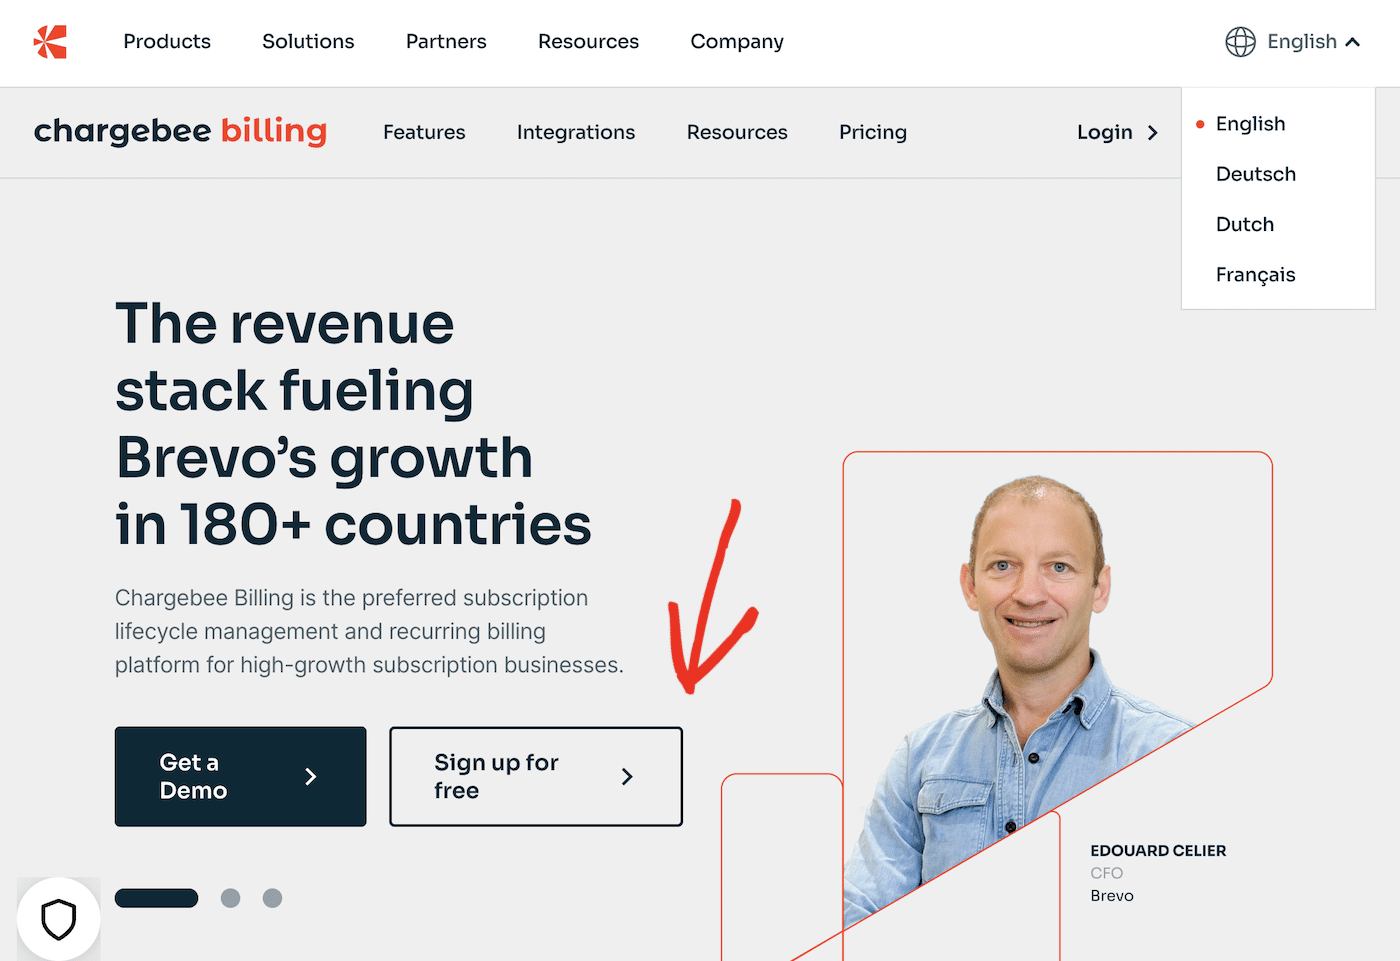
Chargebee offers a two-week free trial so you can try it out before committing to a paid plan. Head over to the Chargebee billing website and click the button to Sign up for free.
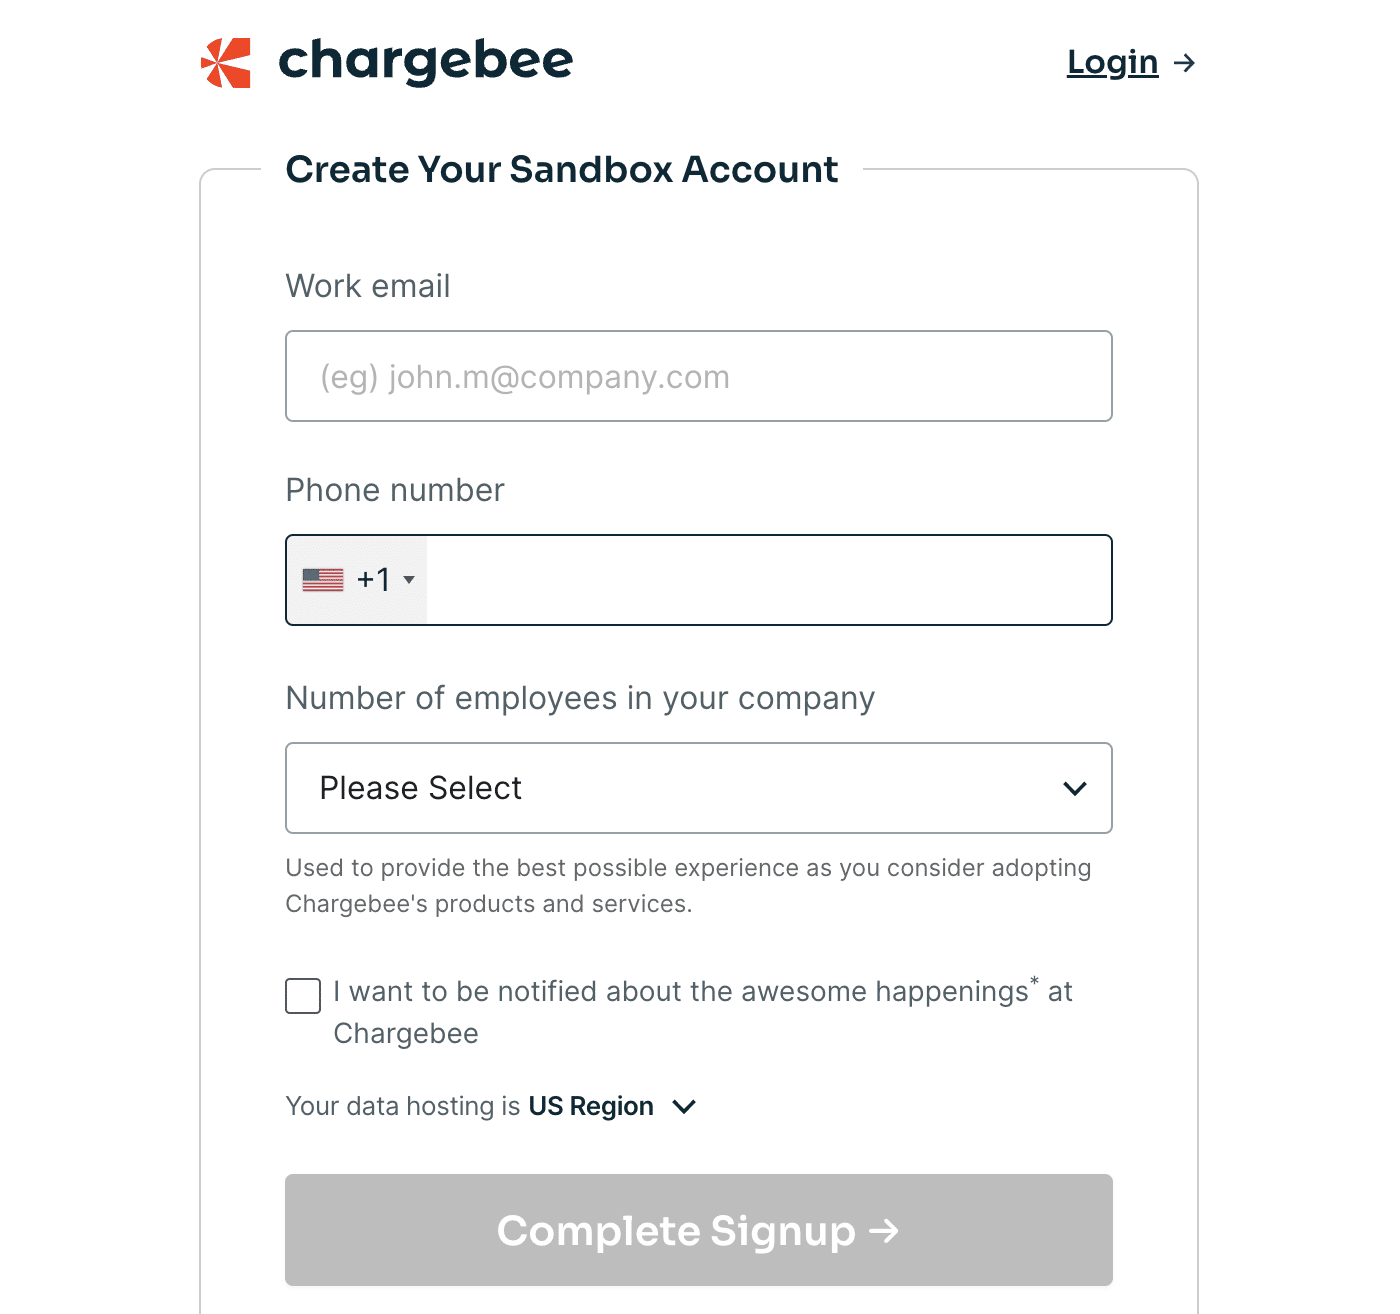
Fill out the form and click the Complete Signup button to create your account.
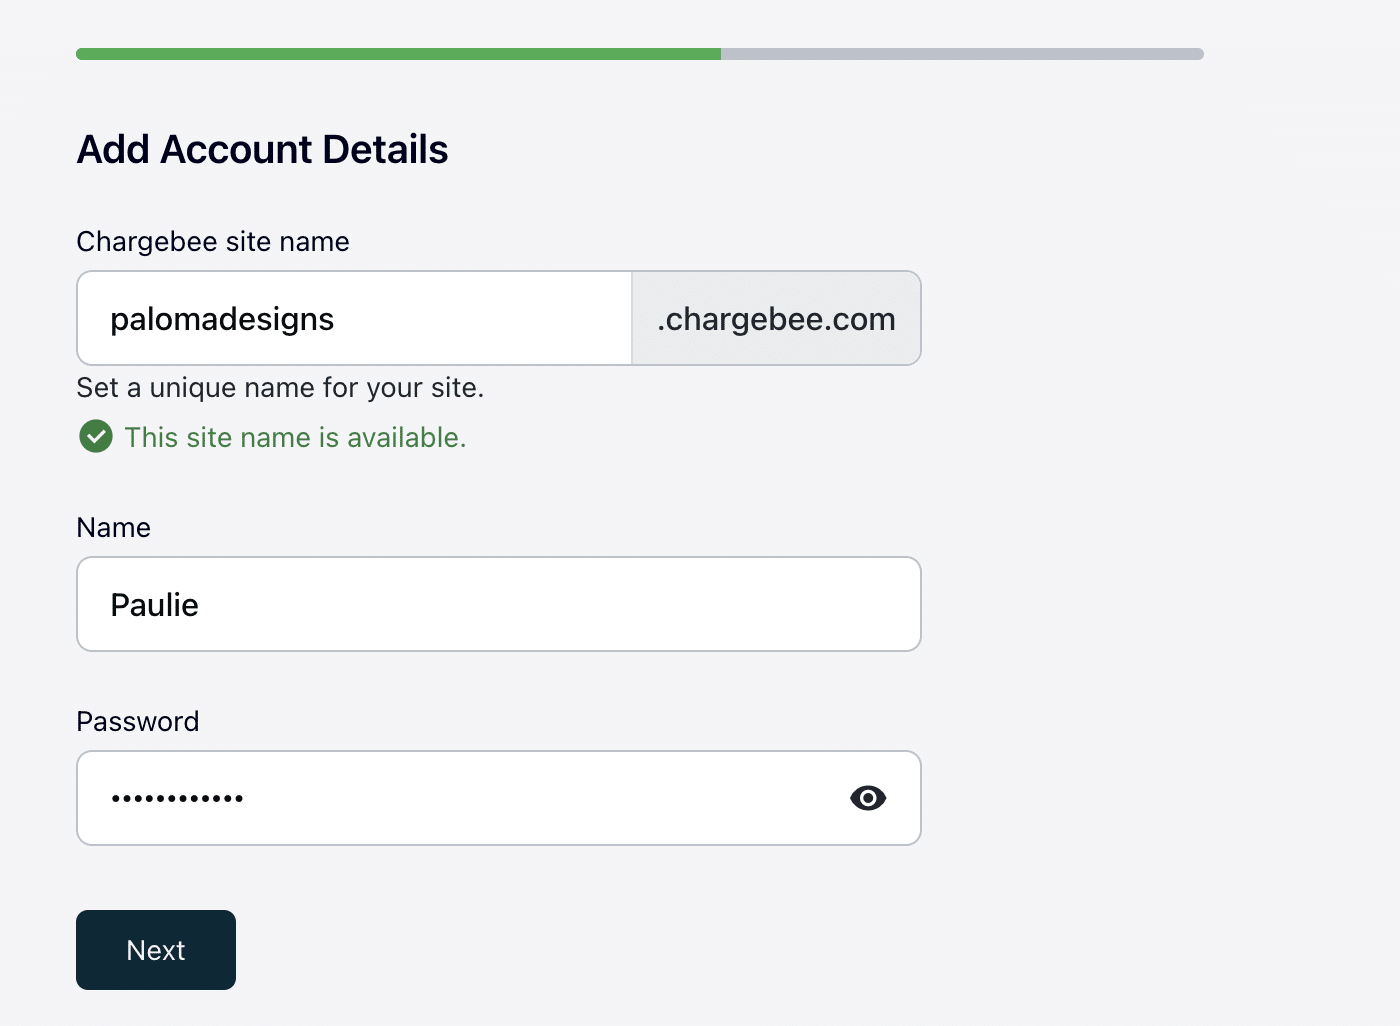
Set an account name for your Chargebee account and add a username and password.
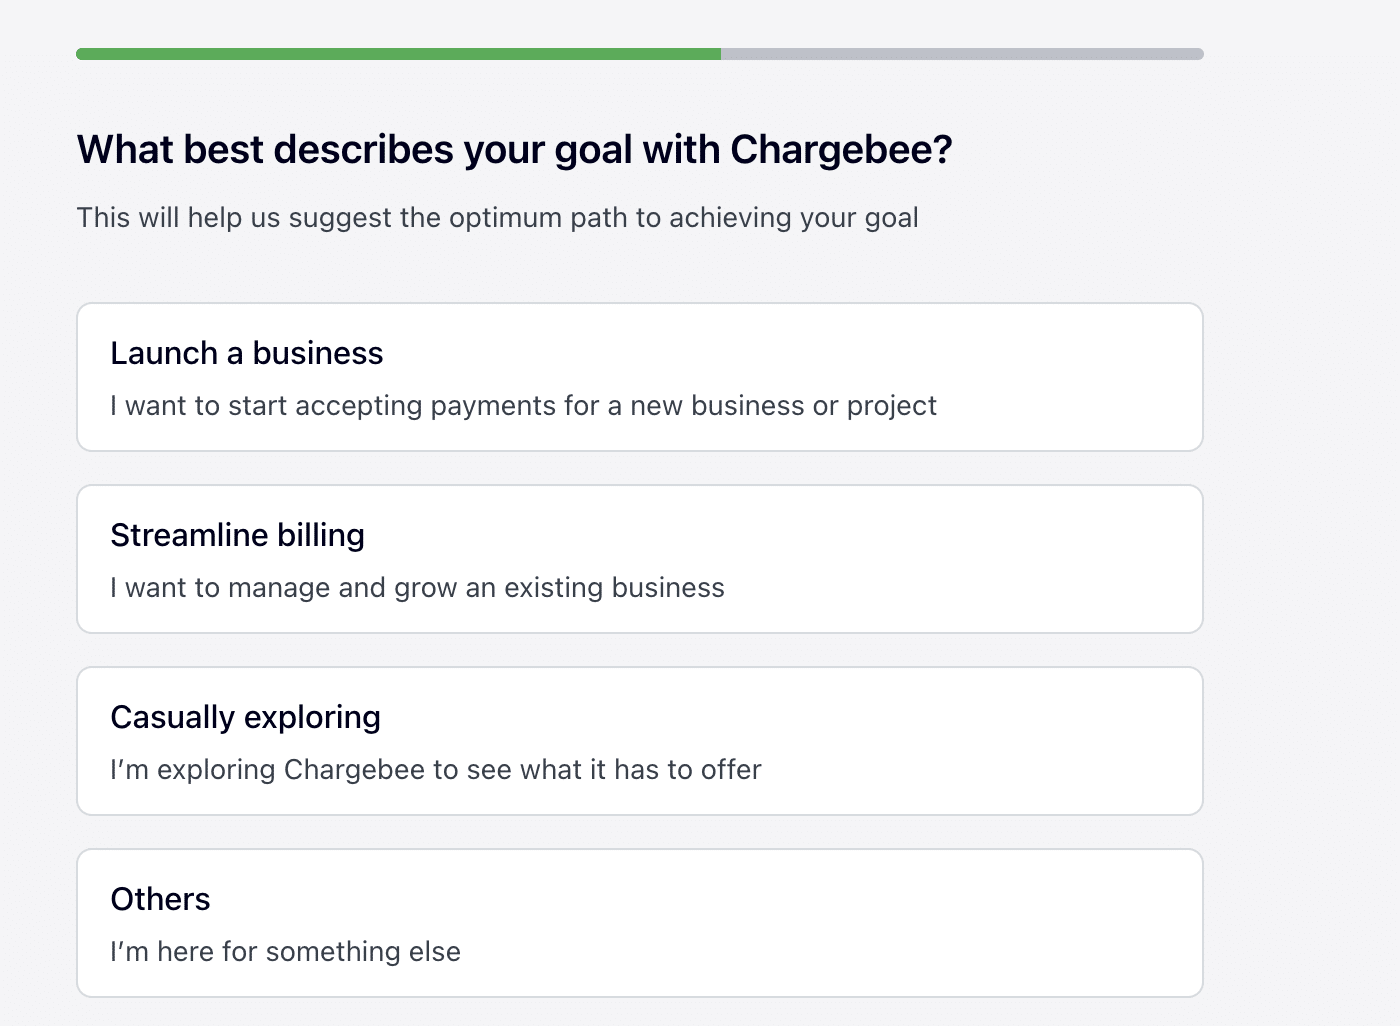
Continue to answer the questions about your business and goals until setup is complete.
Once your account has been set up, you’ll receive an email from Chargebee and you’ll be able to log in and continue your account setup.
Chargebee Dashboard Overview
Once you’ve logged in, take some time to familiarize yourself with the Chargebee dashboard.
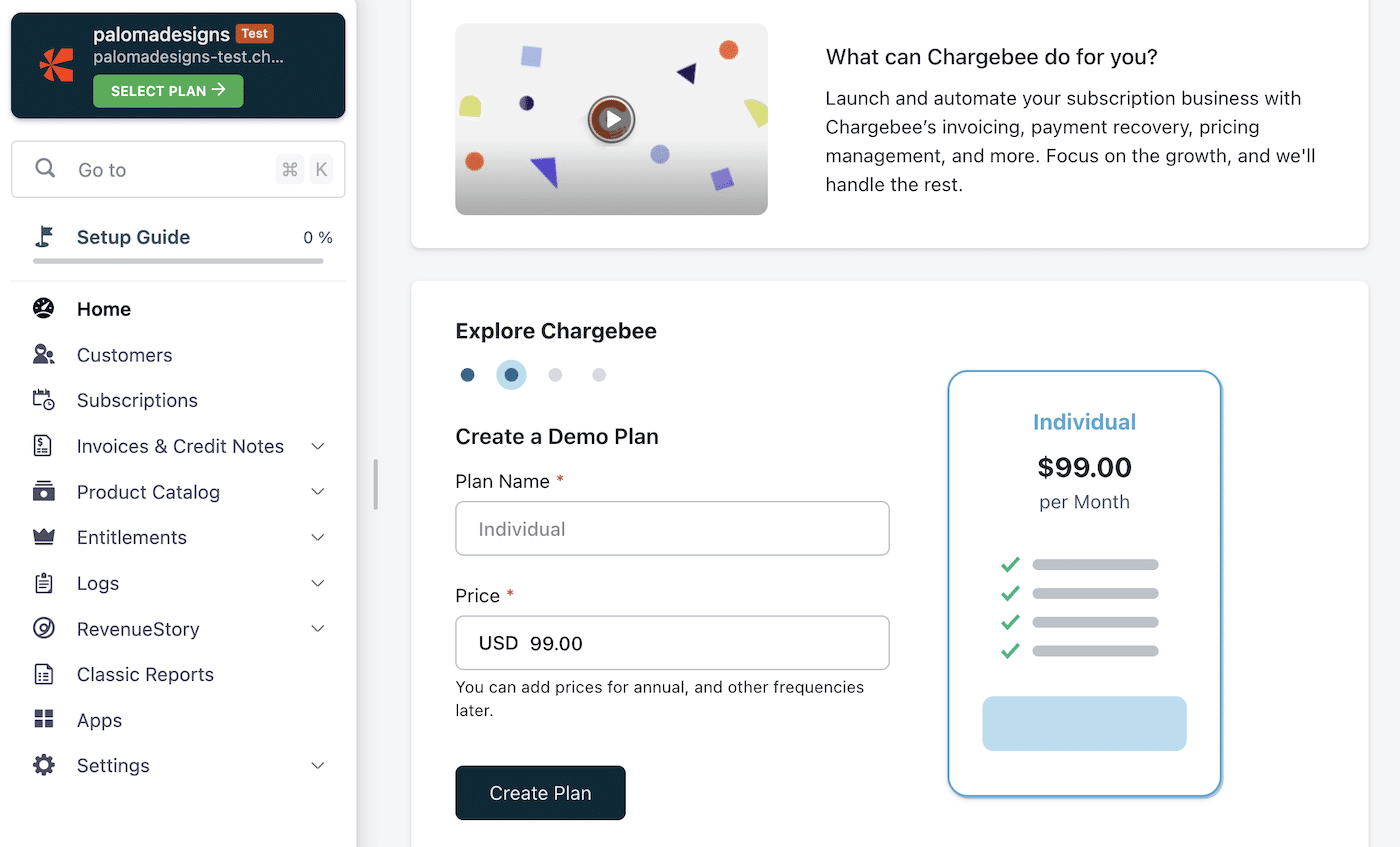
Until you choose a paid Chargebee plan, you can use the test account, which is prepopulated with data. You can also use this test account to experiment with the features, test payment gateways, and experience workflows as a customer.
The dashboard summary gives you a high-level overview of your current business metrics. This includes active subscriptions, revenue insights, and recent activity, giving you a snapshot of your business health at a glance. You can see the dashboard with sample data when you’re logged into the test account.
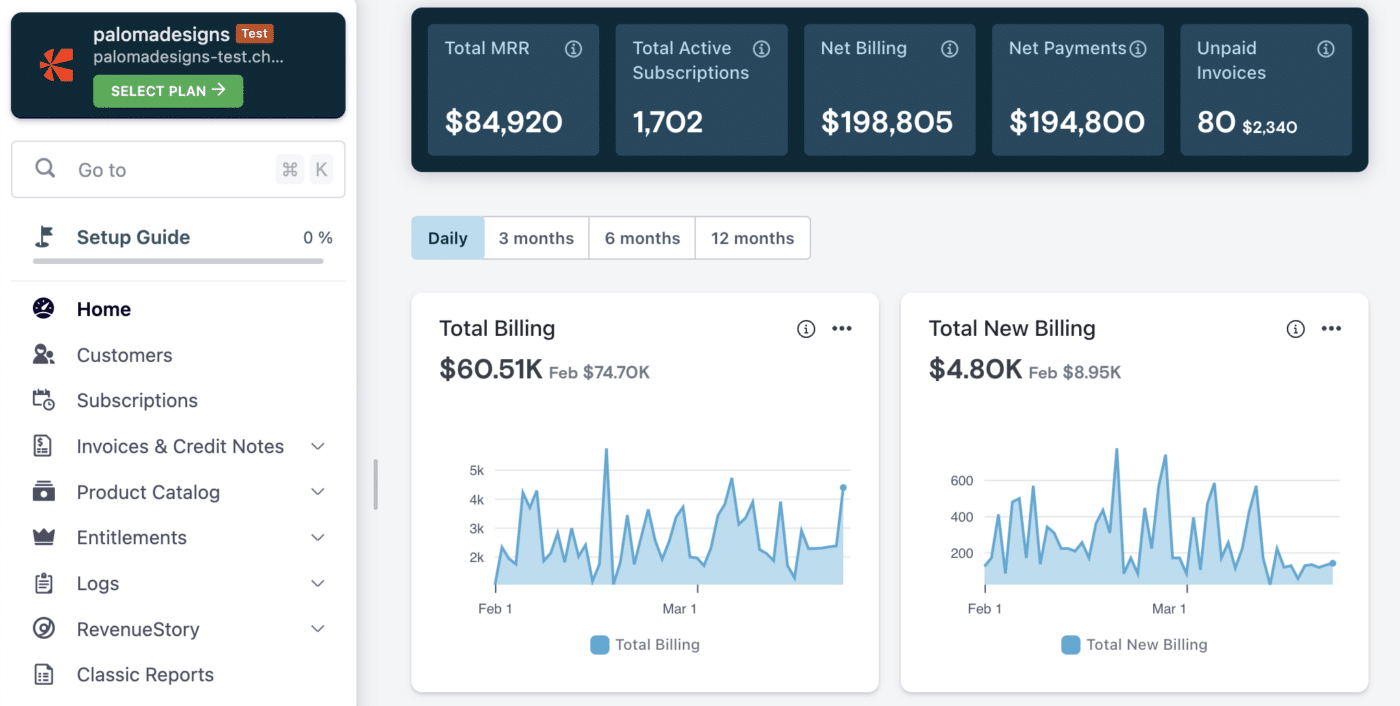
You can navigate to all other parts of the dashboard from the main menu. The navigation includes:
- Customers: Access a complete list of your customers here. You can view detailed profiles, subscription history, and contact information. It’s also where you can add new customers manually or import them in bulk.
- Subscriptions: Here, you can view all active, trial, and canceled subscriptions, manage customer accounts, and adjust subscription terms or pricing as needed.
- Invoices & Credit Notes: Check out all generated invoices, manage payment receipts, and handle refunds from this section.
- Product Catalog: Manage your product and plan offerings. This is where you’ll add new products or services, set up pricing models and coupons, and manage plan details.
- Entitlements: Make pricing and feature changes to individual customer plans.
- Logs: the Logs menu provides access to various types of logs that record different activities and events related to your account including email logs and transactions.
- RevenueStory: An analytics and subscription intelligence tool designed to help in tracking and understanding key performance indicators such as revenue, subscriptions, signups, activations, churn, and more.
- Apps: Add integrations to all your favorite business tools.
- Settings: Customize your site’s general settings, configure payment gateways, set up email notifications, and more. This is also where you’ll configure your custom SMTP settings for emails.
Configure Your Chargebee Account
Before you can start to use your Chargebee account, you’ll need to add payment gateways and adjust some of the settings to ensure your billing and subscription processes work correctly.
General Chargebee Settings
Navigate to Configure Chargebee to configure your settings, including business name, address, and primary contact details. This information will appear on invoices and other communication to your customers.
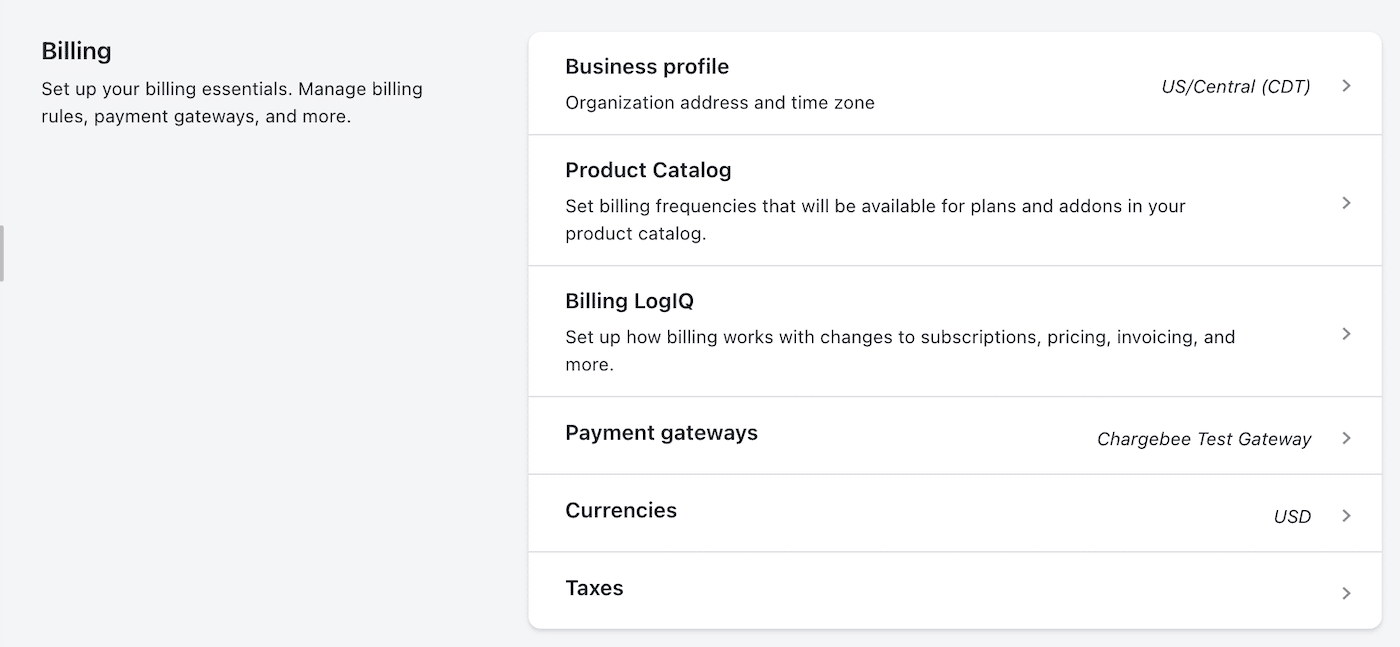
You can also set the default currency and time zone for your account. This is important for billing and reporting accuracy.
Setting Payment Gateways
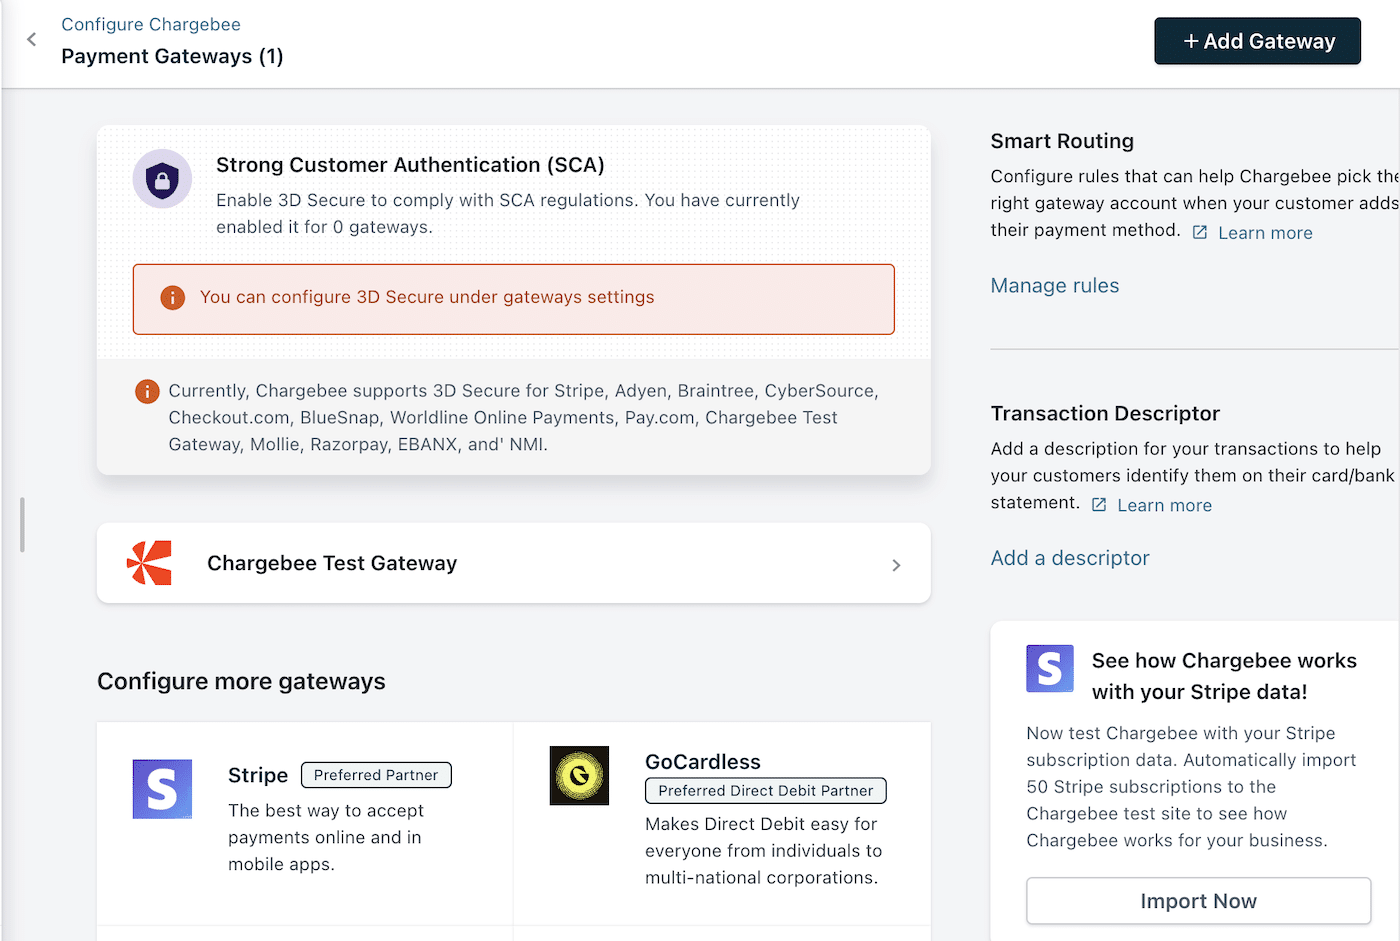
Connect your preferred payment gateways to Chargebee to process payments. Chargebee supports a wide range of gateways like Stripe, PayPal, and more. This step is crucial for automating the collection of payments.
Configuring Email Settings
In your Chargebee dashboard, navigate to Settings » Configure Chargebee, and scroll down and click on the Email Notifications link. Here, you’ll find options for configuring your email sending methods.
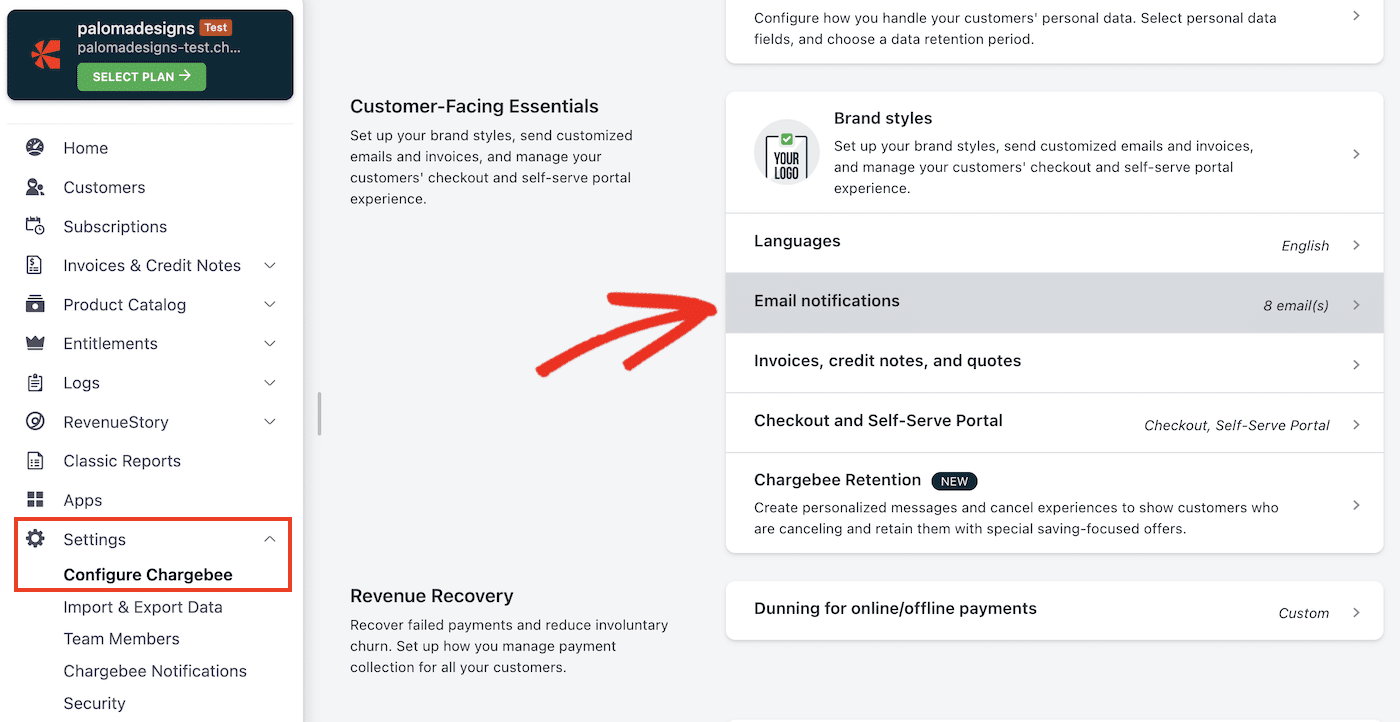
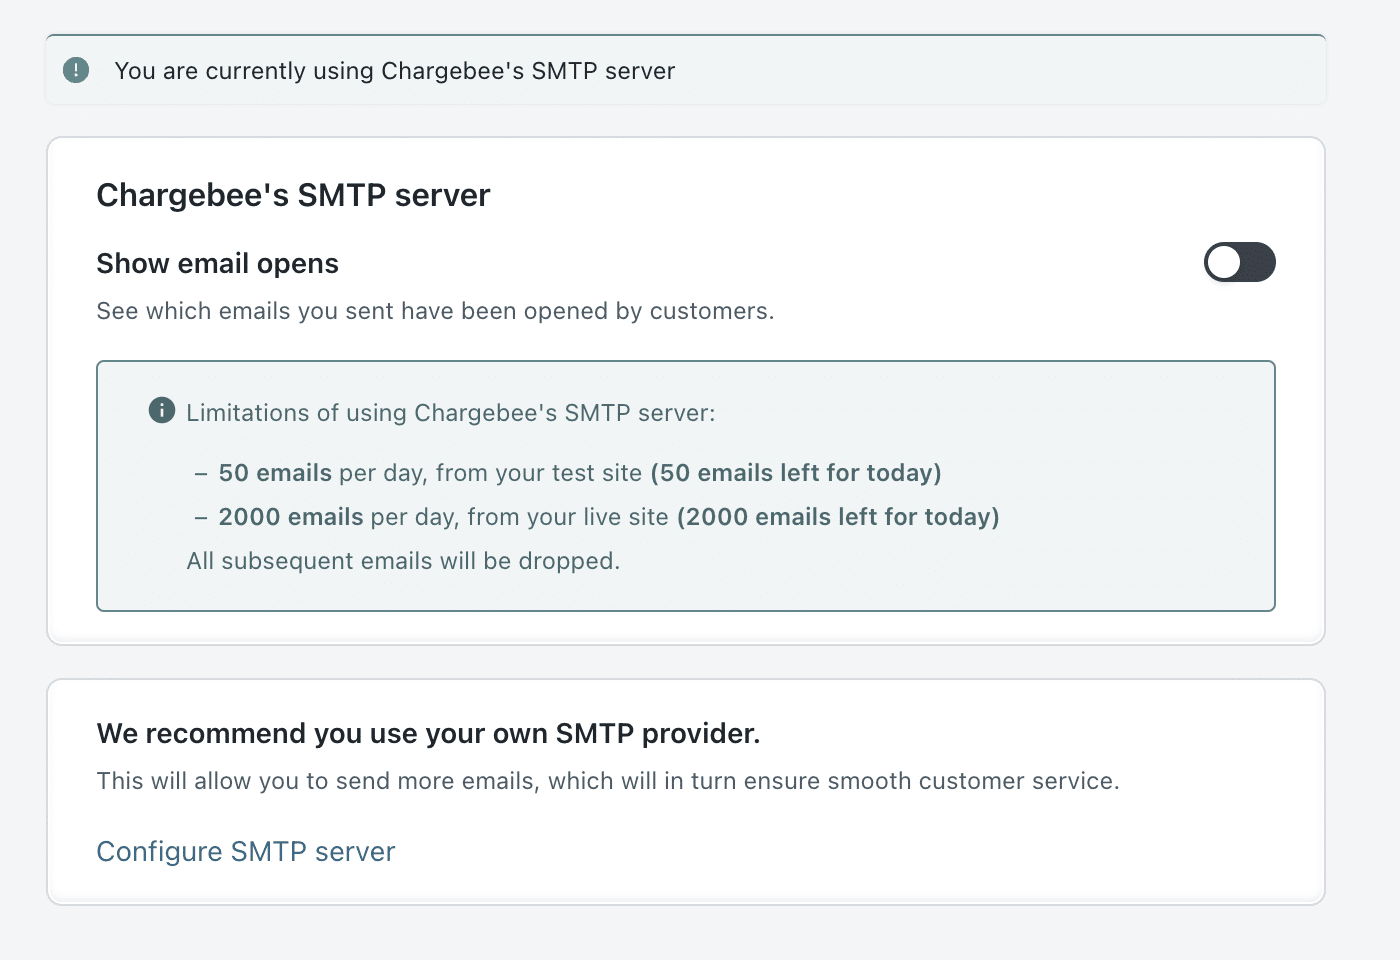
You can use Chargbee’s default SMTP but it’s recommended to use your own custom SMTP settings. This gives you more control over the sending process, which can lead to improved deliverability rates, avoiding spam filters and ensuring that your emails reach your customers’ inboxes.
A transactional email provider such as SendLayer is ideal for use in tools such as Chargebee to ensure your emails are delivered swiftly and securely, while protecting your domain reputation.
You’ll need your SMTP credentials before you can continue with email setup. If you’re using SendLayer, you’ll find these details in your dashboard under Settings.
Click on the link on your Chargebee dashboard to change SMTP settings.
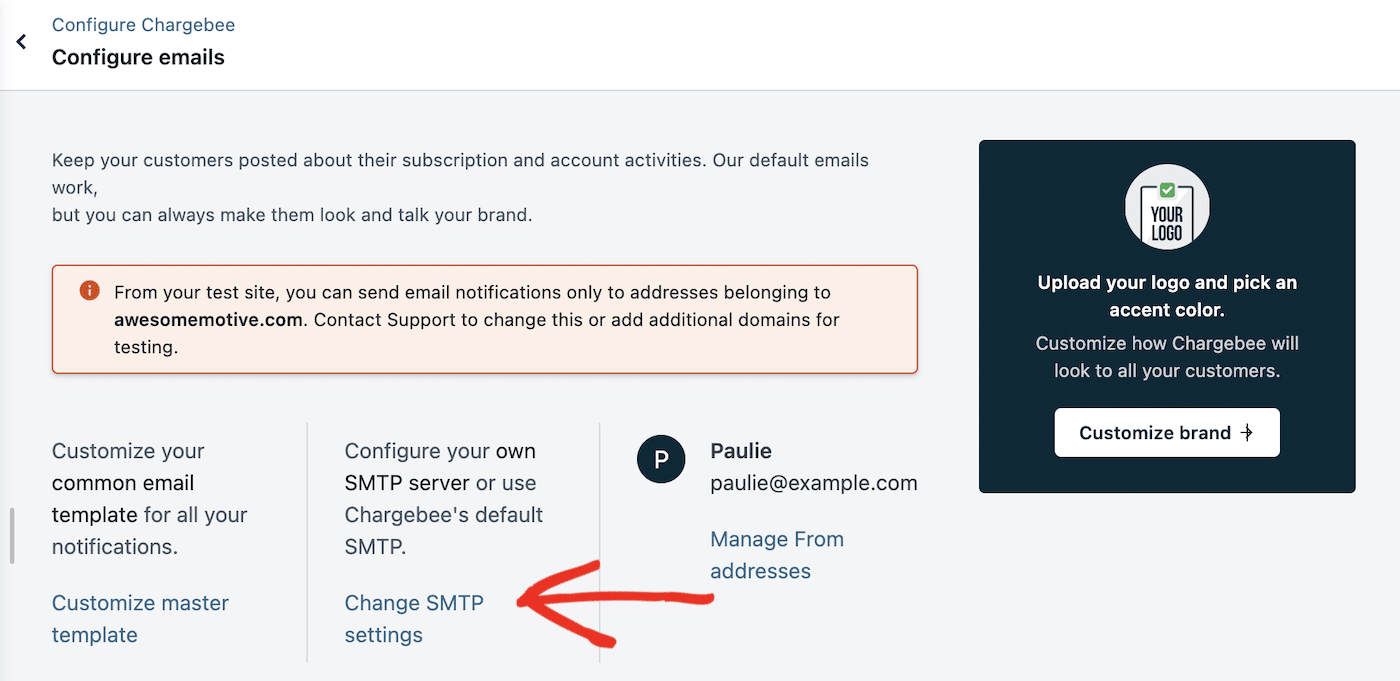
Then, click Configure SMTP server.
Here you’ll need to enter your SMTP credentials as follows:
- SMTP server address: smtp.sendlayer.net
- User name: copy and paste from your SendLayer dashboard
- Password: copy and paste from your SendLayer dashboard
- Encryption type and port number: TLS 587
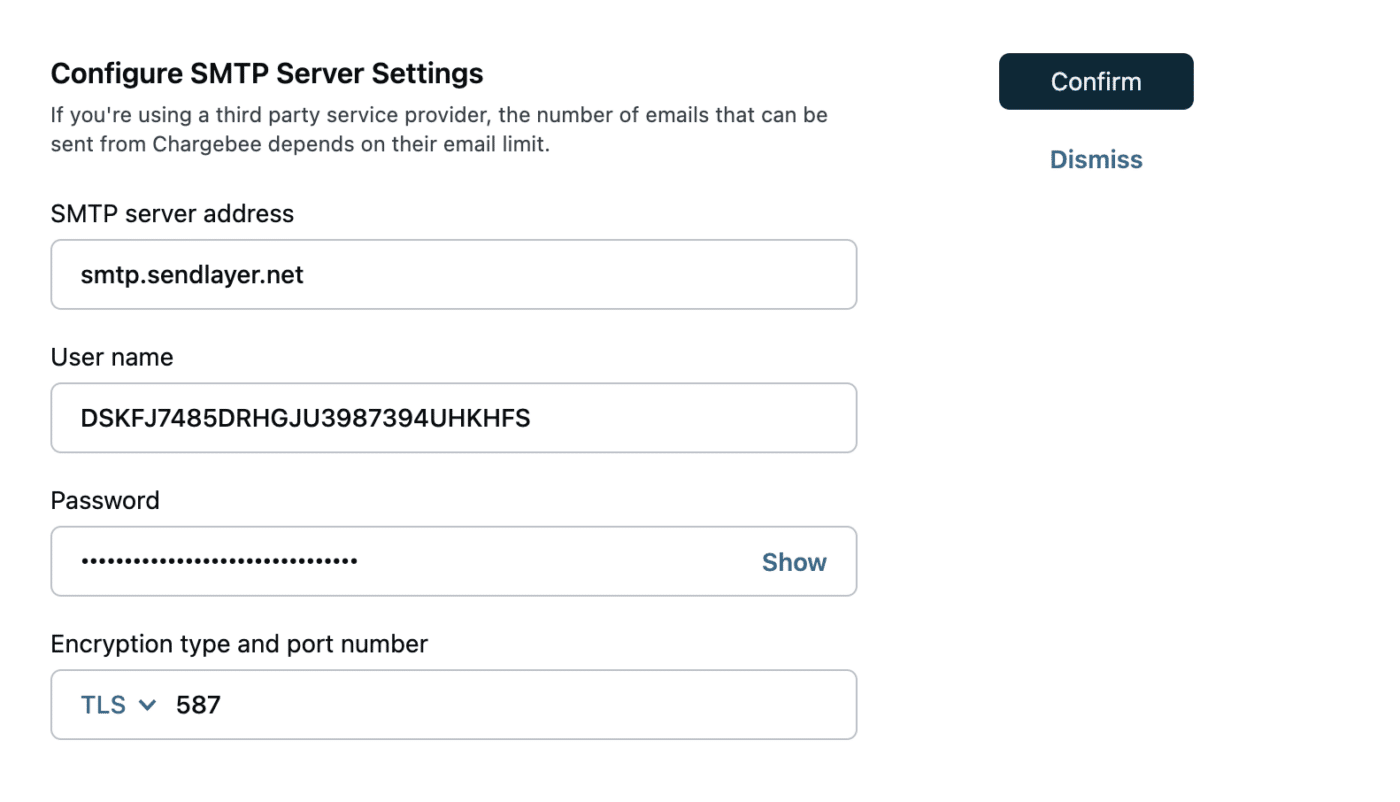
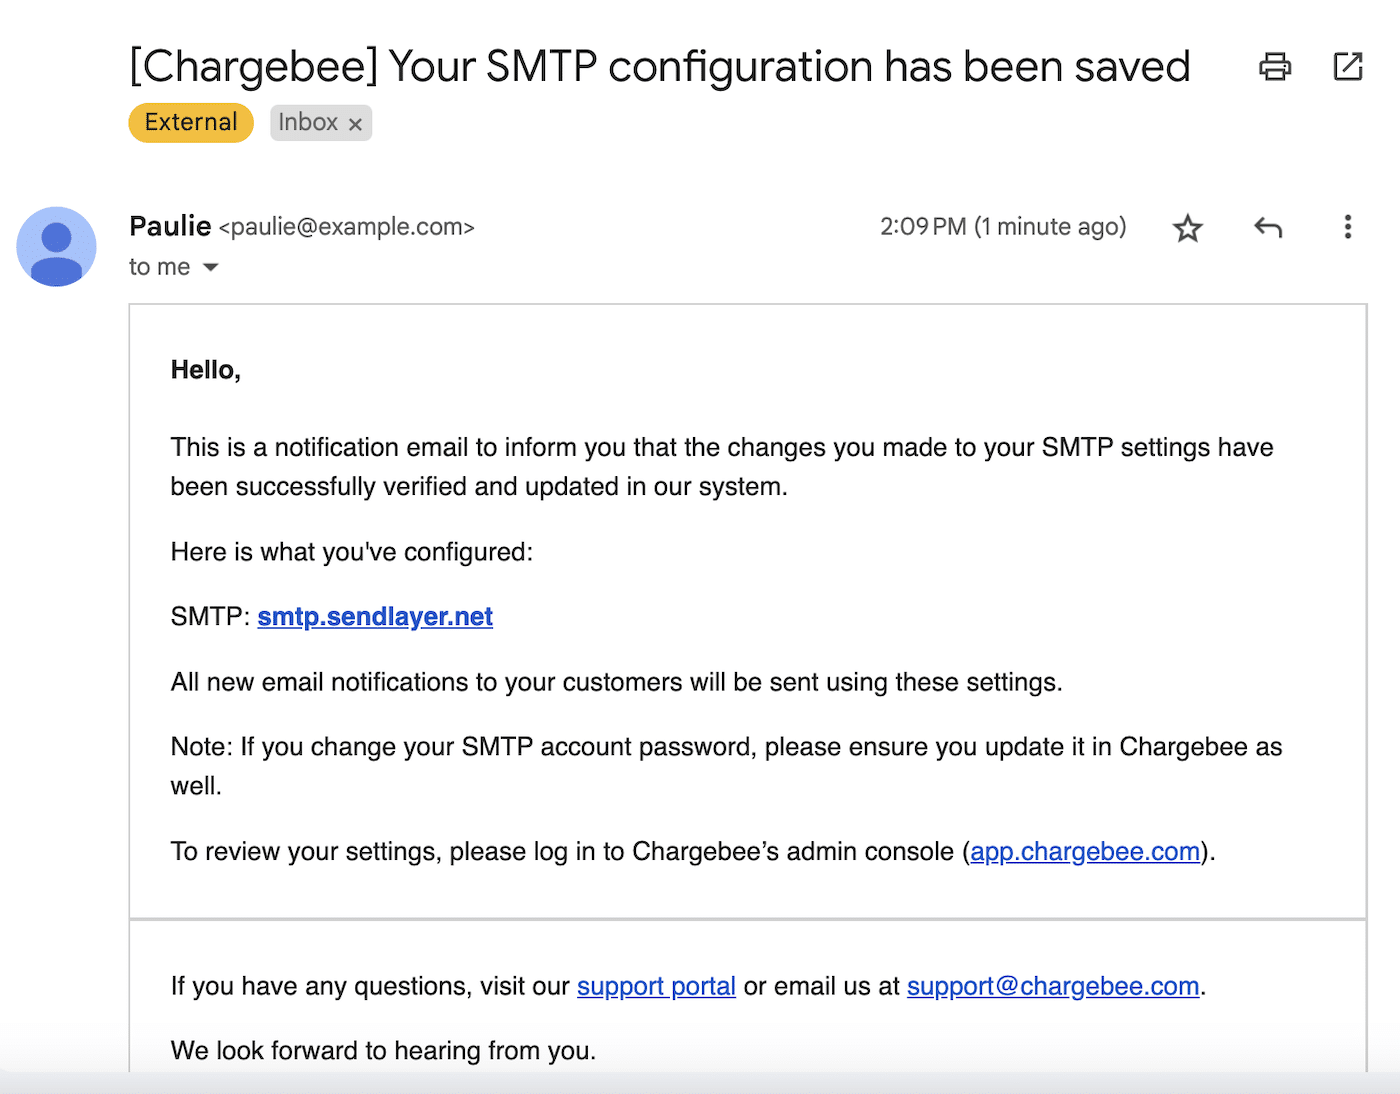
Then, click the Confirm button to finalize your SMTP email settings. You should see a message that your SMTP details have been updated. Then, check your inbox to make sure you received the test email.
Customize Your Email Template
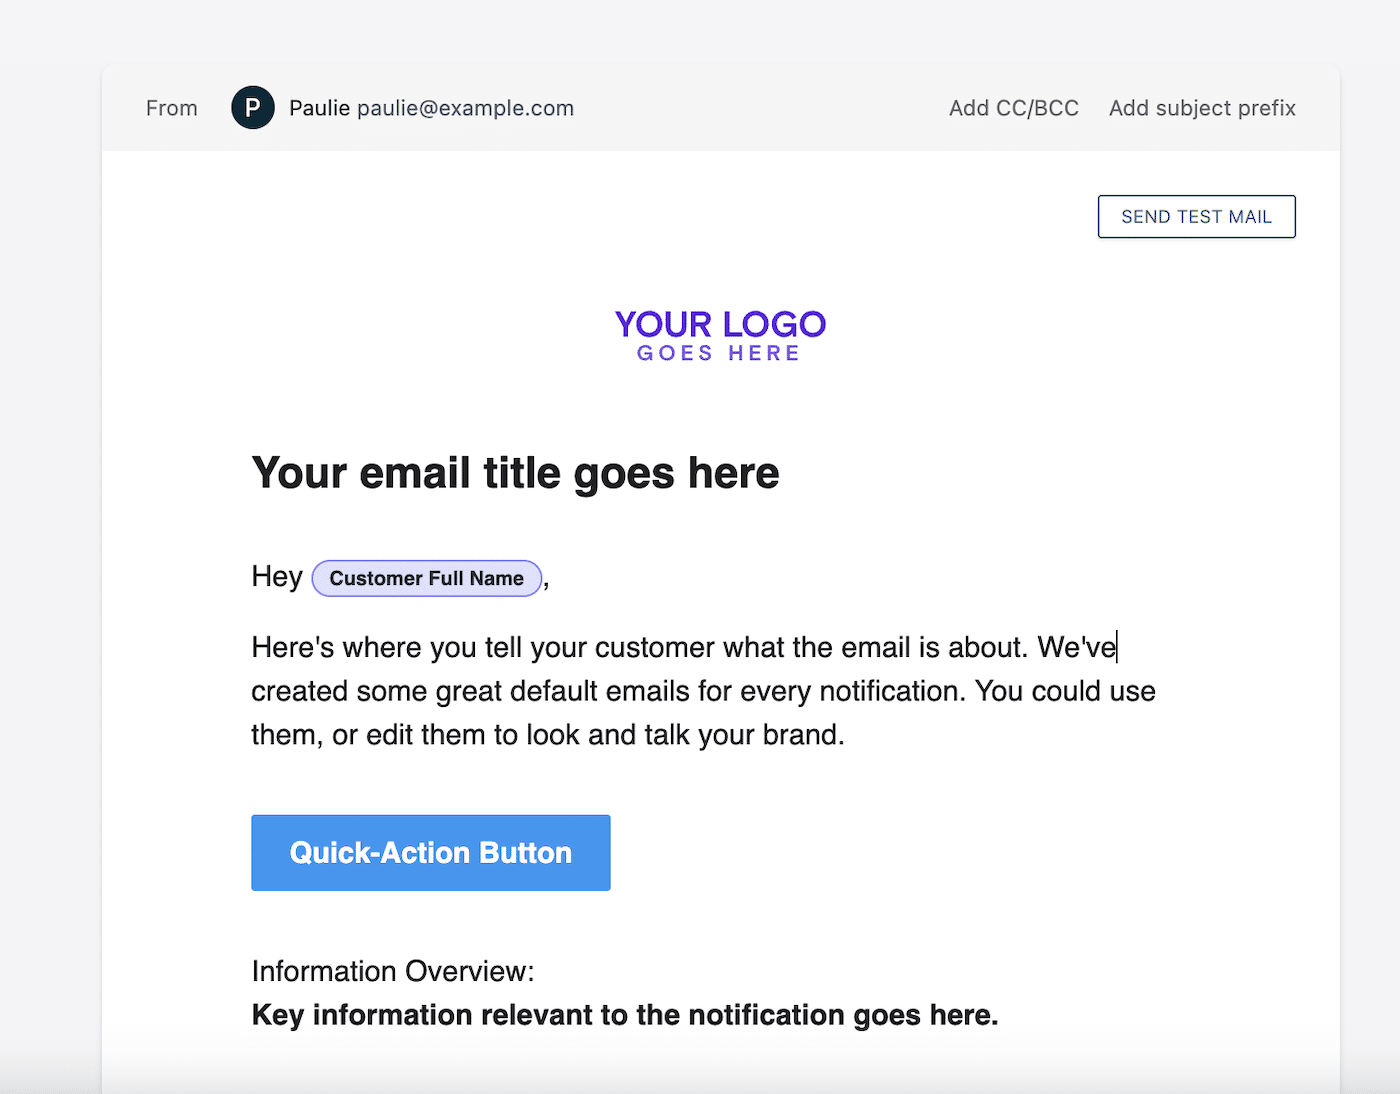
After setting up SMTP, customize your email templates in Chargebee to include your branding and messaging. This ensures that all communication reflects your brand identity.
You can also adjust which emails are sent automatically in the Subscription Management section.
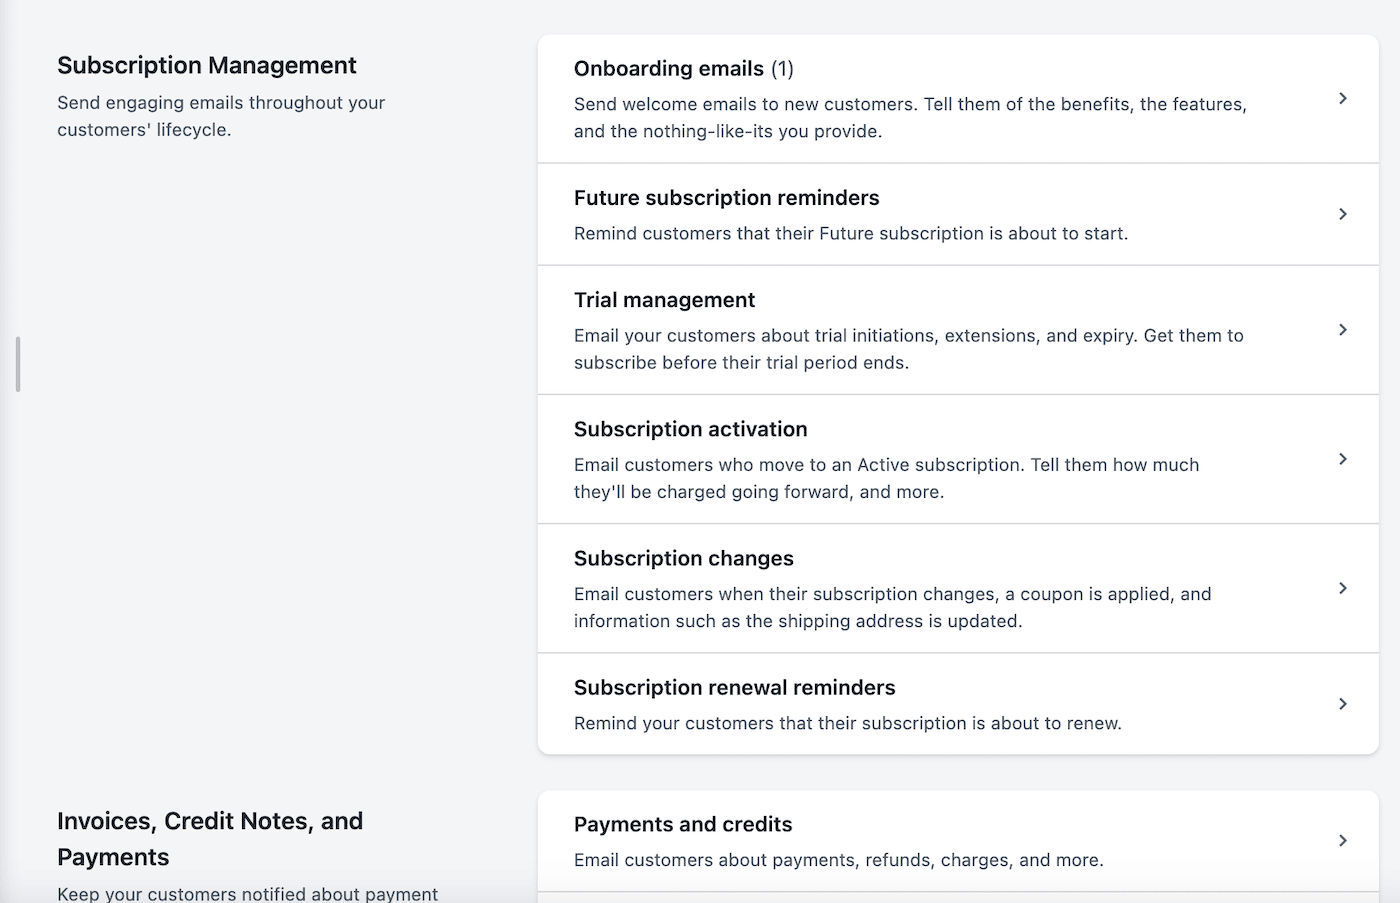
You can activate or deactivate emails with the toggle.

Product and Services Setup
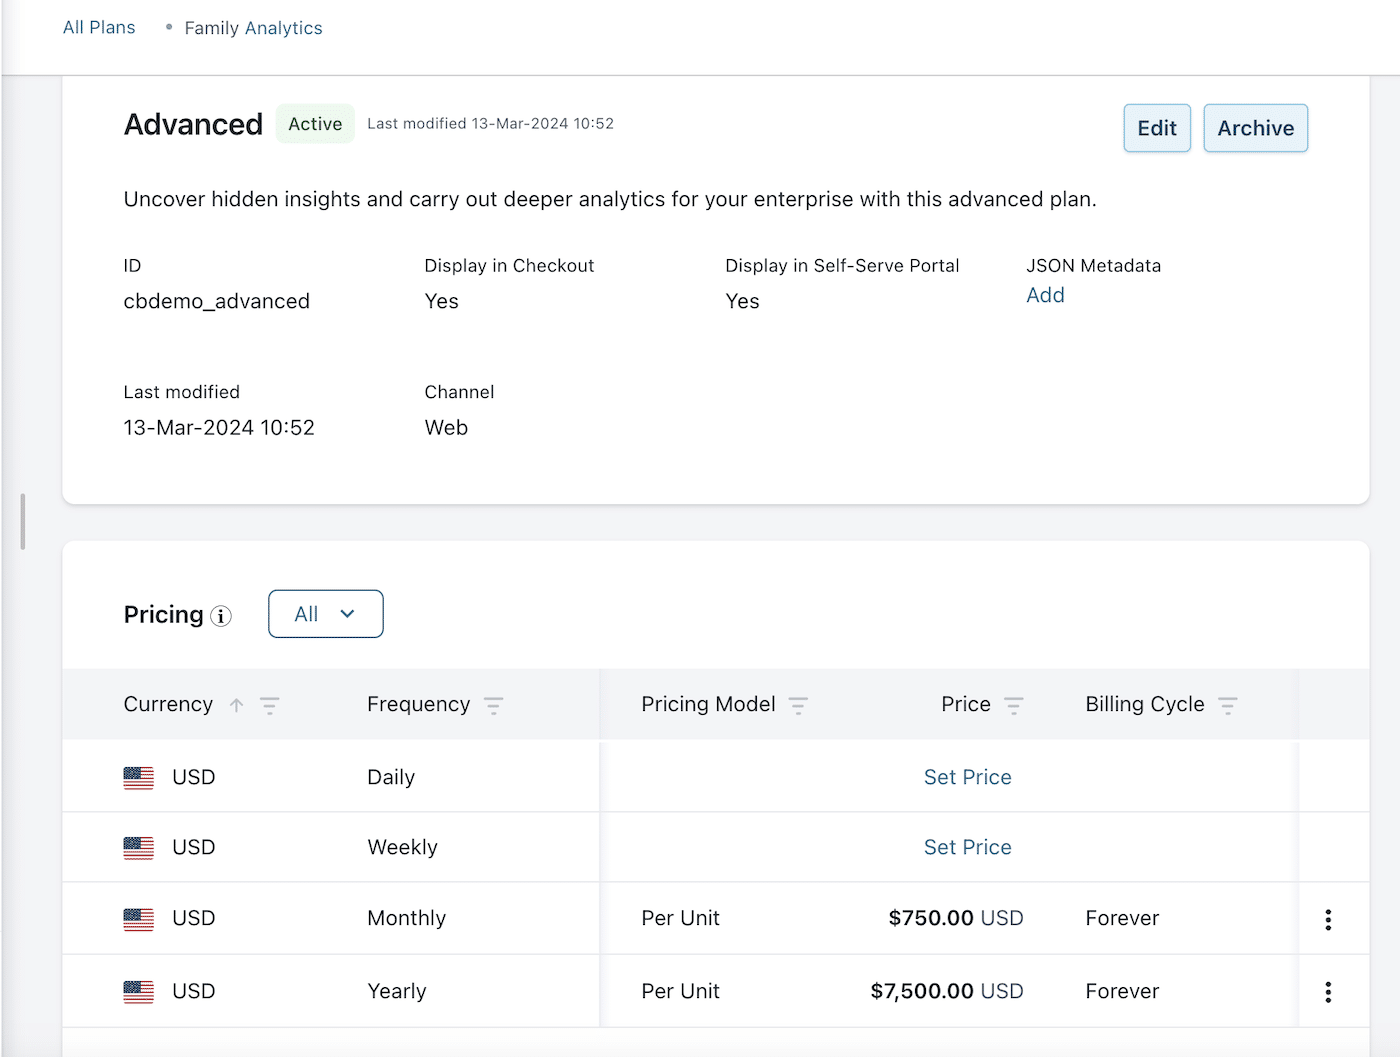
In the Chargebee product catalog you can set up pricing models, plans, add-ons, and coupons. Ensuring your product catalog is accurately set up is essential for smooth subscription management.
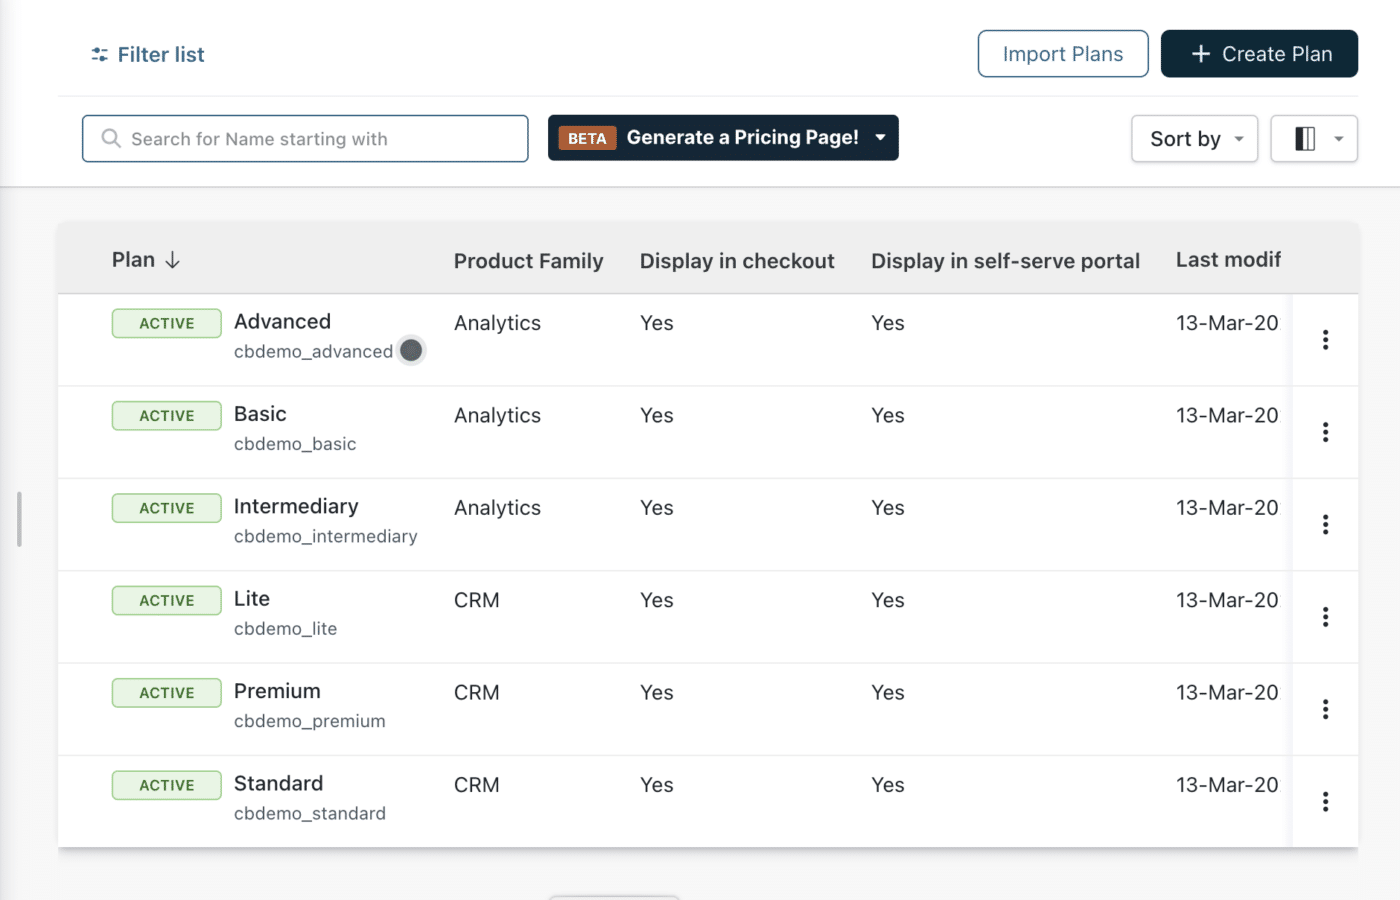
Within each plan, you can configure the pricing structure and billing frequency.
Managing Customers
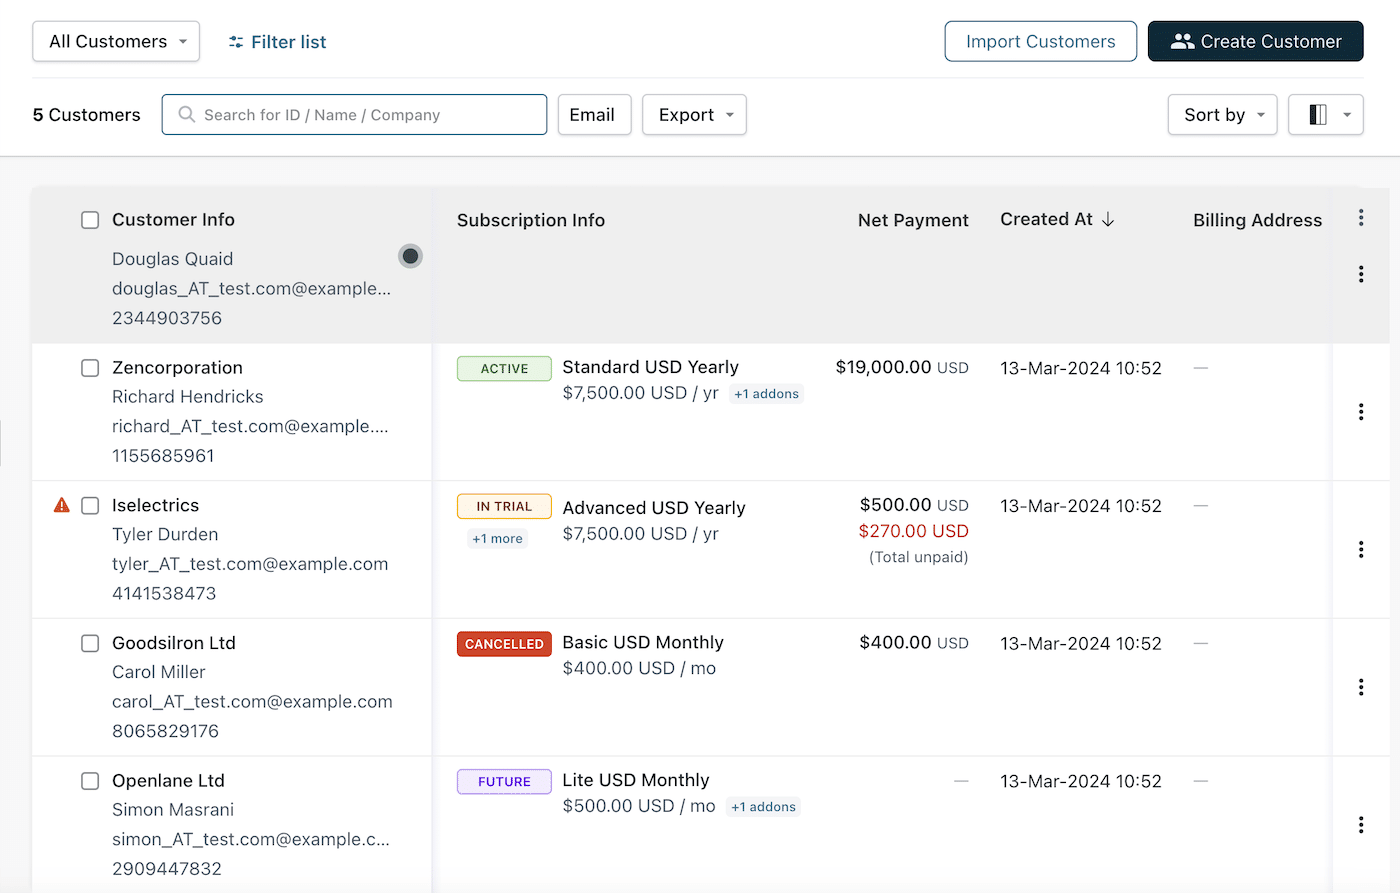
In the Customers section of Chargebee, you can access all information on individual customers including contact information, payments, and subscription status.
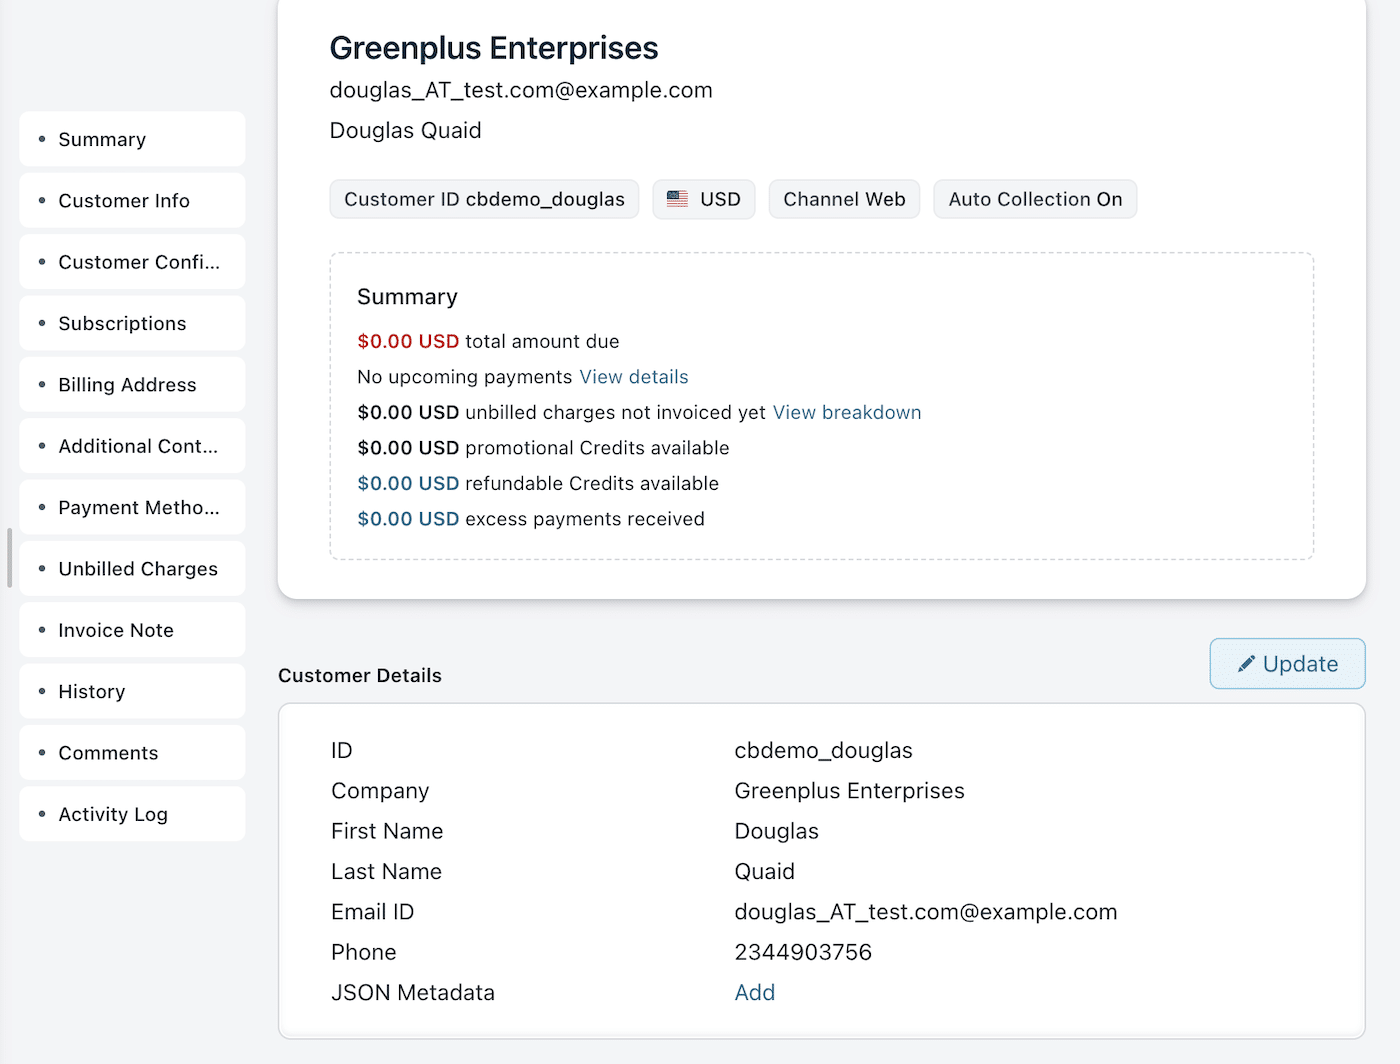
In each customer profile you can also update details, create subscriptions, add charges, request an updated payment method and all other aspects of account management.
Adding Chargebee Integrations
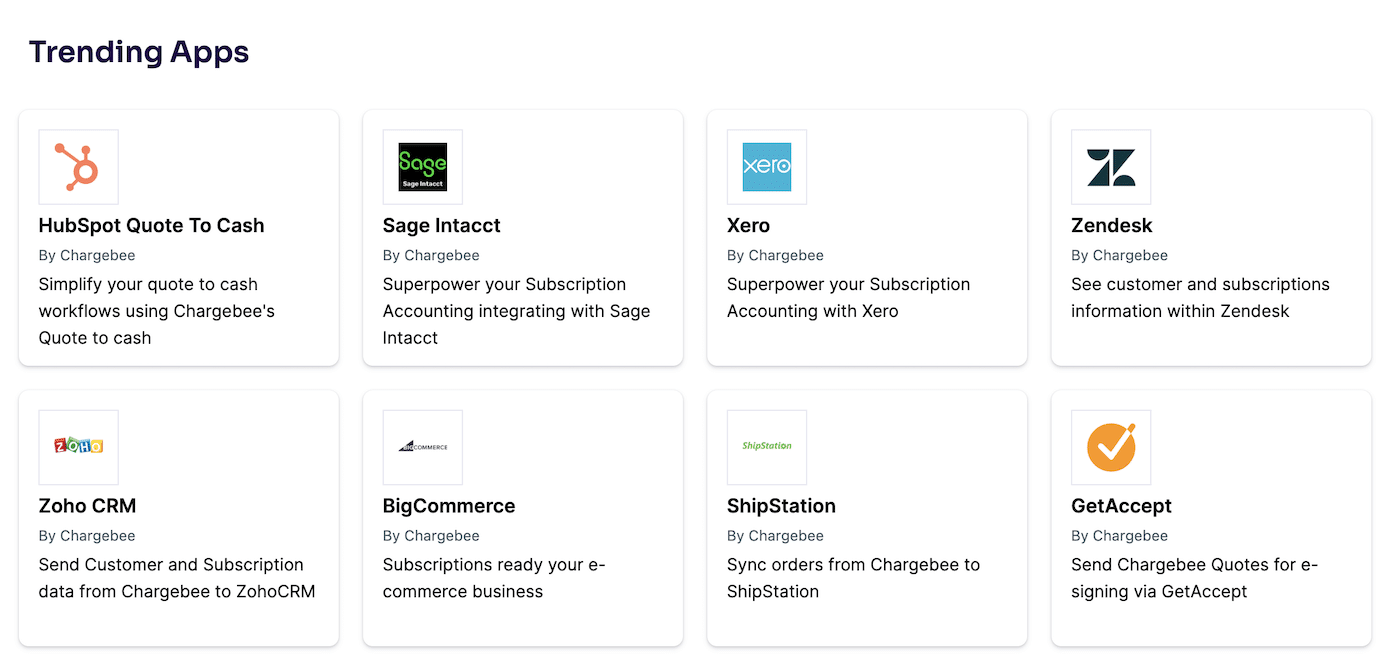
Chargebee offers a wide array of integrations across different categories such as accounting, analytics, CRM, e-commerce, email marketing, payment gateways, and support. These integrations enable your business to automate billing, manage subscriptions, analyze financial data, and engage with customers more effectively.
Visit the Apps section within your Chargebee dashboard to access the Marketplace and browse available integrations. Here, you can find detailed information about each integration, including its features, benefits, and setup instructions.
And that’s it! Now you’ve completed Chargebee setup and you can continue to explore the platform further or go ahead and purchase one of the paid plans. Remember to test all workflows and configurations thoroughly before using your Chargebee account with real customers.
FAQs
How do I add a new payment method in Chargebee?
To add a new payment method, navigate to the Customers section, select a customer, and go to the Payment Methods tab. Here, you can add a new payment method. Ensure your Chargebee account is integrated with a payment gateway that supports the addition of the payment method you wish to use.
What is the process for issuing a refund through Chargebee?
To issue a refund, find the invoice for which you want to process a refund in the Invoices section. Click on the specific invoice to view its details, and then click on the “Refund” button. Follow the prompts to issue a full or partial refund. The exact steps may vary based on the configured payment gateway.
Can I integrate Chargebee with my CRM system?
Yes, Chargebee offers integrations with various CRM systems, including Salesforce and HubSpot. To integrate, visit the Marketplace section in your Chargebee dashboard, select your CRM system, and follow the provided setup instructions. This might require API keys and configuring certain settings on both Chargebee and the CRM platform.
Is it possible to set up multiple currencies for billing in Chargebee?
Yes, Chargebee supports multi-currency billing. To set up multiple currencies, navigate to Settings > Configure Chargebee > Currencies. Here, you can add and configure the currencies you want to offer to your customers. Remember, the availability of currencies may also depend on your payment gateway’s support for those currencies.
Can I automate email notifications for subscription renewals?
Yes, Chargebee supports multi-currency billing. To set up multiple currencies, navigate to Settings > Configure Chargebee > Currencies. Here, you can add and configure the currencies you want to offer to your customers. Remember, the availability of currencies may also depend on your payment gateway’s support for those currencies.
That’s it! Now you know how to set up Chargebee.
Next, would you like to learn about improving the email notifications and other messages you send from ChargeBee? Check out our tutorial on improving transactional email design for more information.
