Would you like to prevent SendLayer from sending emails to addresses that could damage your sending reputation?
Protecting your domain’s sending reputation is important for email deliverability. By creating a suppression list, you can avoid sending emails to addresses that might hurt your reputation as a sender.
In this tutorial, we’ll show you how to create and manage your suppression list in SendLayer.
Before getting started, be sure to:
What Is a Suppression List?
A suppression list is a group of addresses that you don’t want to send emails to. By blocking certain recipients, you can avoid sending emails to invalid addresses. This helps keep your bounce rate low so you don’t appear like a spammer to email providers.
Providers may put your sending domain on a watchlist or blocklist if a lot of the emails you send result in hard bounces. This can affect your overall email deliverability, as providers may stop your valid messages from reaching users’ inboxes, too.
You’ll want to add to your suppression list any email addresses that result in hard bounces when you try to send emails to them. You should also add the addresses of any recipients who unsubscribe from your emails or submit spam complaints to avoid sending them emails in the future.
In addition to these, you can also add the addresses of users who’ve asked you to delete their data. You can even include addresses linked to your competitors.
Managing Your SendLayer Suppression List
To view your suppression list in SendLayer, log in to your dashboard and click on Suppressions in the main navigation menu on the left.

SendLayer automatically adds addresses to this list if they result in a hard bounce, if a recipient unsubscribes, or if a recipient submits a spam complaint. This prevents you from accidentally sending emails to addresses that could hurt your domain’s sending reputation.
You can find the reason why an email address is added to the Suppression list by reviewing your email logs. There, keep an eye out for the first log with the “Rejected” event from the suppressed email address.
Opening additional details for this log often displays the reasons for the rejection that led to the email address being added to your Suppression list.
Additionally, you can use a third-party email checker tool to verify the reason for the rejected email log. Often, the mailbox doesn’t exist or is unavailable.
If an email address is wrongly added to your suppression list, you can manually remove it after reviewing the cause of the rejection. However, if the email address is consistently added to your list, we recommend using a different email address as a temporary workaround.
Manually Adding Email Addresses to Suppression List
If you’d like to manually add an address to your list, click on Add Email Addresses To Suppression List.
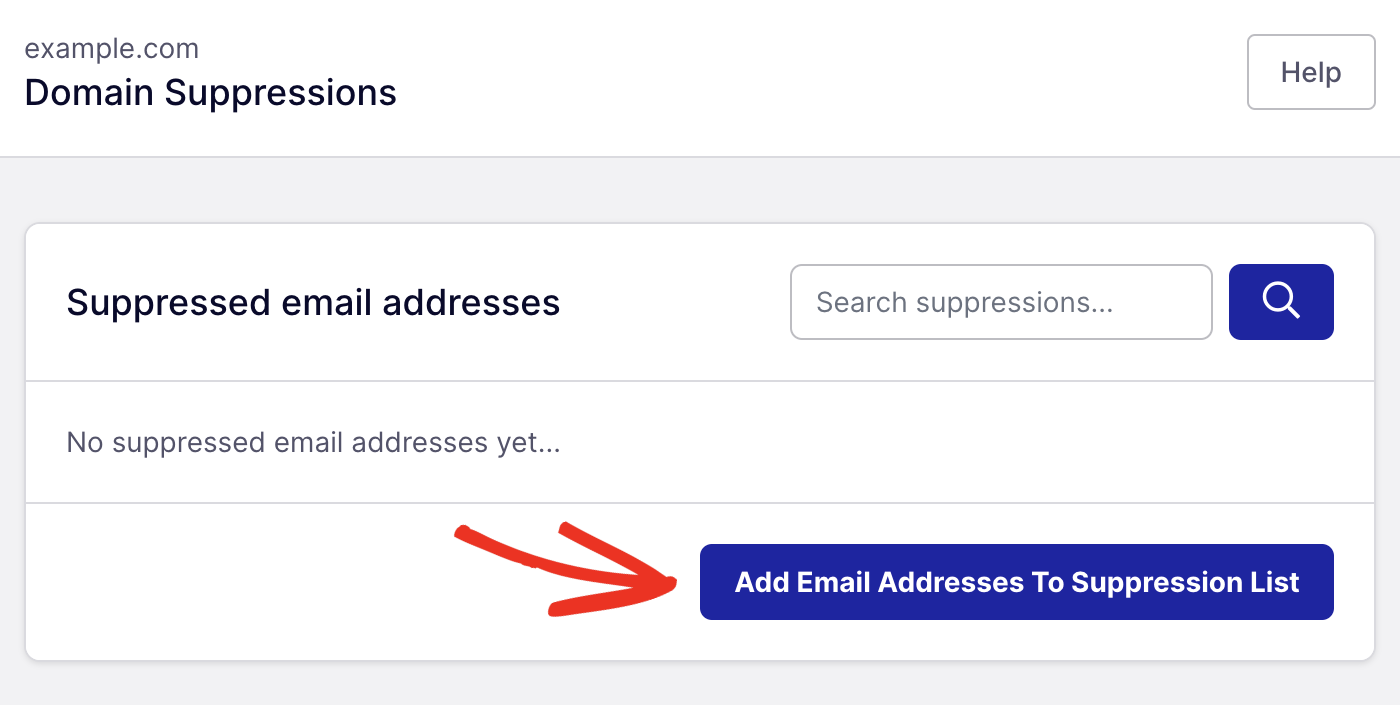
This will open a popup where you can enter the email address(es) you do not wish to send to. If you’re adding multiple addresses, make sure to enter each one on its own line.
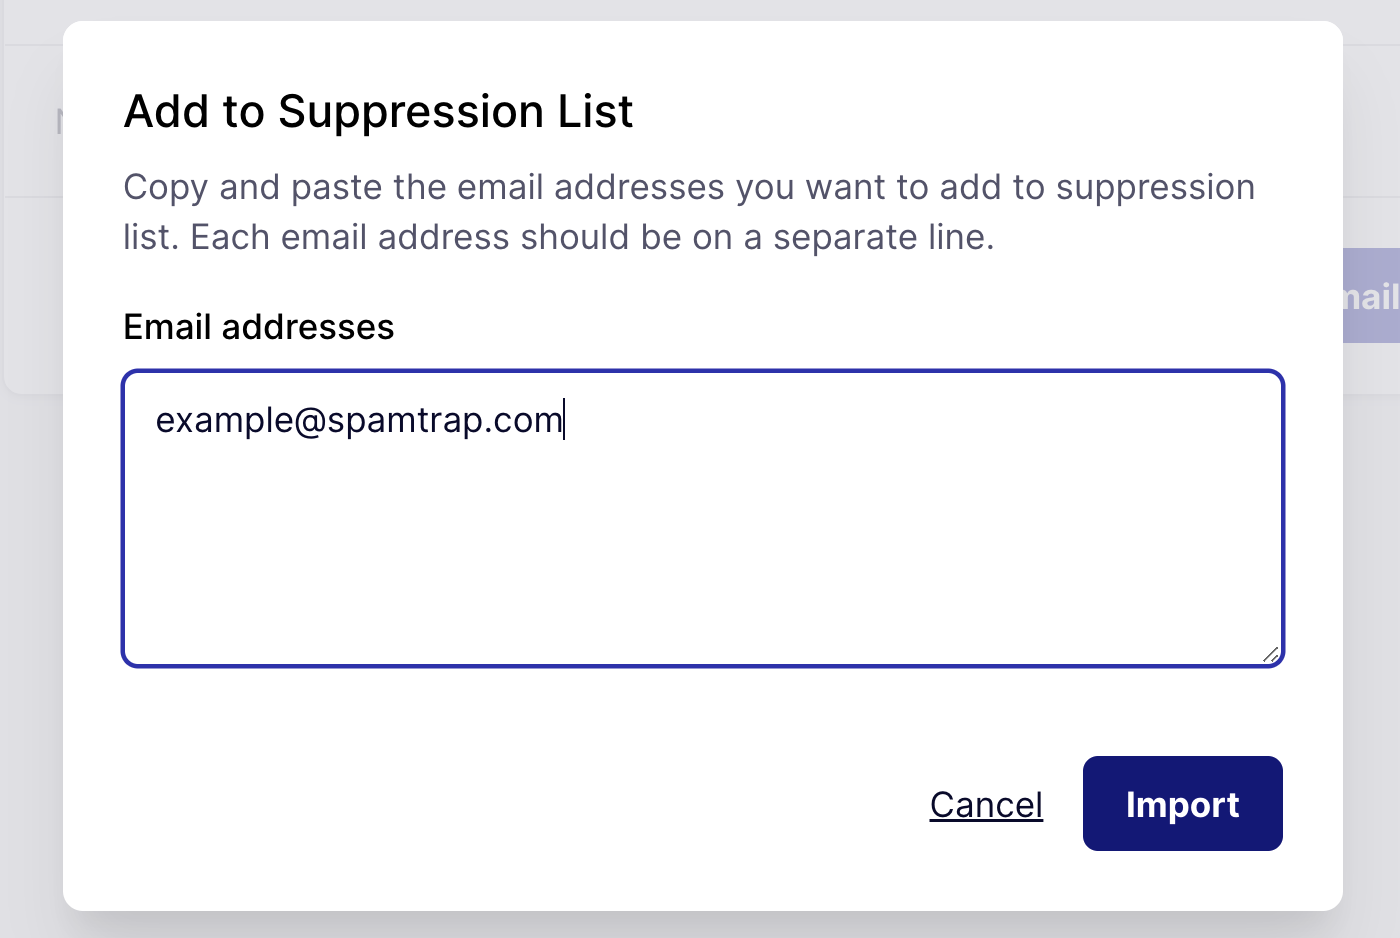
Click Import once you’re done adding email address(es).
Note: Your suppression list is specific to your domain. If you’ve authorized multiple domains in SendLayer, you’ll need to manage your suppressions for each one separately.
You can search the addresses on your suppression list using the search bar in the top right corner of the Suppressions page.
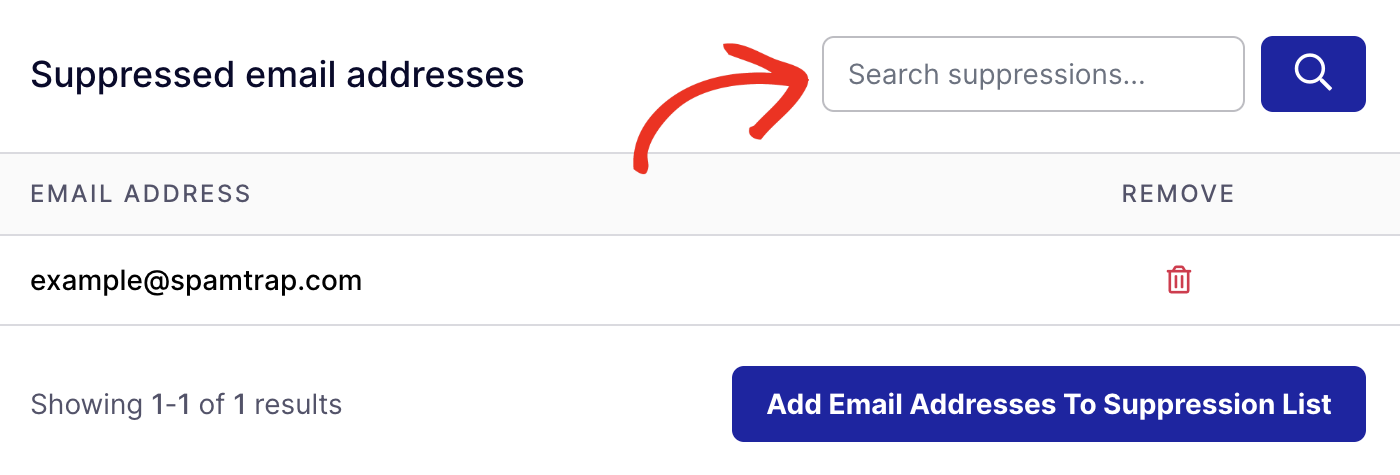
If you ever want to remove an email address from the suppression list, you can just click on the trash icon next to it in the list.

That’s it! Now you know how to use your suppression list in SendLayer.
Next, would you like to learn about how to secure your SendLayer account? Check out our tutorial on SendLayer security for more information.