Would you like to check that your emails are successfully reaching users’ inboxes?
The SendLayer email log enables you to see how many emails your website has sent, whether they were delivered successfully, and even if the recipients opened them. This information is useful for monitoring your site’s email activity, as well as troubleshooting and other tasks.
In this tutorial, we’ll show you how to access and understand your SendLayer email log.
Before you dive into this tutorial, make sure you’ve:
Accessing the SendLayer Email Log
To view your email log, sign in to SendLayer and navigate to your dashboard. Then click on Logs in the sidebar menu.
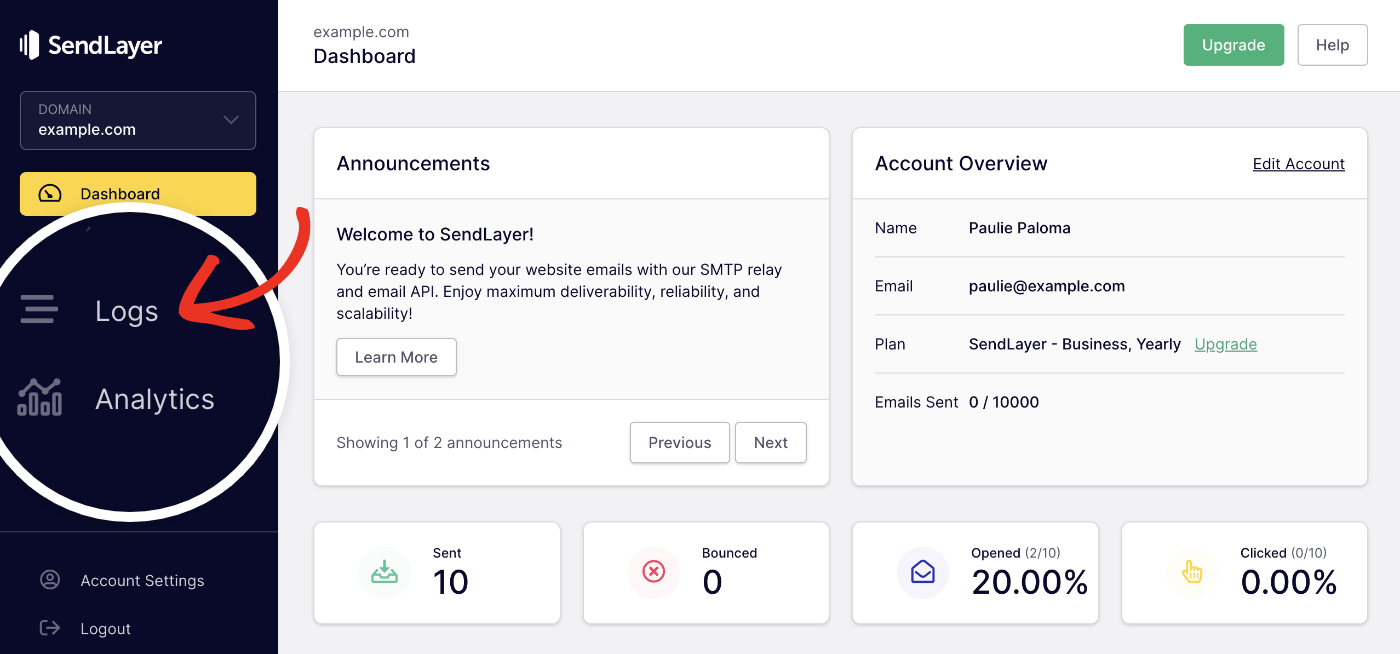
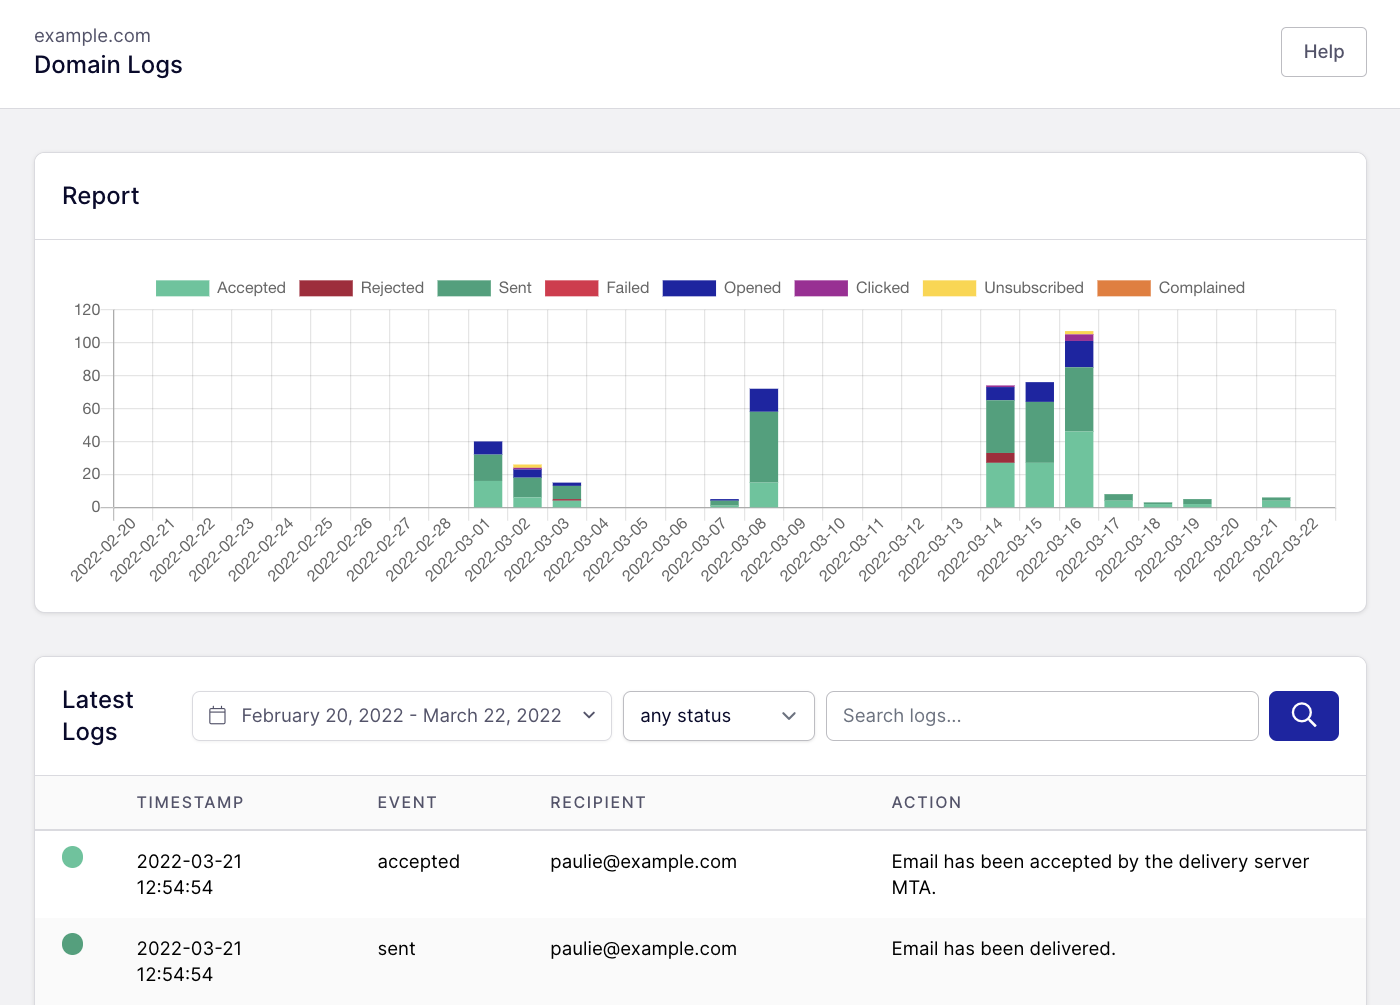
Here, you’ll see a graph of email data for the past 30 days as well as a table of individual email logs.
Understanding SendLayer Email Logs
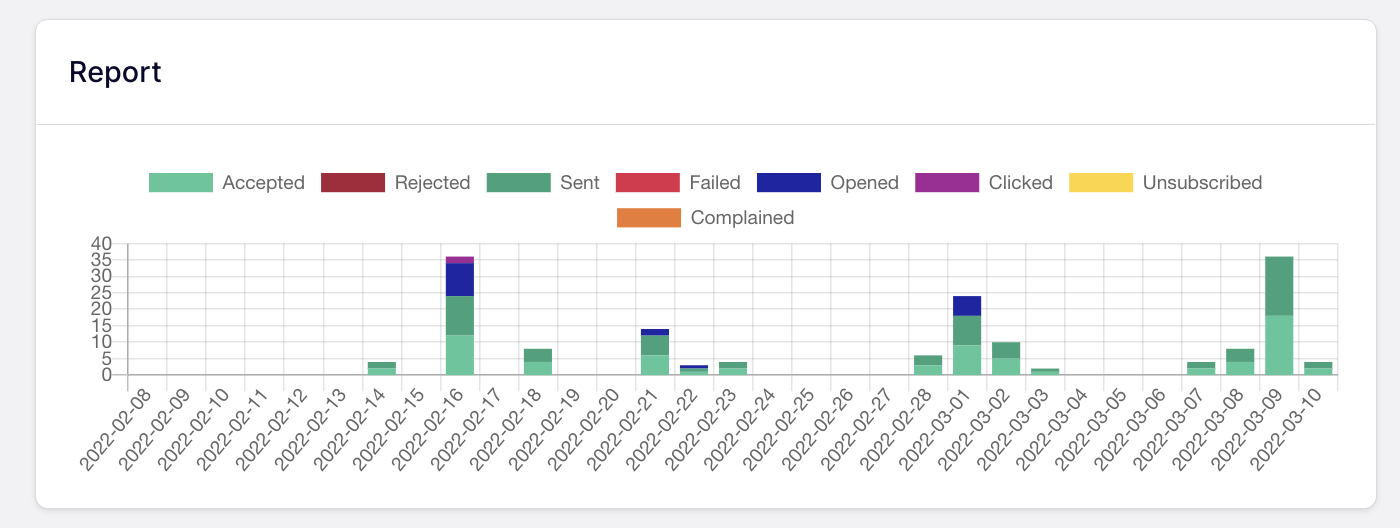
The graph shows all the emails your site sent (or attempted to send) in a given time period. The bars are segmented by event. If you hover over a portion of a bar in the graph, you’ll see a popup with the number of emails for that event.
For example, in the image below, the graph shows that on this particular day, 6 emails were opened, 9 were sent, and 9 were accepted.
In the table, you’ll see more specific information for each email your site attempts to send. We’ve broken down each of the columns in this display below.
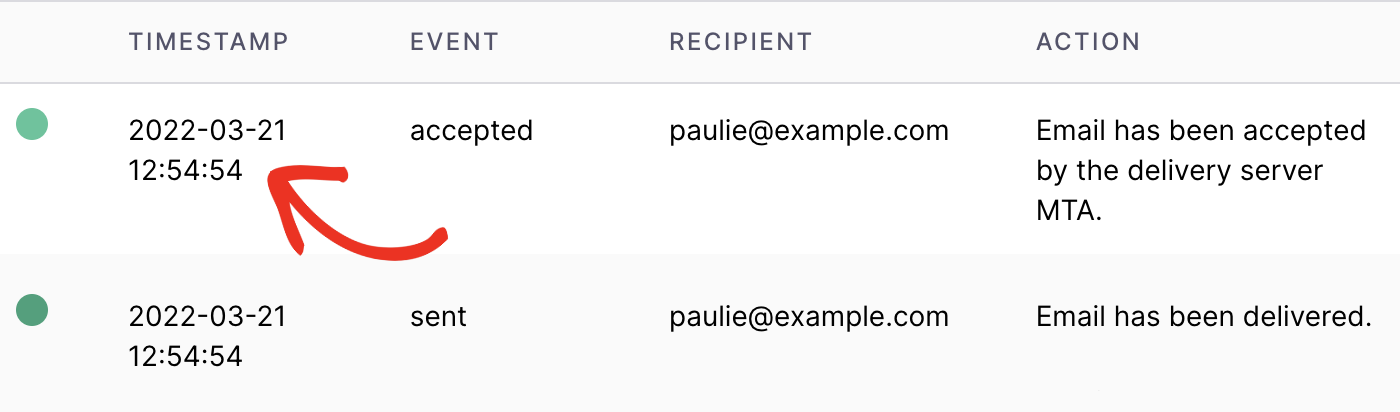
Timestamp
In the far left column of the email log table, you’ll see the timestamp. This simply shows the date and time the event took place.
Event
SendLayer logs several different activities or events related to the emails your site sends out.

Possible events include:
- Accepted. The email was accepted by our system or by the delivery server. You can determine which is the case by looking in the Action column. Emails accepted by our system will show the “Incoming email accepted” action. Emails accepted by the delivery server will be marked “Email accepted by the delivery server MTA.”
- Rejected. The email was rejected by the delivery server and was not delivered.
- Sent. The email was sent out from our SMTP server.
- Failed. The email failed to send from our SMTP server.
- Opened. The recipient opened the email. Open tracking must be enabled to see this data.
- Clicked. The recipient clicked on a link in the email. Click tracking must be enabled to see this data.
- Unsubscribed. The recipient unsubscribed from future emails. Unsubscribe tracking must be enabled to see this data.
- Complained. The recipient submitted a spam complaint about the email.
The colored circle to the left of the timestamp also corresponds to the event. You can see which color indicates each event by looking at the key above the graph.
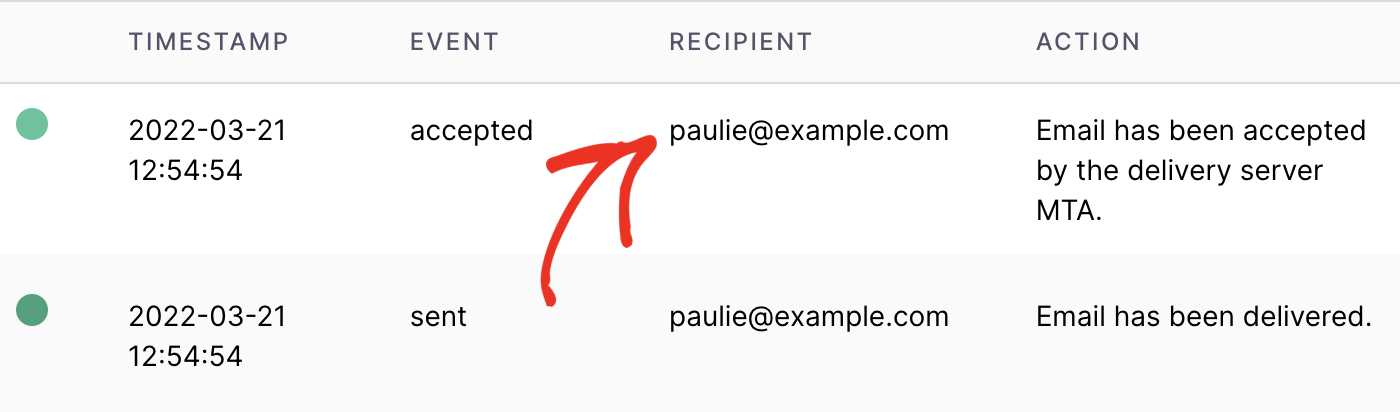
Recipient
The Recipient column shows the email address the message was sent to.
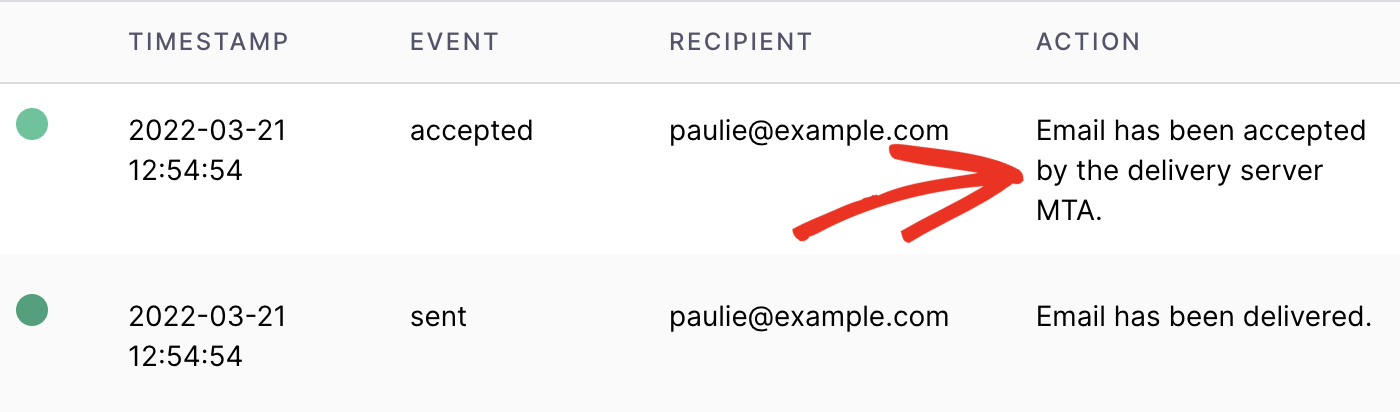
Action
This column provides a short description of the action related to the event. For example, if the event is “Accepted” then the action will be either “Incoming email accepted” or “Email has been accepted by the delivery server MTA.”
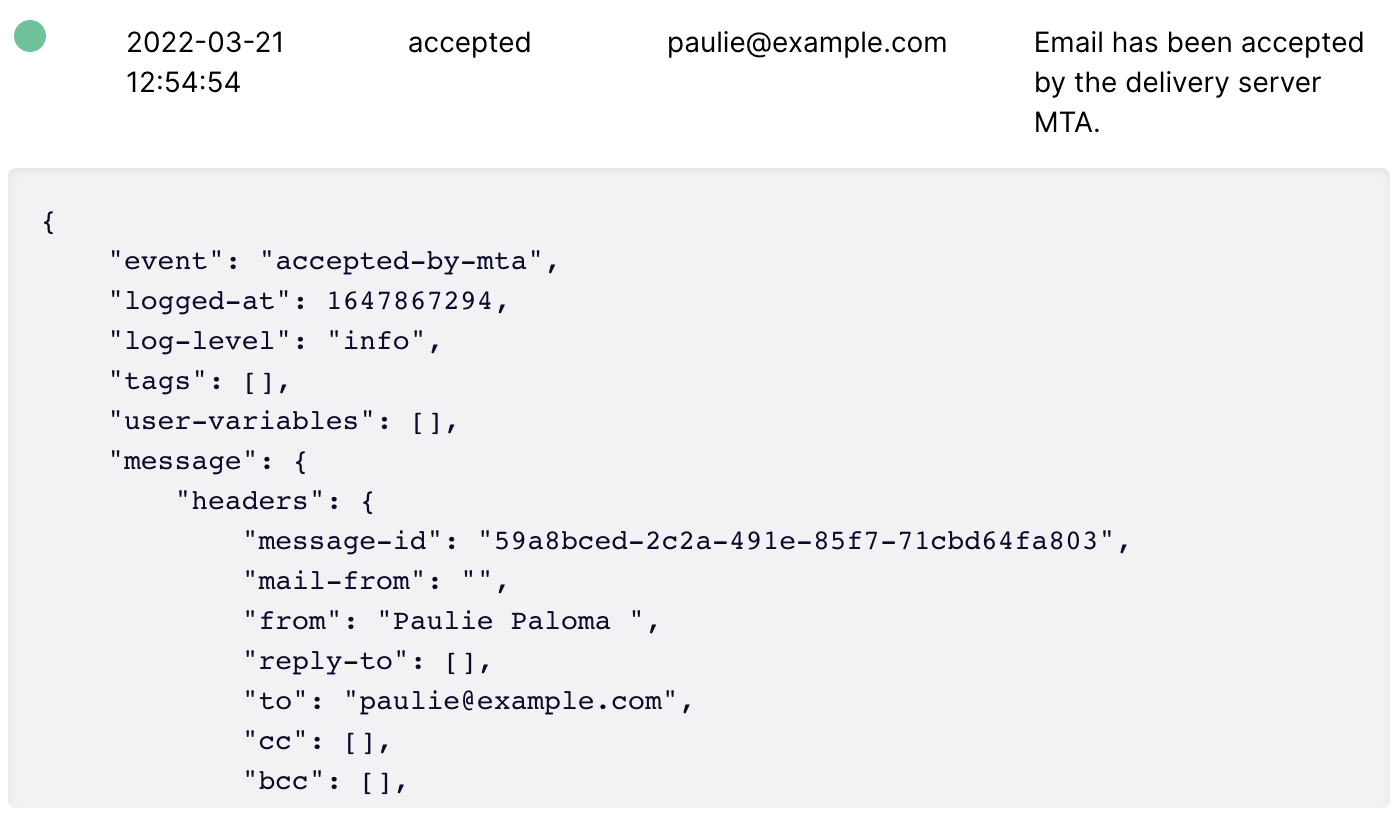
Viewing Email Log Details
To see the technical details for an email log, click on it in the table to expand it.
Searching and Filtering Email Logs
If you would like to see a particular email log, data for a specific date, or logs with a certain status, you can easily do so using the search and filter features.
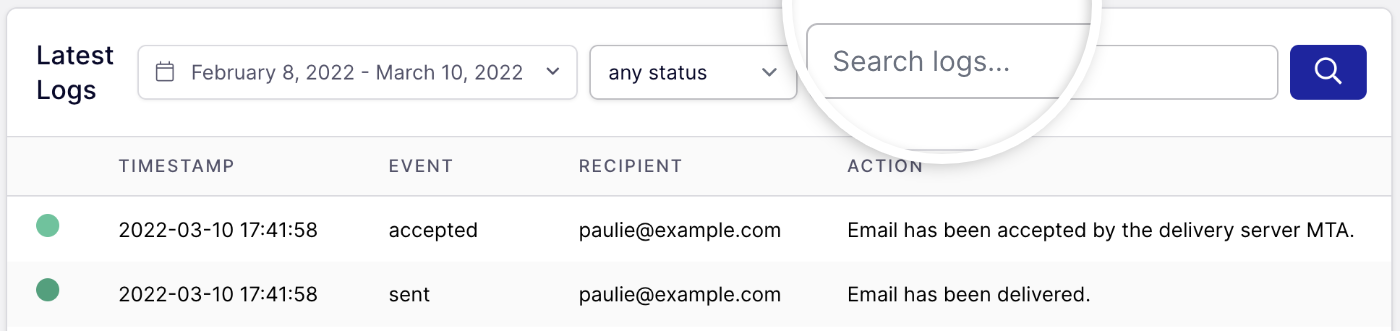
In the email log table, enter any email address or keyword in the search bar in the top right corner. Click on the magnifying glass button to view relevant results.
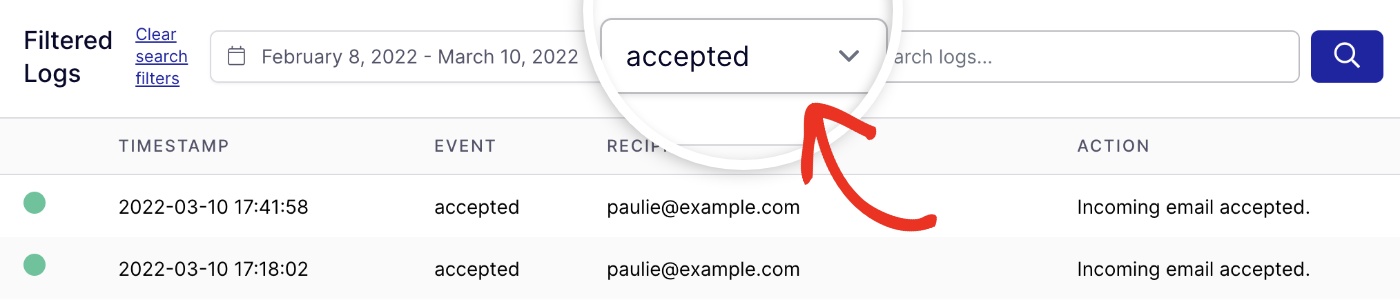
To see all emails with a specific status, select an event from the dropdown next to the search bar. Click the magnifying glass button to load the results.
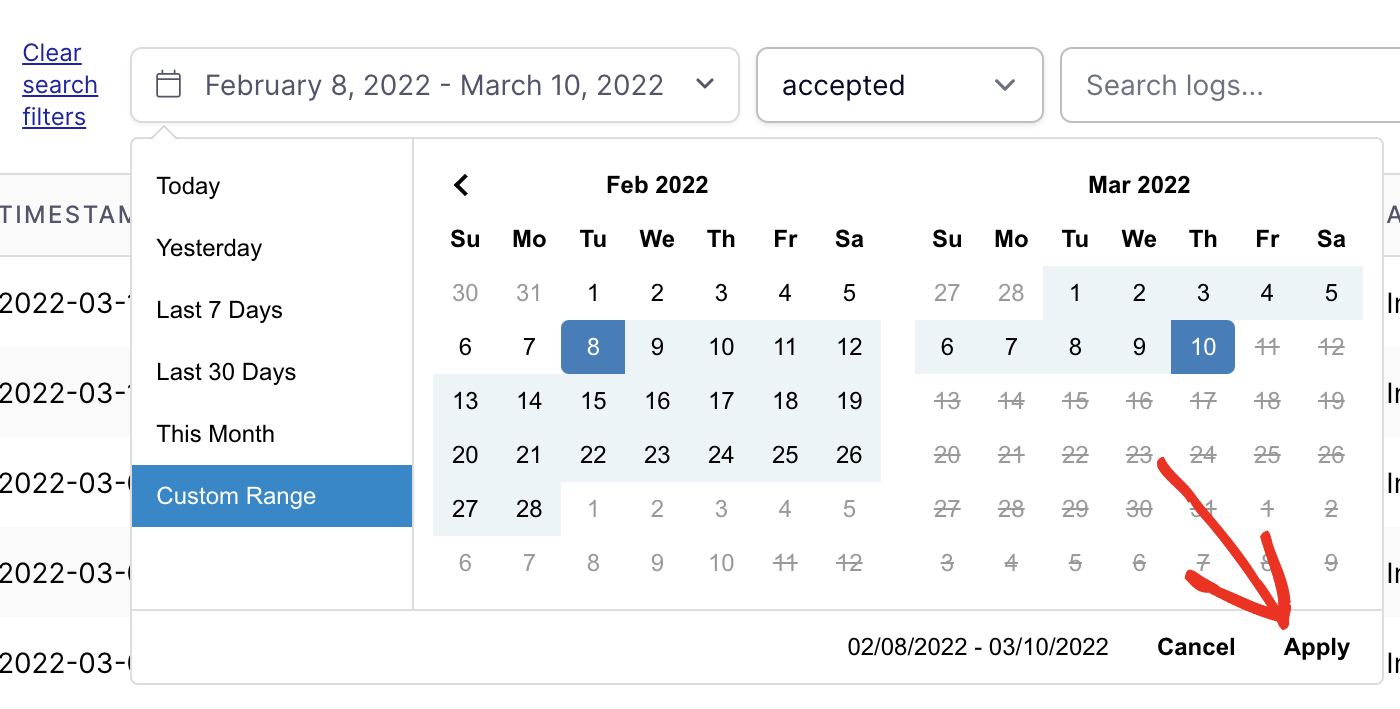
To filter by date, click on the date dropdown to open the calendar date picker. You can choose from pre-determined date ranges on the left side of the date picker, or set your own custom range. Click on Apply at the bottom of the calendar to load the results.
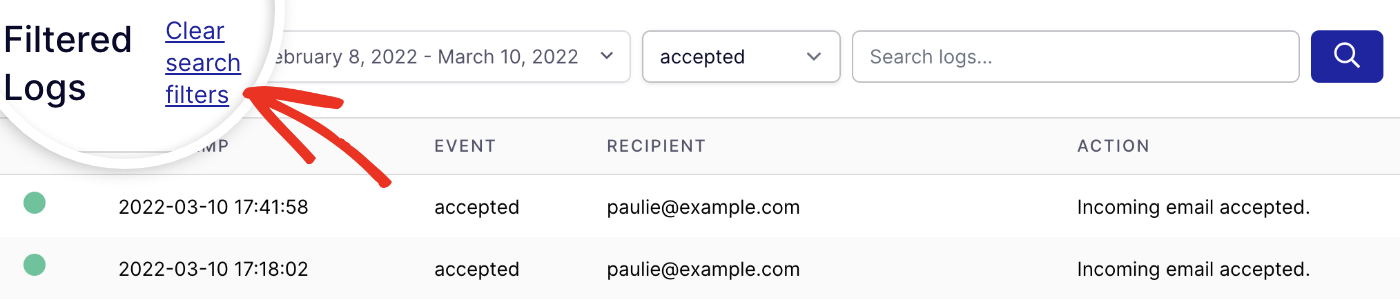
If you want to clear your filters, click on the Clear search filters link next to the date dropdown.
That’s it! Now you know how to check the SendLayer email log.
Next, would you like to learn about open and click link tracking? Check out our tutorials on tracking email opens and link clicks for more information.