Want to see how recipients interact with the emails you send?
Click tracking lets you see exactly which links recipients click in your emails. By seeing how recipients interact with your emails, you can gain helpful insight into how to strategize best for future email content.
In this tutorial, we’ll show you how to track clicked links in SendLayer.
Before getting started, be sure to:
How Click Tracking Works
When click tracking is enabled, SendLayer adds tracking information to each of the links in your emails. When a recipient clicks one of the links, they’re redirected to the original URL through SendLayer’s server. During this process, SendLayer records information about the user, such as the time they clicked the link and which browser they were using.
Enabling Click Tracking
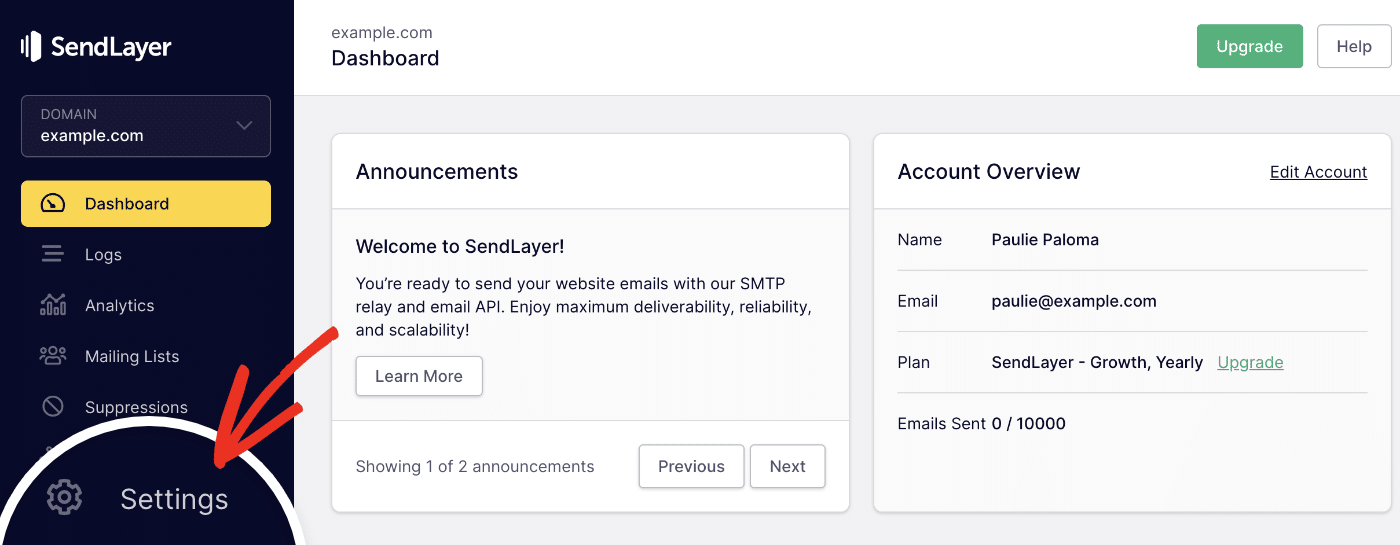
First, sign in to your SendLayer account and navigate to your dashboard. From here, click on the Settings option in the left sidebar menu.
Then, scroll down to the Tracking section of the Domain Settings page.
To enable click tracking, toggle the Click tracking option to the on position.
When you’re ready, go ahead and click the Update Tracking Settings button to save the changes.
Analyzing Link Clicks
In your SendLayer dashboard, there are two places where you can view information about your clicked-through rates: Logs and Analytics. We’ll cover both of these below.
Viewing Clicked Links in Logs
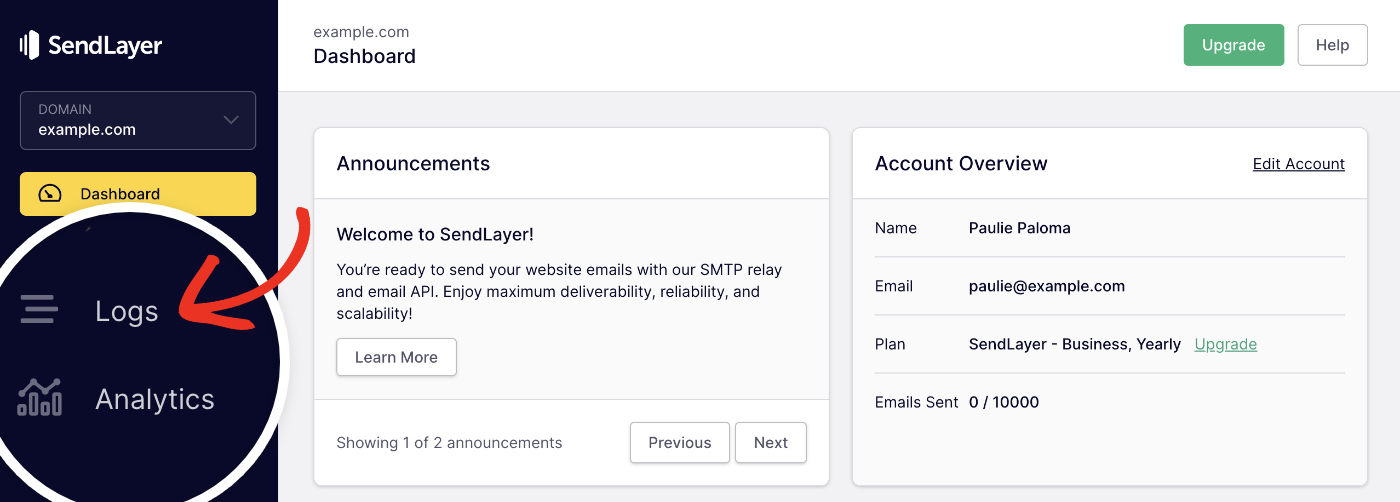
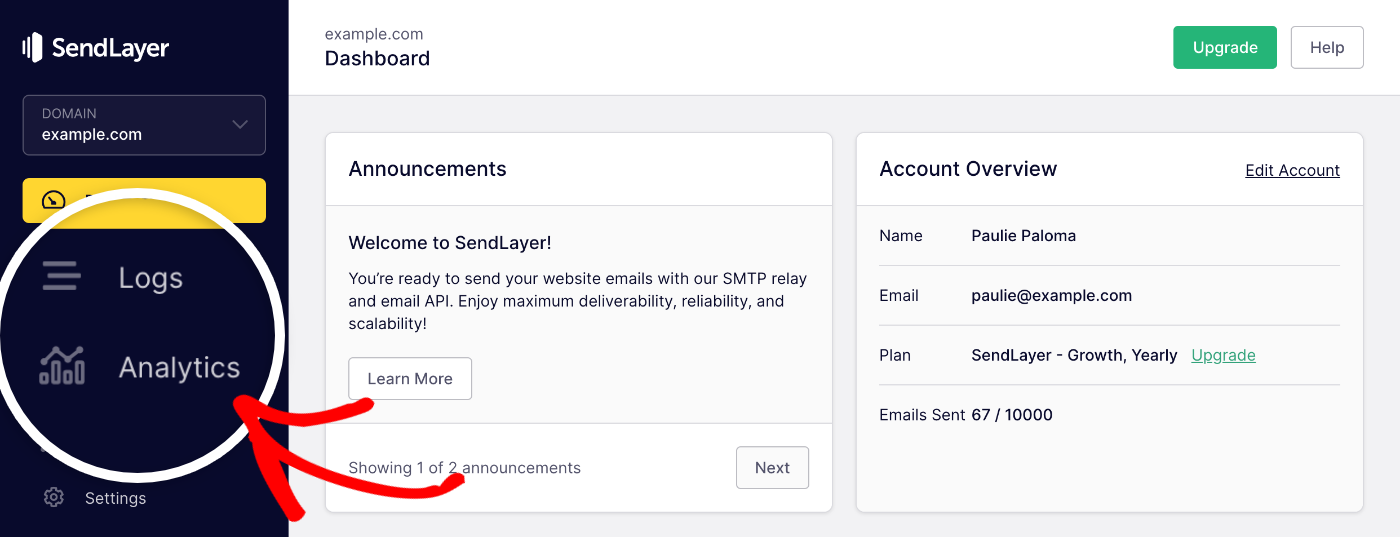
To view if a recipient has clicked any links in an email, you can check the domain log. To get to the Domain Logs page, click the Logs option in the sidebar menu of your dashboard.
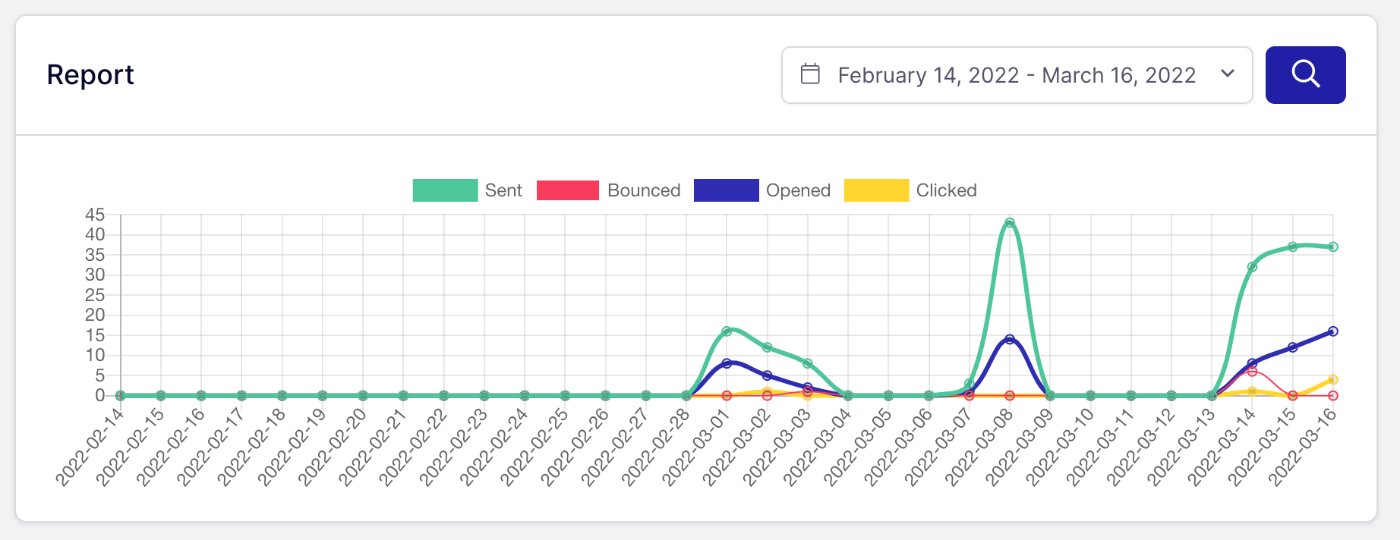
At the top of the page, you’ll see the Report graph that contains data regarding the status of your emails.
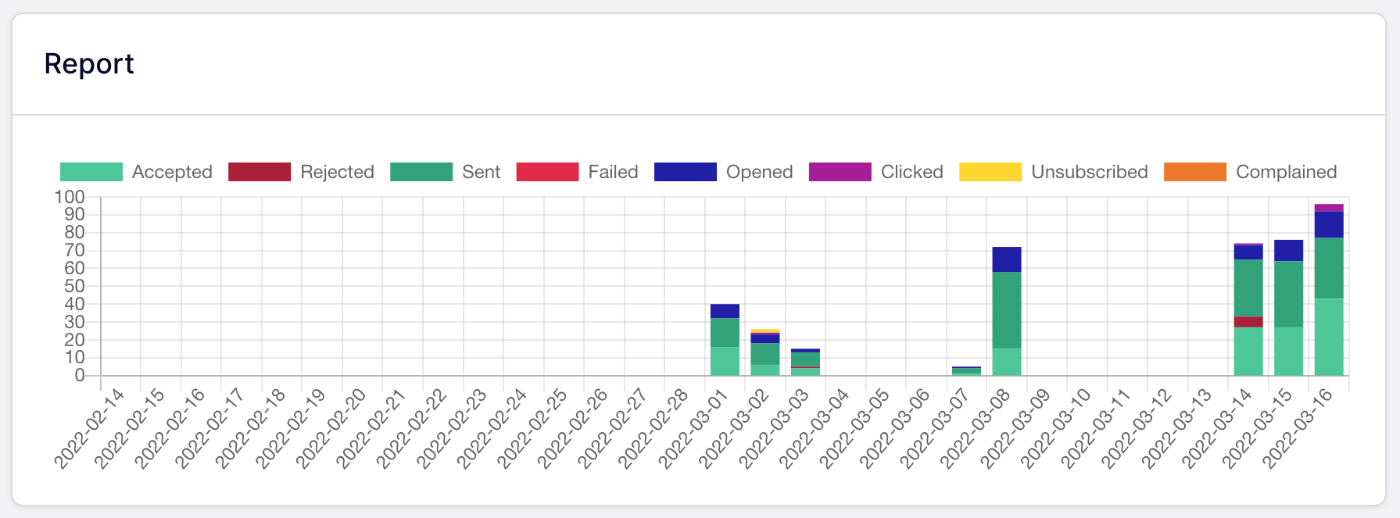
In the graph, any emails with clicked links are represented by a purple bar. If you hover over the purple bar, you’ll see the date and the total number of links clicked on that day.
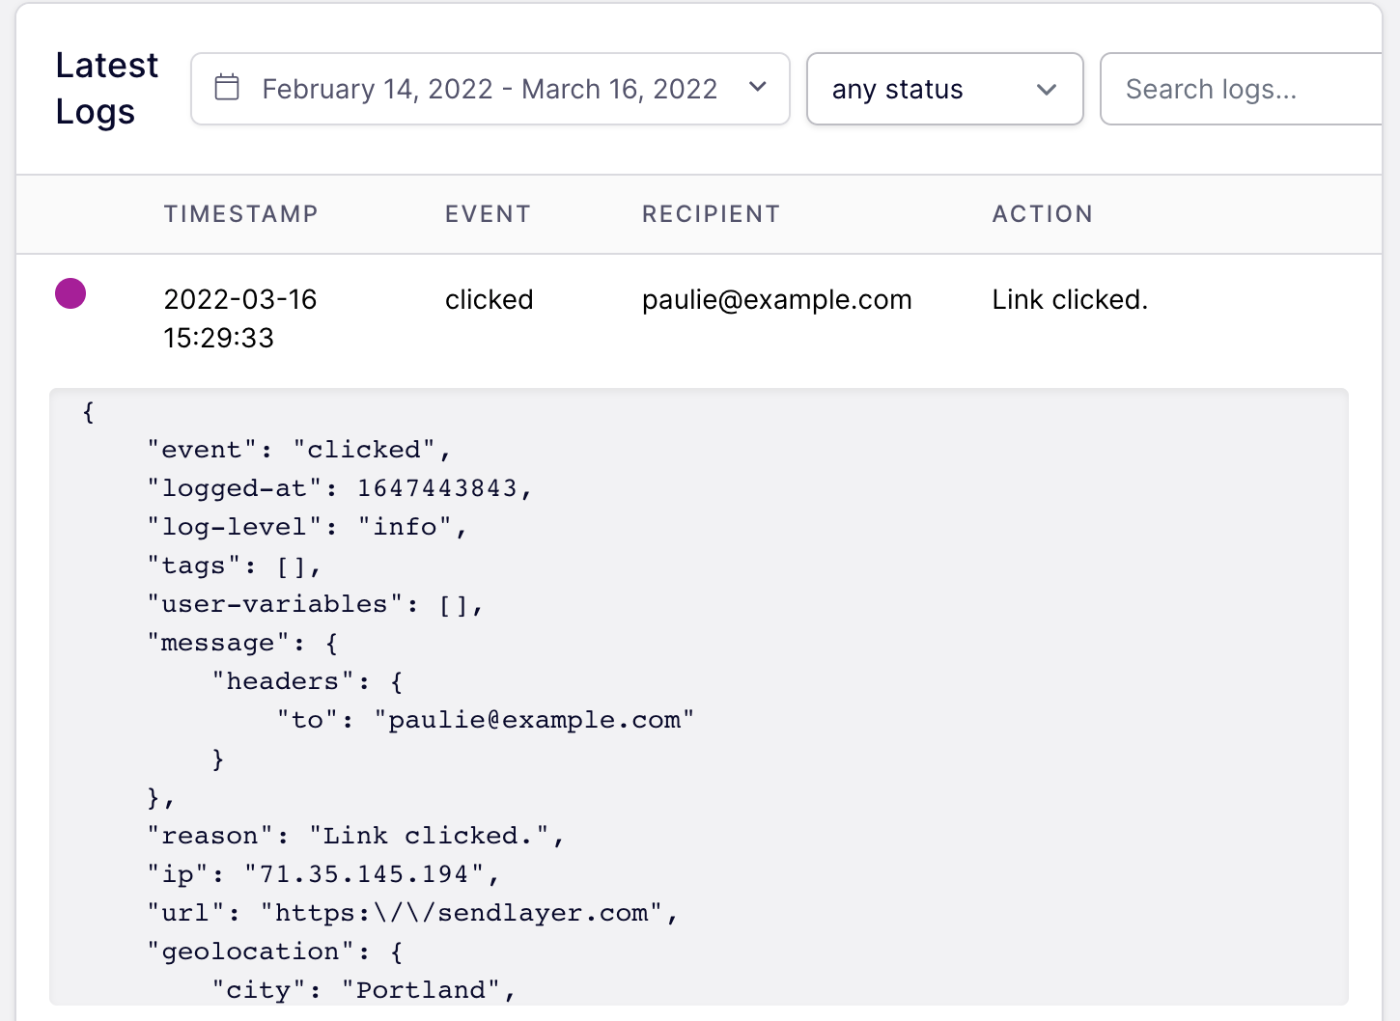
If you scroll down to the Latest Logs table, you’ll see all recorded link clicks marked with a purple dot.
For each link click in the table, you’ll also see the following:
- TIMESTAMP: The time the link was clicked by the recipient
- EVENT: clicked
- RECIPIENT: The recipient’s email address
- ACTION: Link clicked
When you click on a clicked link event in the table, you can see more information regarding the event. For example, you can view relevant tags and the recipient’s geolocation, IP address, device type, and operating system.
Viewing Clicked Links in Analytics
To view general clicked-through rates, you can check your domain analytics. To get to the Domain Analytics page, click the Analytics option in the sidebar menu.
On the next page, you’ll see a percentage rate of the total number of links clicked out of the total number of emails sent from your domain.

Then, in the Report section, you’ll see a graph with your overall click-through rates represented in yellow.
That’s it! Now you know how to track link clicks in SendLayer.
Next, would you like to learn how to tell if someone has opened one of your emails? Check out our tutorial on tracking email opens for more information.