Would you like to send data from SendLayer to 3rd party apps?
Webhooks allow you to connect with other apps and stay notified about real-time events that occur when your emails are processed in SendLayer.
In this tutorial, we’ll show you how to add and delete webhooks in SendLayer.
Before getting started, be sure to:
What Are Webhooks?
Webhooks send real-time data from one application to another using HTTP POST requests that are triggered when specific events occur. This allows you to receive event information quickly without having to frequently poll data from an API.
You can use webhooks in SendLayer to stay informed about the events that occur when your emails are processed. To start using webhooks, all you need to do is specify the URL where you’d like to receive the data and choose an event to trigger your request.
Viewing Webhooks
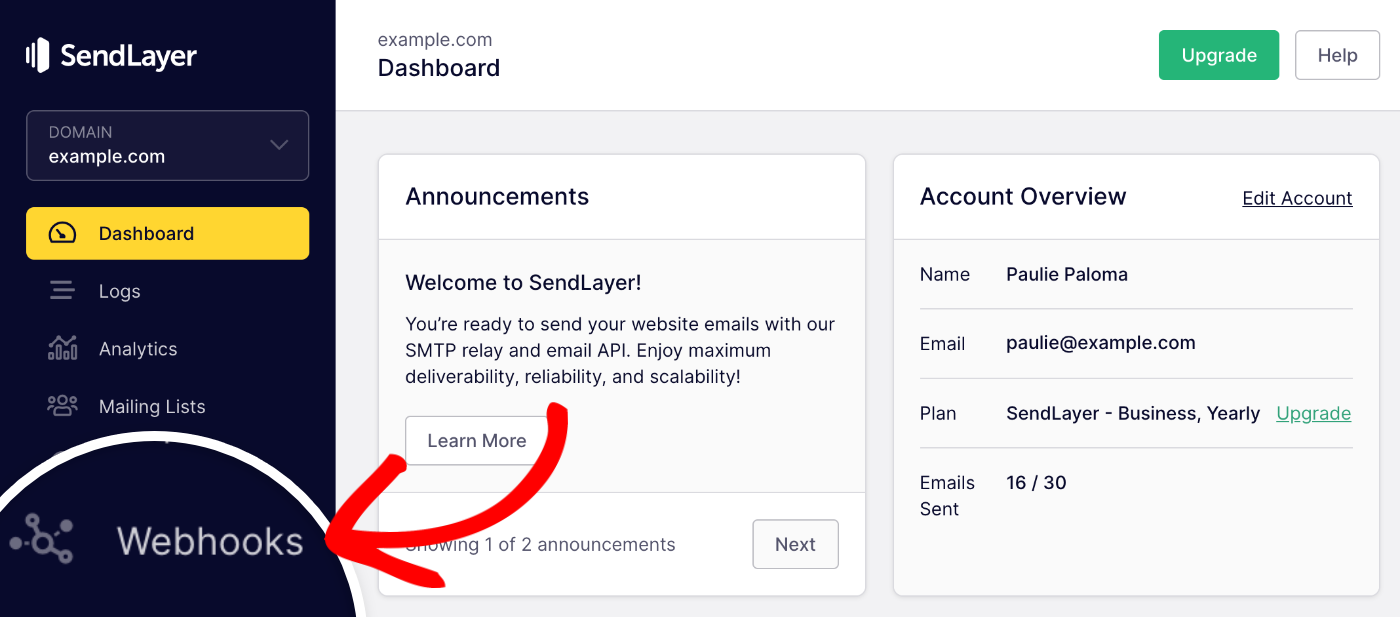
To view your Webhooks page, you’ll first need to log in to your SendLayer dashboard.
From here, click Webhooks in the navigation menu.
This will take you to the Domain Webhooks page. Here you can manage any webhooks that you decide to add.
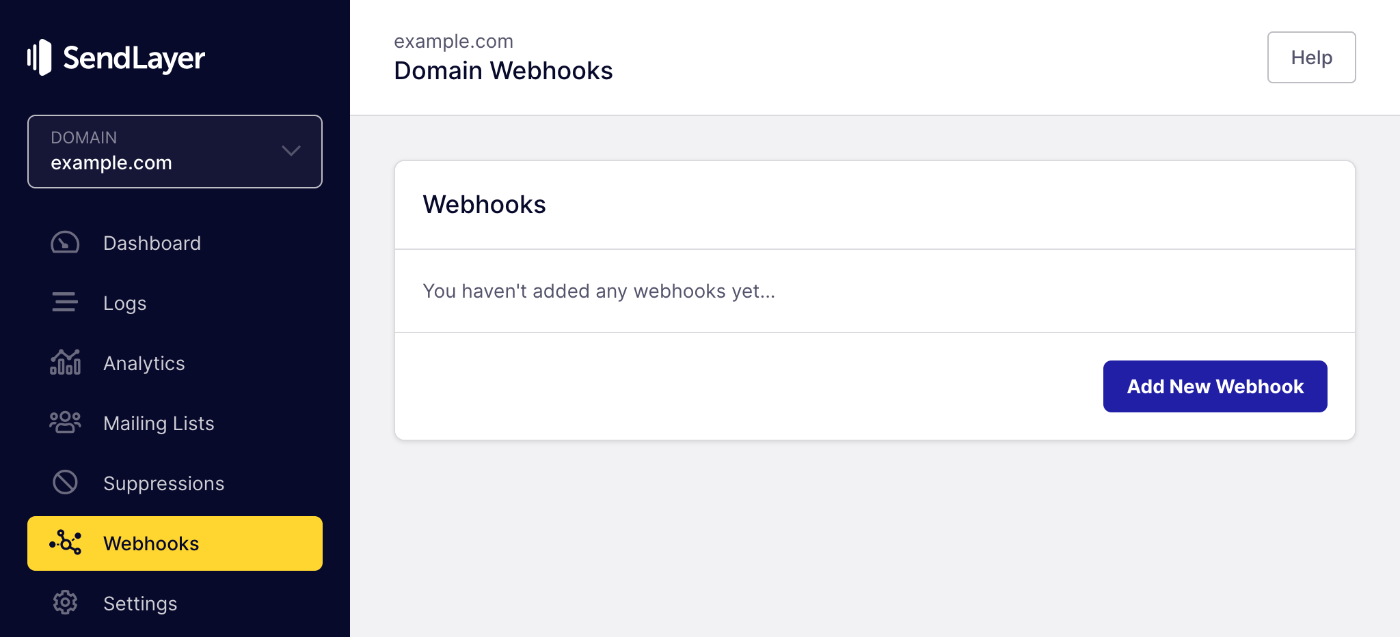
Adding Webhooks
To add a webhook, start by clicking the Add New Webhook button.

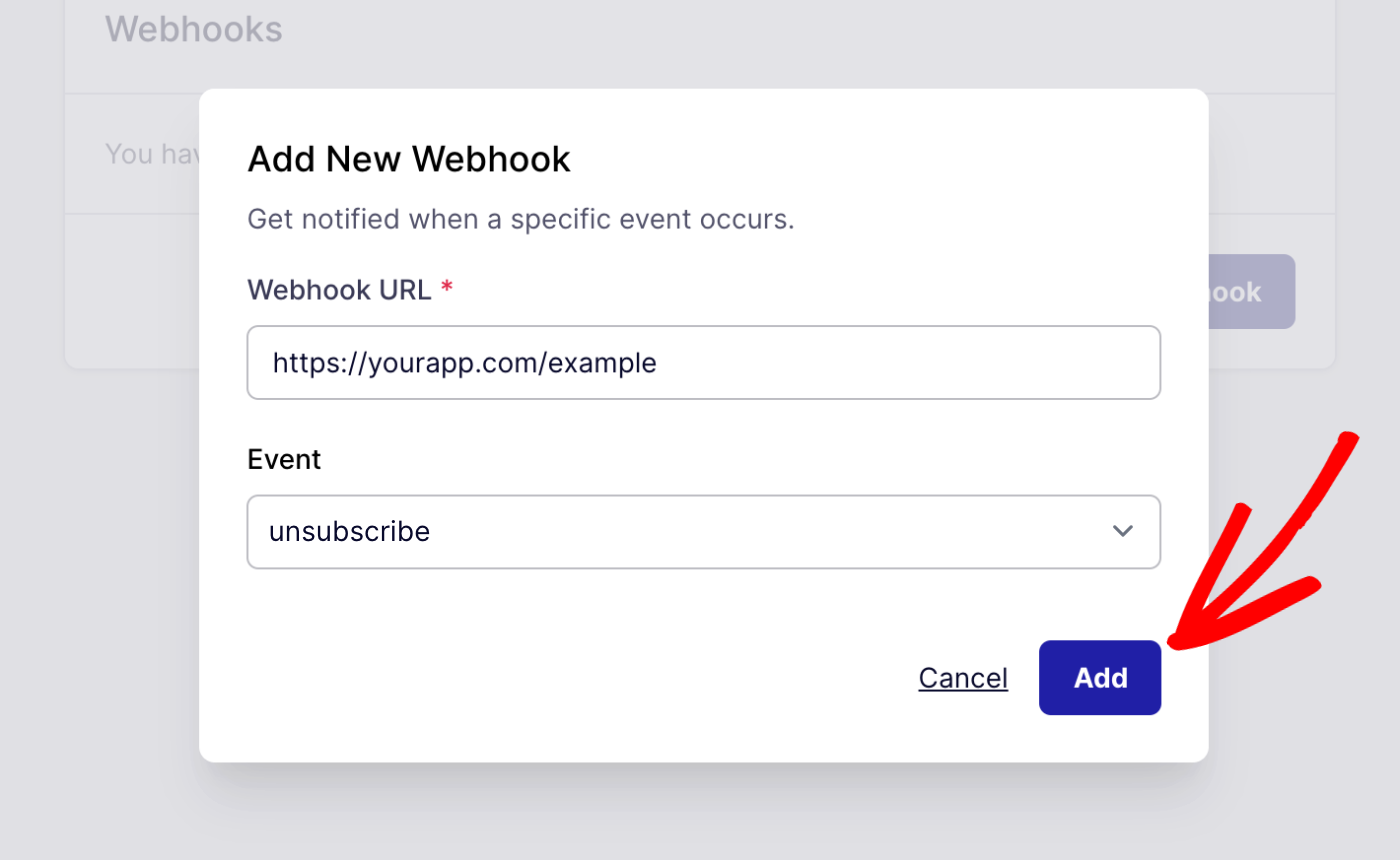
You’ll then see a popup where you can add details for your webhook. In the Webhook URL field, add the URL for the application you’ll be using to receive notifications when an event occurs.
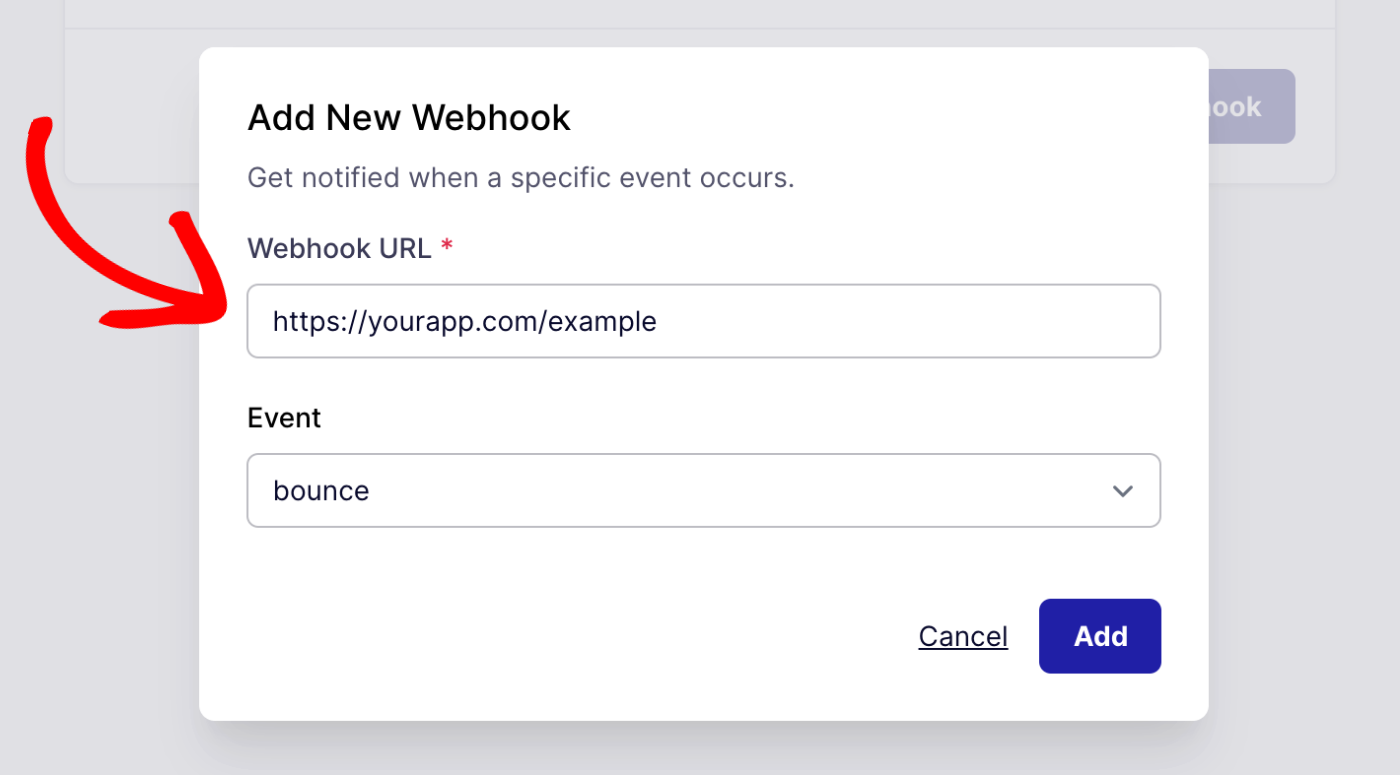
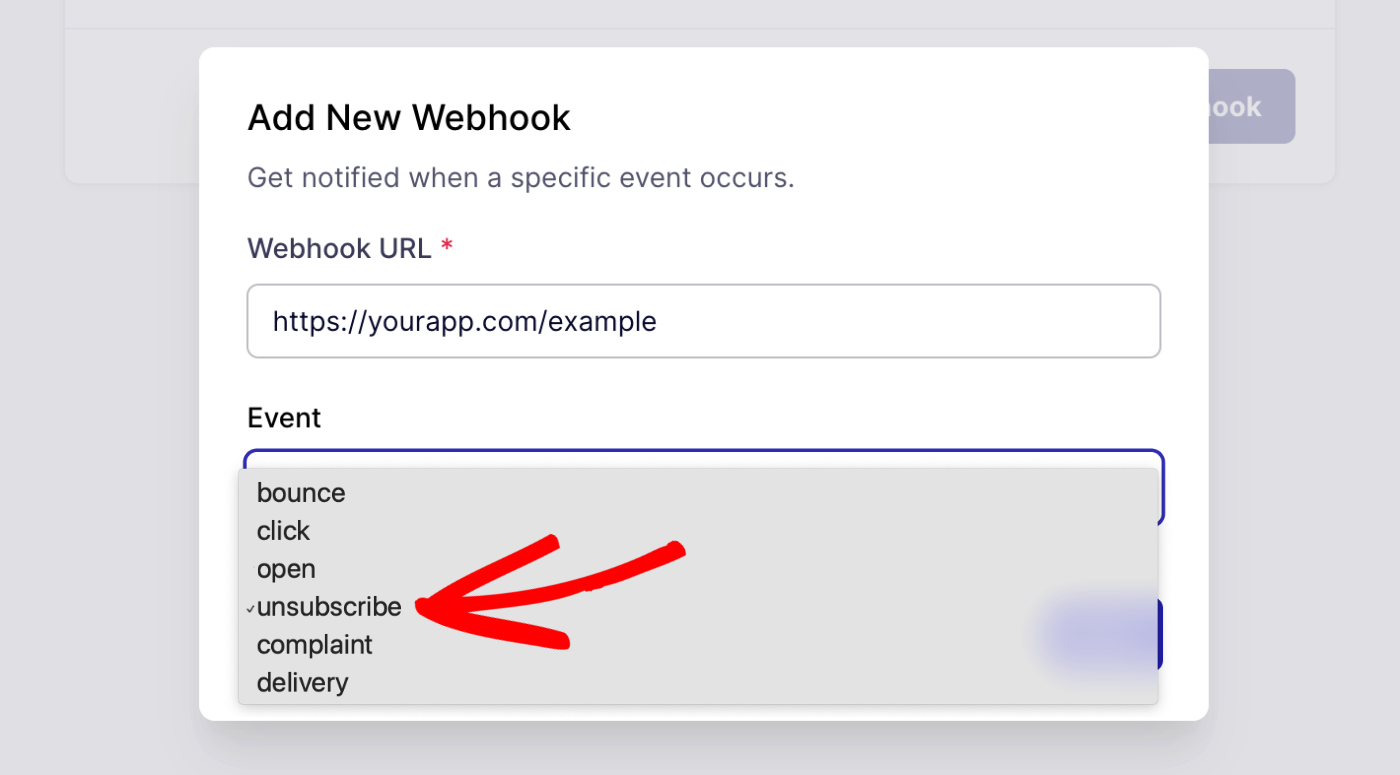
Then, click the Event dropdown to display the available events you can choose from.
Here is a list of the different webhook events and what they do:
- bounce: Notifies you when an email bounces.
- click: Notifies you when a recipient clicks a link within one of your emails. Click tracking must be enabled.
- open: Notifies you when a recipient opens one of your emails. Open tracking must be enabled.
- unsubscribe: Notifies you when a recipient unsubscribes from your email. Unsubscribe tracking must be enabled.
- complaint: Notifies you when a recipient marks your email as spam.
- delivery: Notifies you when your email is succesfully delivered.
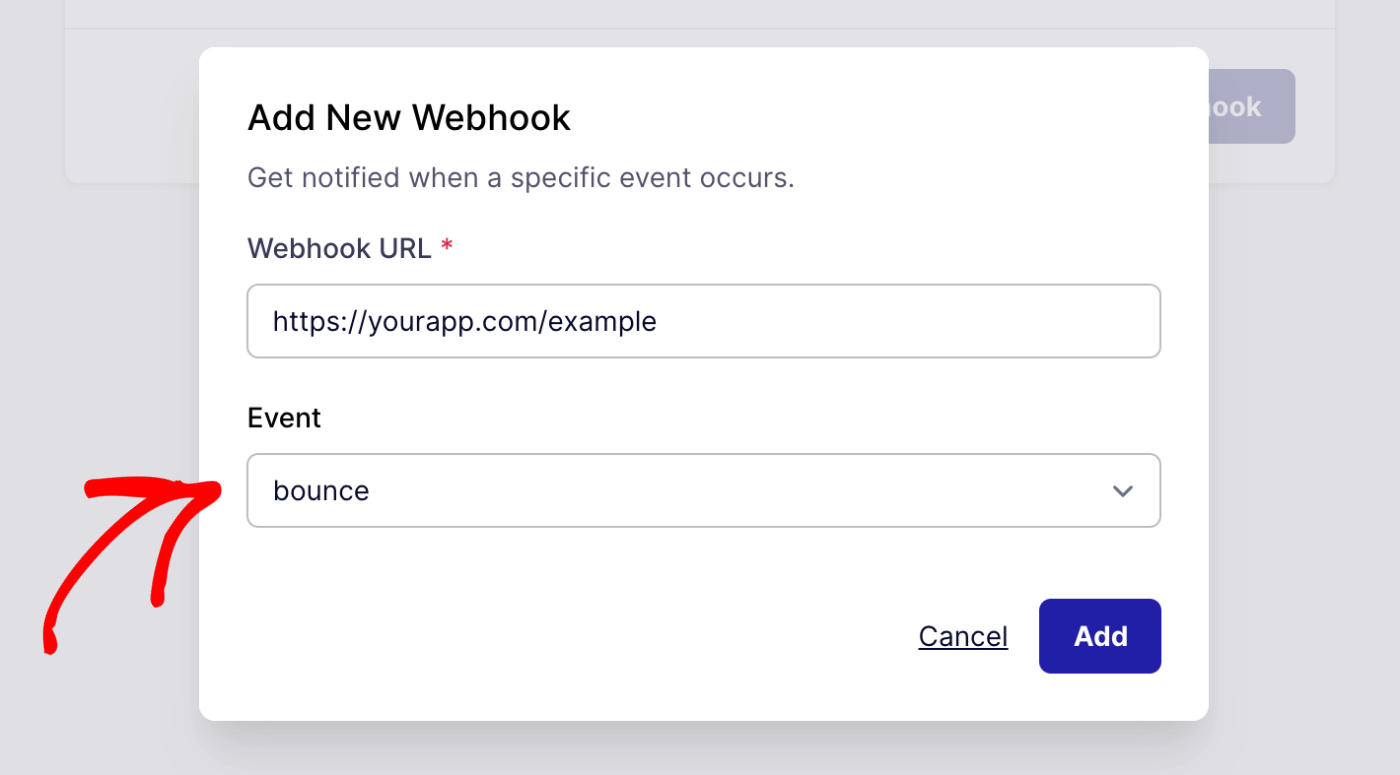
To choose an event, click on it in the dropdown list.
Once you’ve added your URL and selected an event, click the Add button to add your webhook.
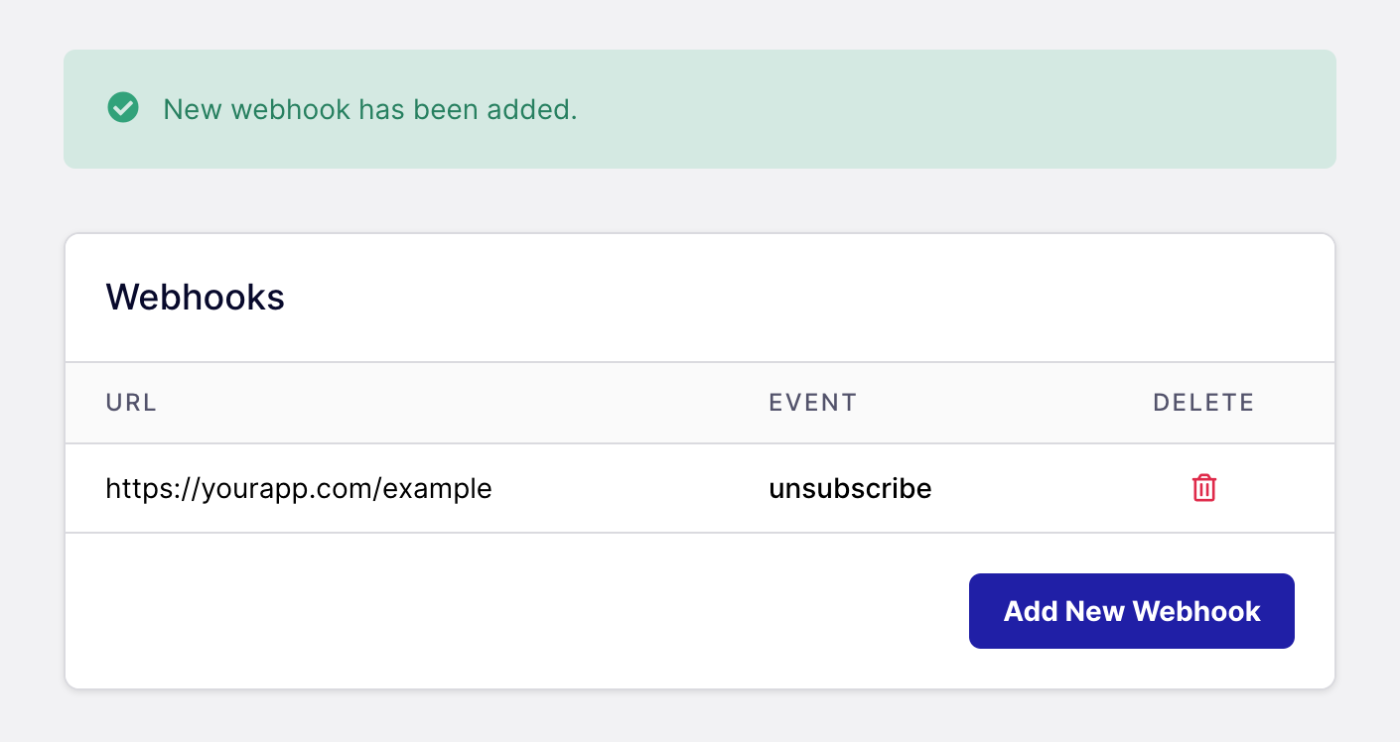
After you’ve successfully added a webhook, you’ll see it in the Webhooks table.
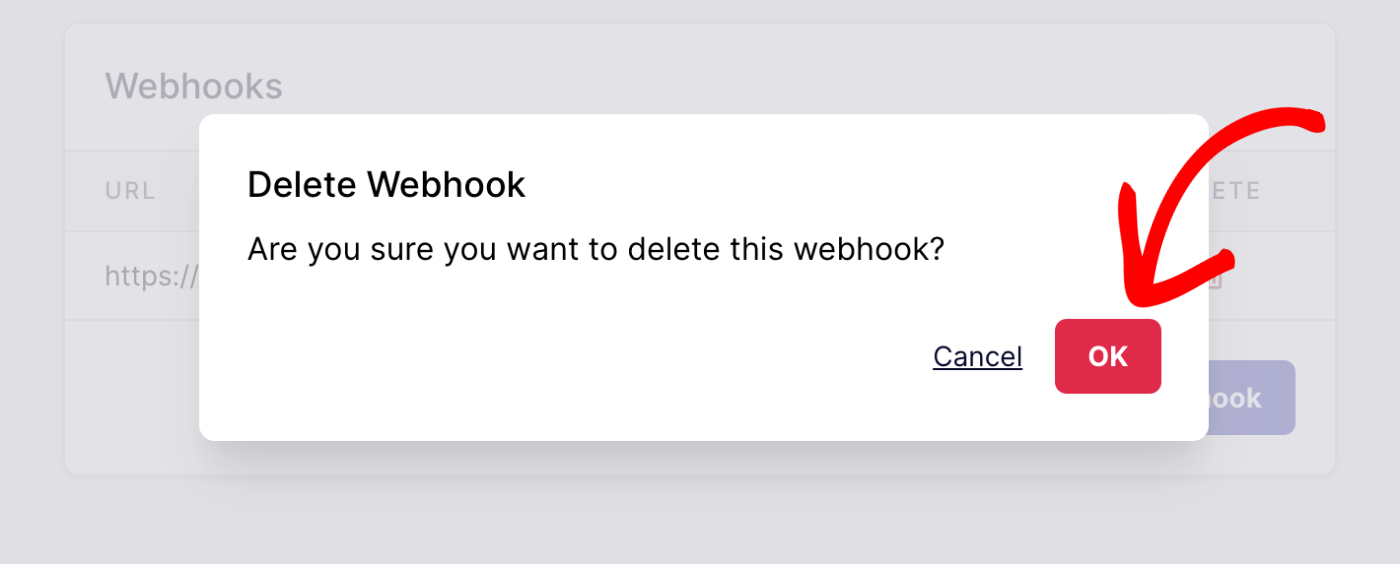
Deleting Webhooks
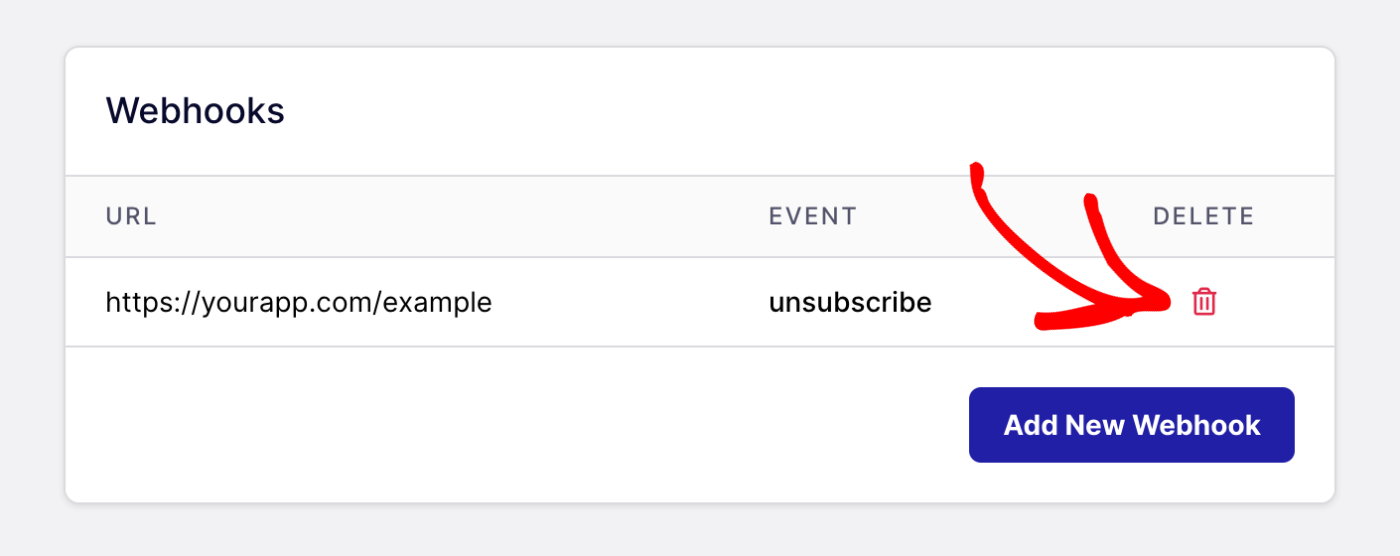
To delete a webhook from your SendLayer account, click on the trash icon in the table.
A popup will then appear asking if you’re sure you’d like to delete the webhook. Click the OK button to confirm the deletion.
That’s it! Now you know how to manage webhooks in SendLayer.
Next, would you like to learn how to view detailed information about the emails you send with SendLayer? Check out our tutorial on checking your email log for more information.