Do you want to set up custom SMTP for emails sent from your Shopify Marketplace?
Using a custom SMTP server to send outgoing emails from your Shopify store ensures you have full control over your emails and can improve deliverability. In eCommerce, it’s crucial to ensure your transactional emails reach their intended recipients, as they often contain important information relating to accounts and orders.
In this guide, we’ll walk you through the process of setting up a multivendor marketplace on Shopify. We’ll cover all the main steps, including configuring your email so that emails sent to your vendors or customers can be sent from your custom domain with an SMTP service of your choice.
Sounds good? Let’s get started.
Does Shopify Support Custom SMTP?
Unfortunately, the basic Shopify platform currently does not support custom SMTP.
When you’re setting up email in your Shopify account you have two options only:
- Set up email forwarding: This option will forward all admin emails from Shopify to an existing or new email of your choice. But emails sent to customers will come from a @shopifyemail.com sender email address.
- Use third-party email hosting: You can connect a Google Workspace (Gmail) or Zoho email account to your Shopify store. This will let you send emails directly from the Shopify-manged custom domain. You will have to add CNAME records to connect Shopify’s SPF and DKIM records to your domain to ensure your emails are properly authenticated.
Some third-party Shopify apps support custom SMTP. The good news is that if you want to build a multivendor marketplace similar to Etsy or Amazon on Shopify, you can use the Multi vendor Marketplace app, which does support custom SMTP for any mail server.
This means you’re free to use any email hosting service and choose SendLayer or another SMTP service provider to ensure optimal deliverability and management of your store messages from a custom email address.
How to Send Email From Your Shopify Marketplace With SMTP
If you already have Shopify set up and have the Multi Vendor Marketplace app installed, you can go ahead and skip to step 3 of this tutorial.
But if you’re starting from scratch, don’t worry – we’ve got you covered!
Let’s go ahead and kick off by signing up for a Shopify account.
1. Sign Up for Shopify
Shopify owns the largest share of the eCommerce platform market in the USA, accounting for 28% of all USA-based eCommerce stores at the time of writing.
Shopify’s simplicity and ease of use are the primary reasons for its success, along with the option to extend its basic functionality by installing various apps.
We’re going to turn our basic Shopify store into a fully-fledged multivendor marketplace with one of these apps in just a moment. But first things first: let’s get signed up to Shopify.
Shopify pricing starts from $25 a month but you can sign up for a free plan to try it out if you want to make sure it’s the best option for you before committing to a paid plan.
Head over to Shopify.com and click the Start free trial button.

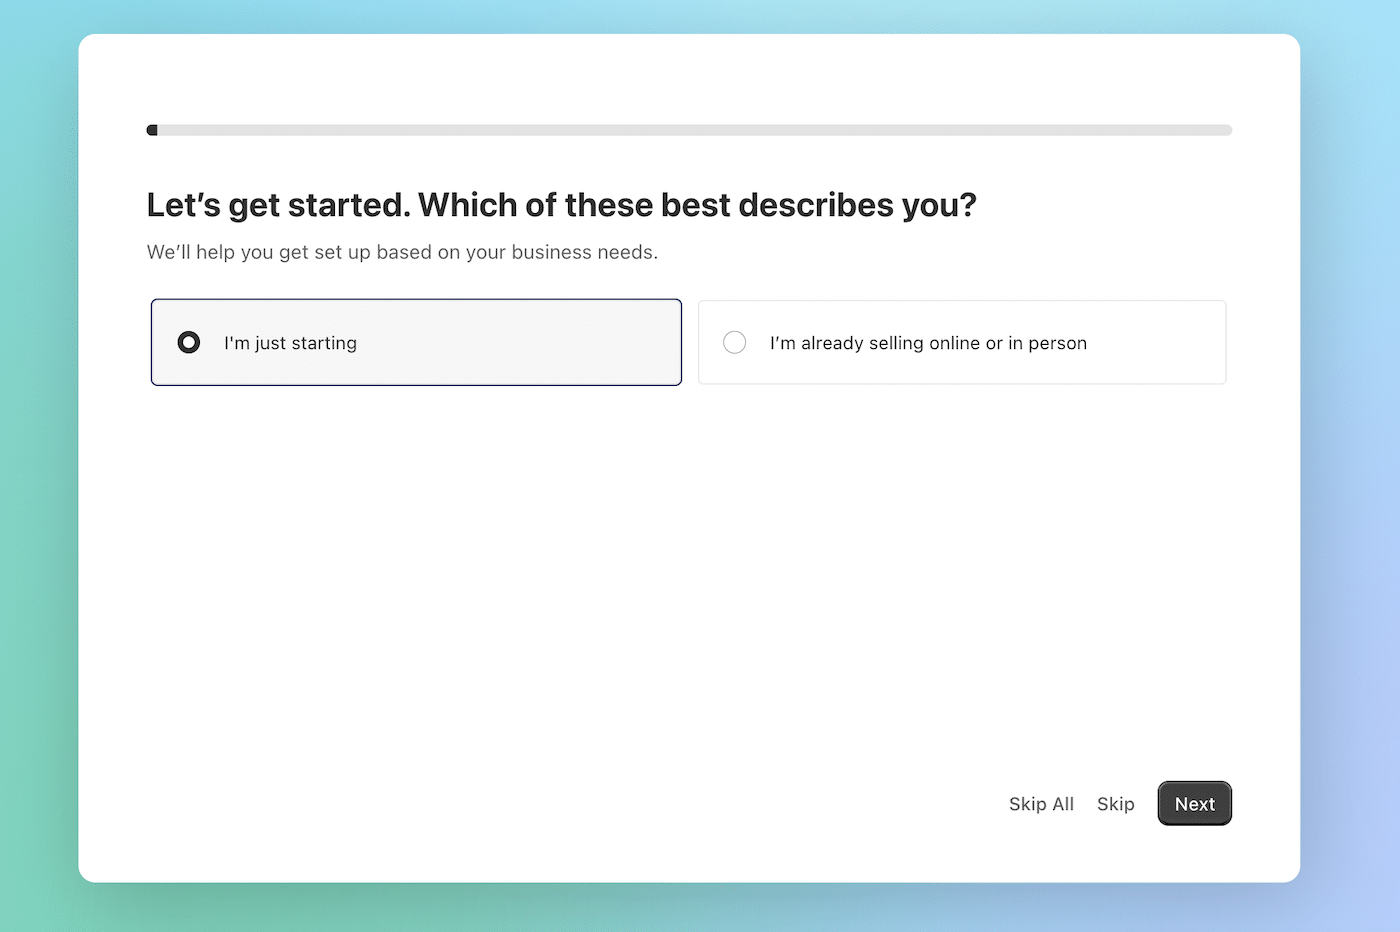
The Shopify setup wizard will ask a series of questions to help you set up your online store in a way that will suit your needs. Work your way through each step, clicking the Next button at each stage.
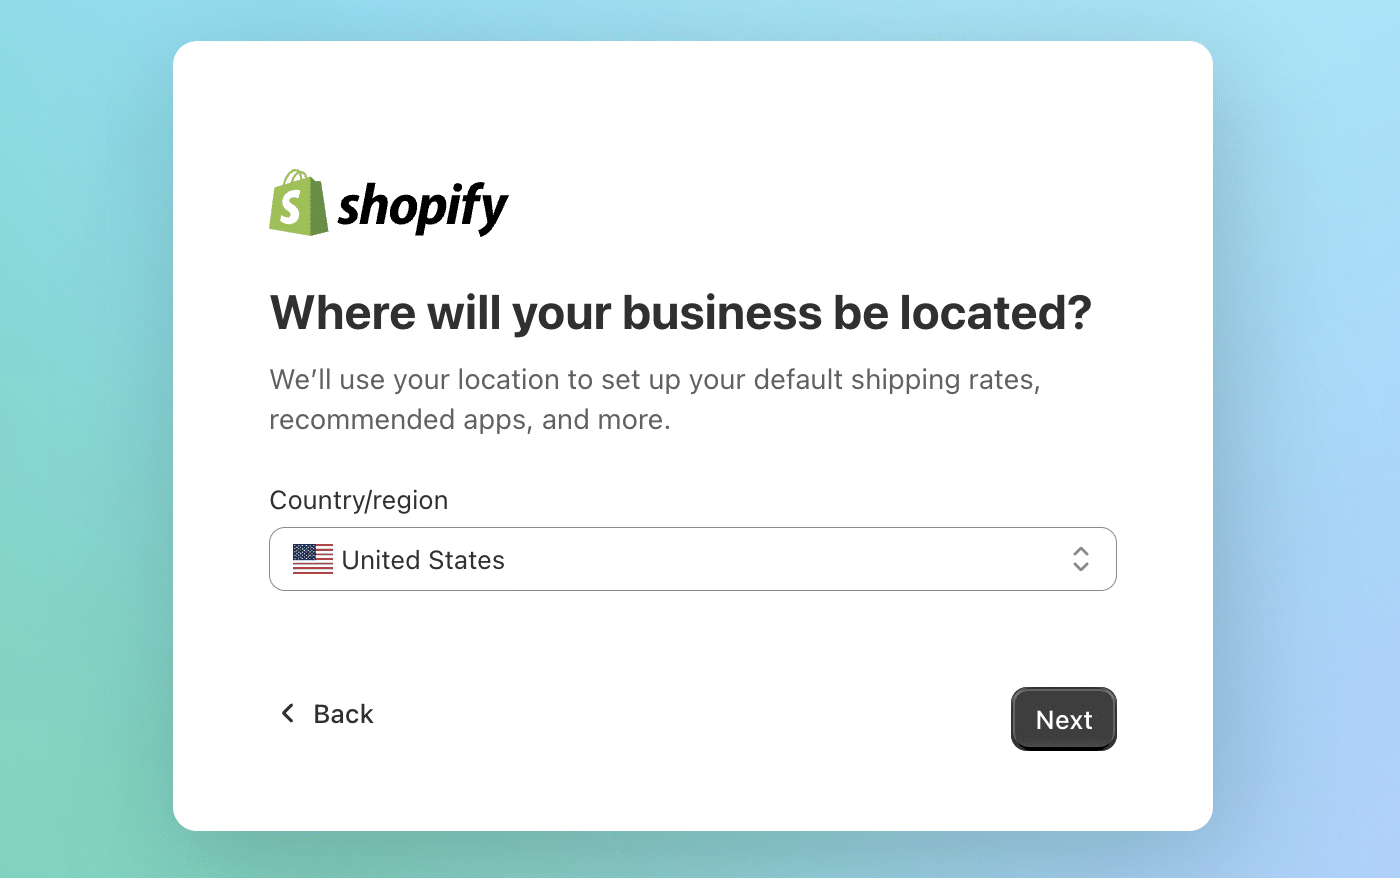
Confirm the location of your business to ensure shipping rates and other settings are configured correctly.
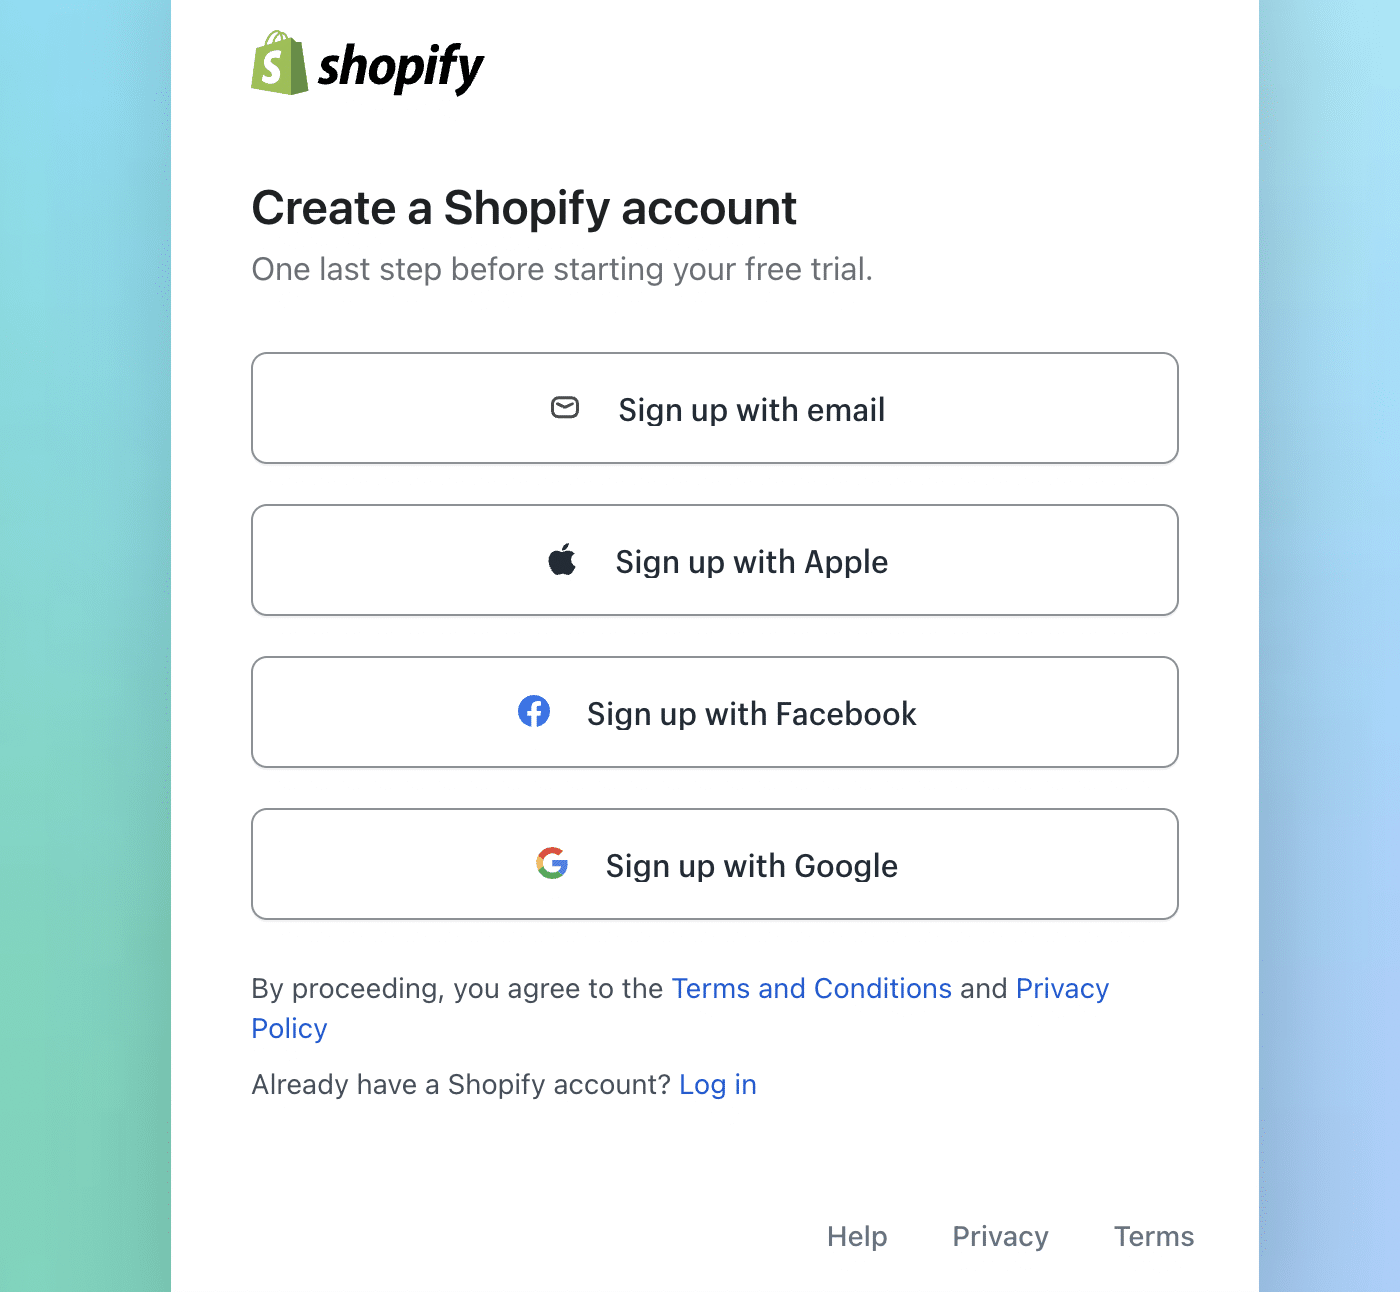
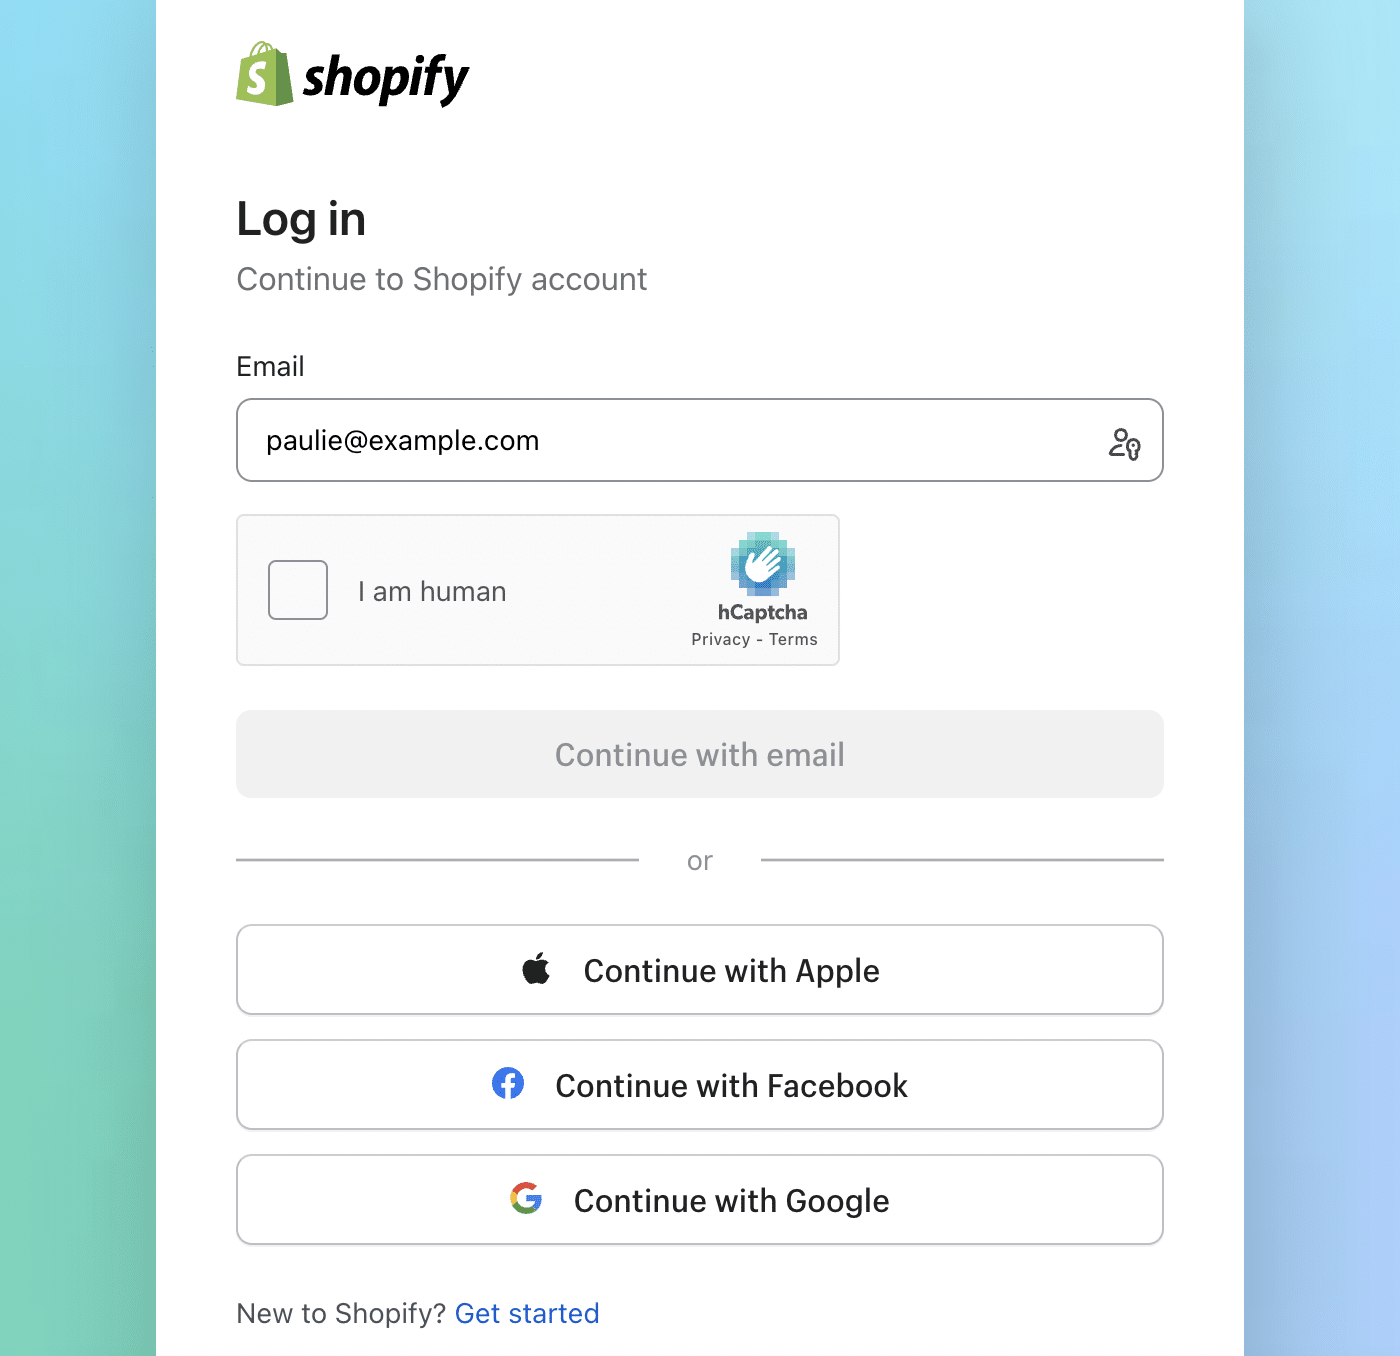
The final step is to create your Shopify login. You can either use an existing Apple, Facebook, or Google account, or create a new account with your email.
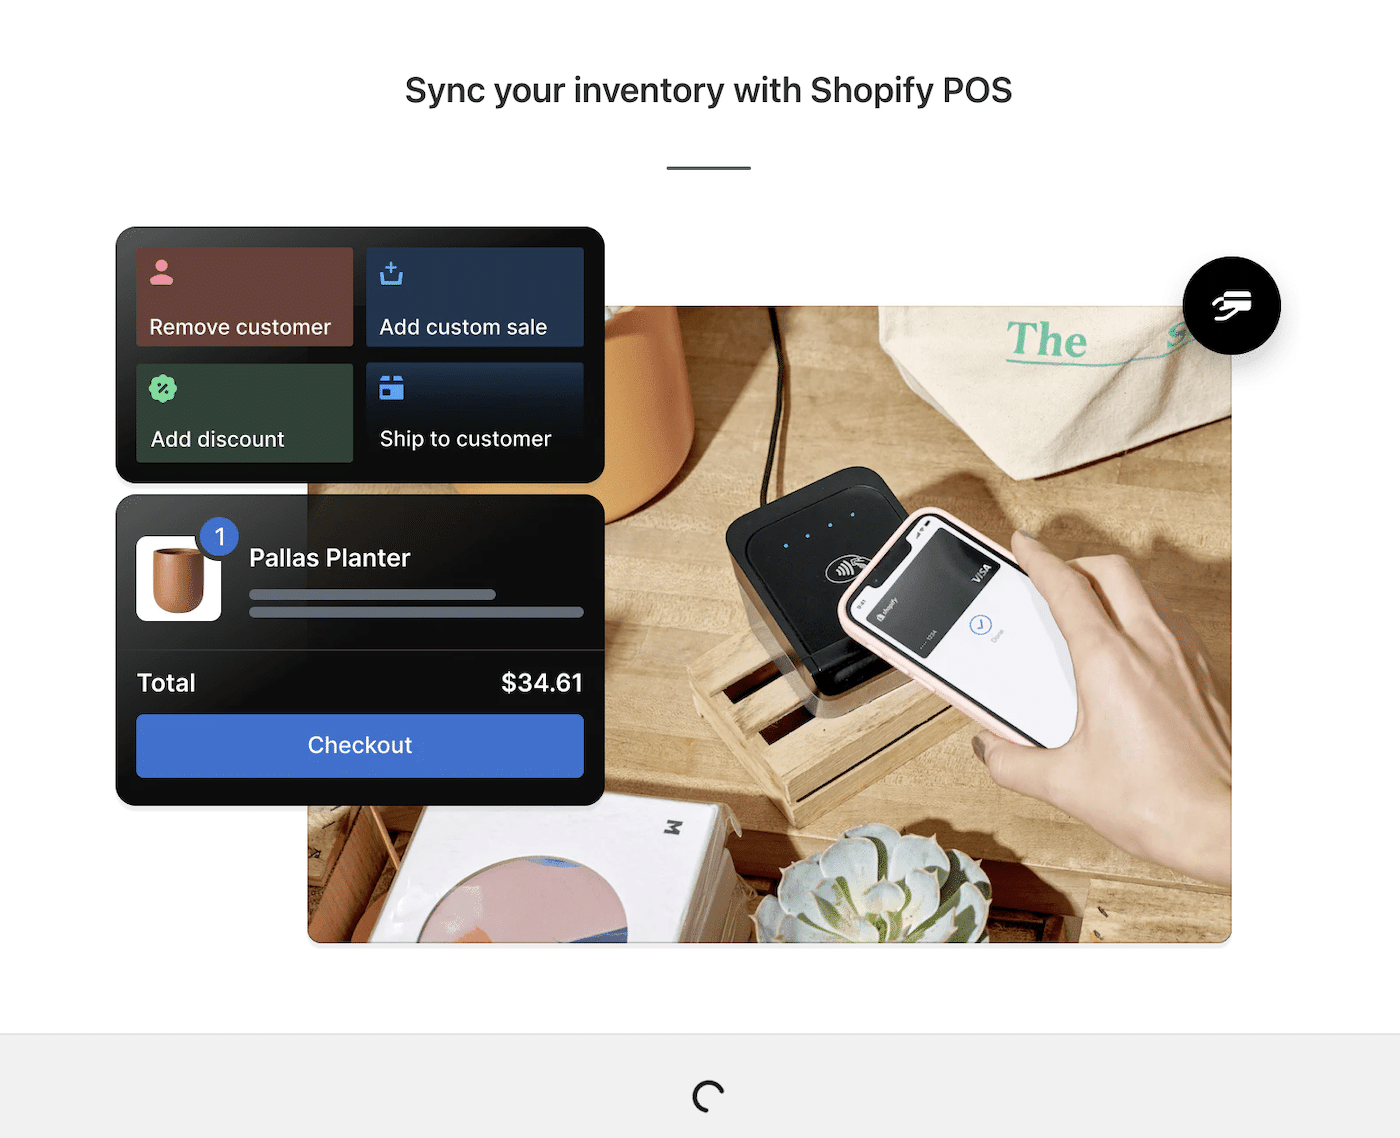
Shopify will showcase some of its main features while it’s setting up your new account.
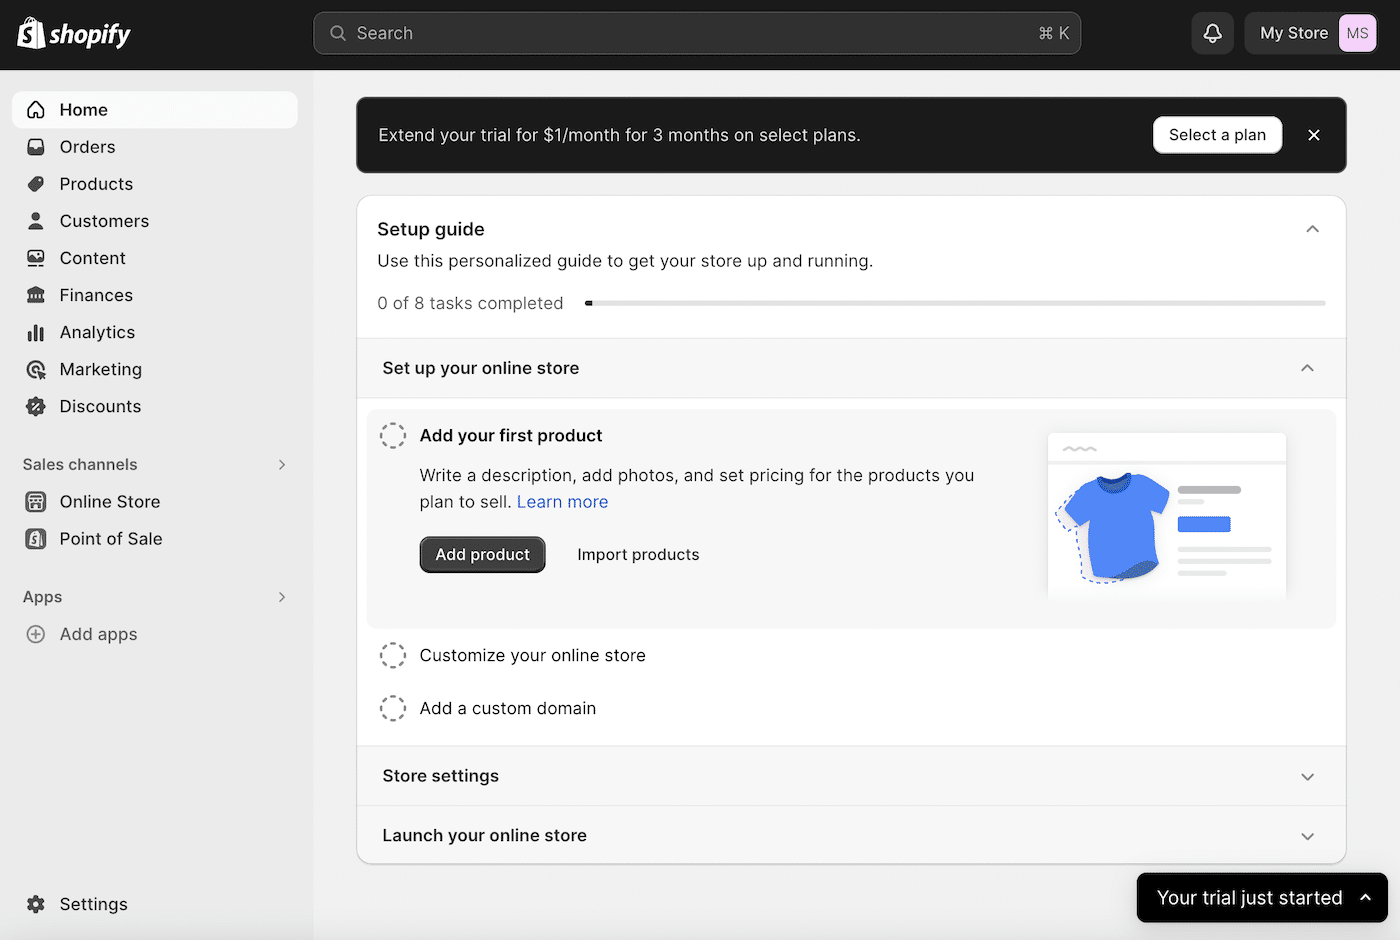
Once setup is complete, you’ll be taken to your store dashboard, where you can install apps and configure your online store settings.
Let’s go right ahead and upgrade our Shopify store to a multivendor marketplace.
2. Install the Multi Vendor Marketplace App
Head over to the Shopify App Store to find the Multi Vendor Marketplace app. This third-party app enables you to add sellers and monitor sales across your entire store.
Vendors can create their own profile and collection page, which acts as a storefront.
As a store owner, you have the freedom to set a global or individual commission for each seller.
This app also has a free trial available, and after the free trial, plans start at $10 a month.
Go ahead and click the Install button to get started.
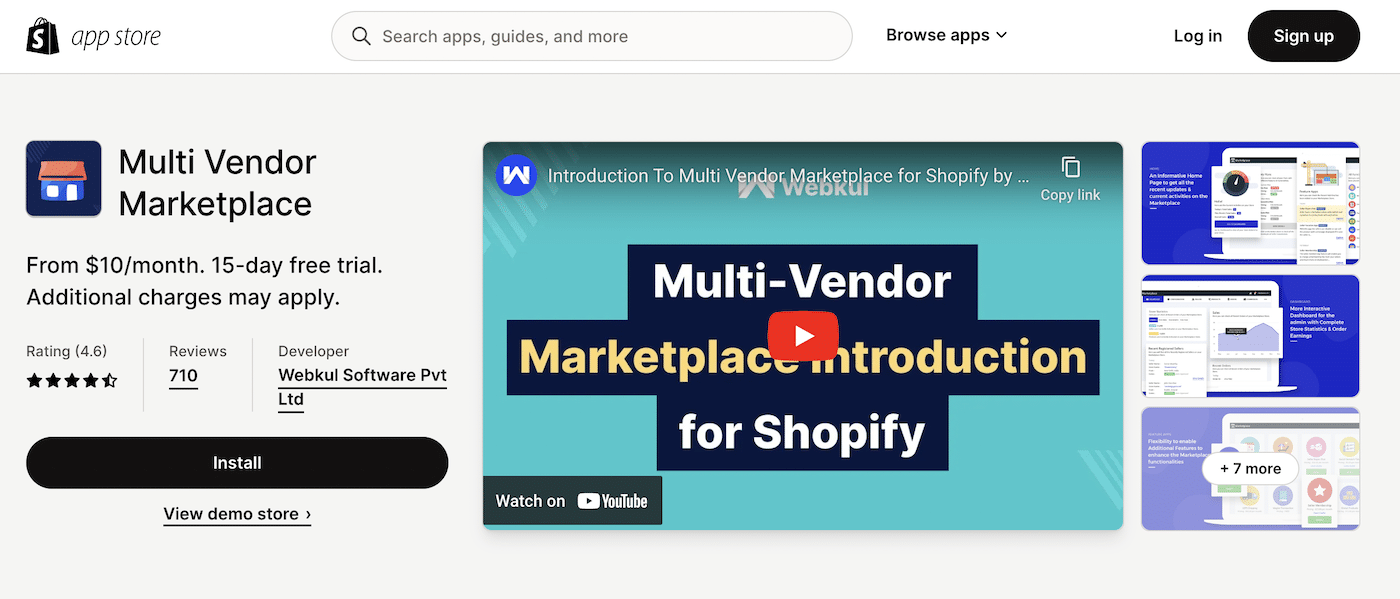
When you log into your Shopify account, the app will be automatically installed in your store.
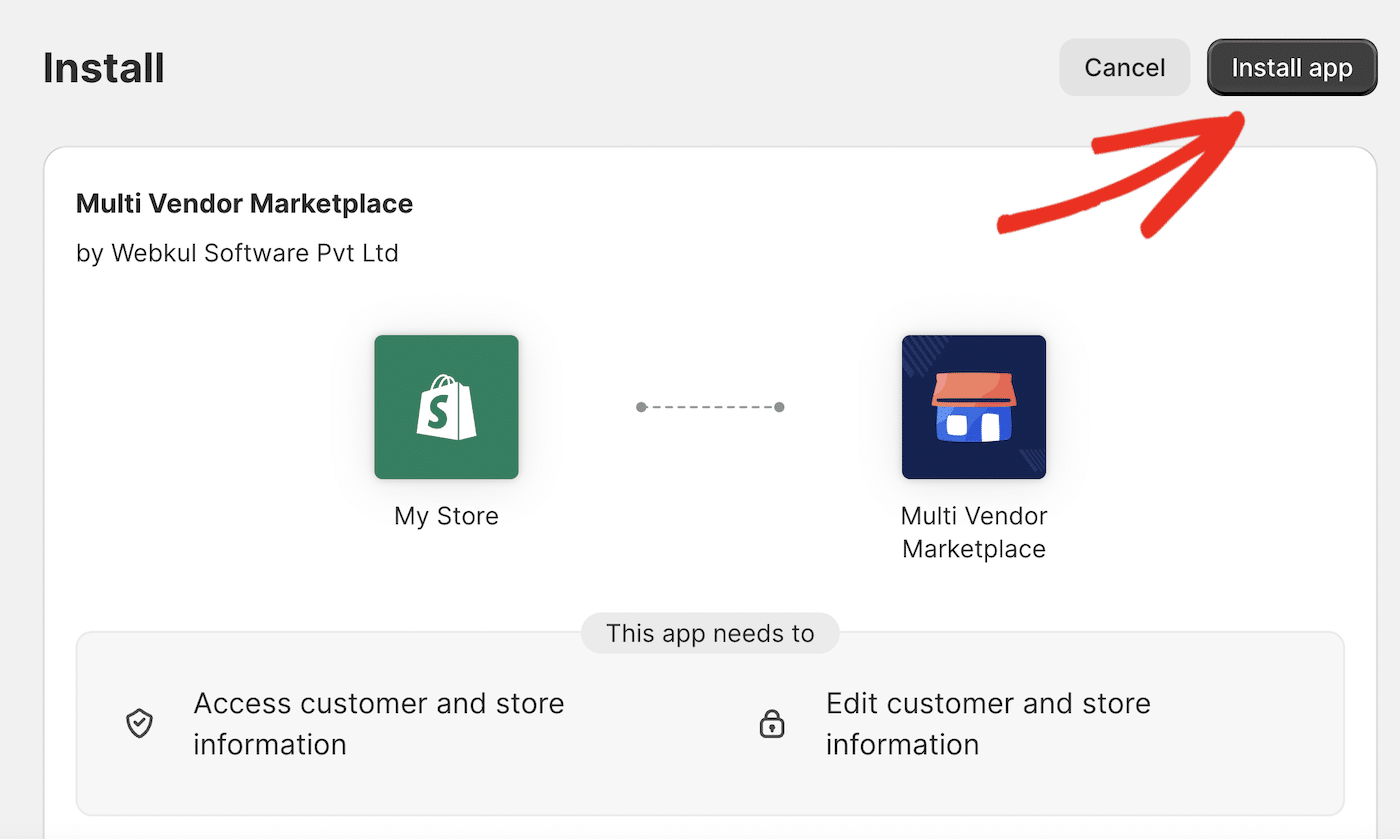
Confirm the app permissions and click the Install app button.
Choose the plan that will suit you best and click the Buy Plan button.

Finally, add a payment method and click the Approve button. You won’t be charged until the end of your free trial.
After confirming your payment method, the Multi Vendor Marketplace app will be installed and ready to use.
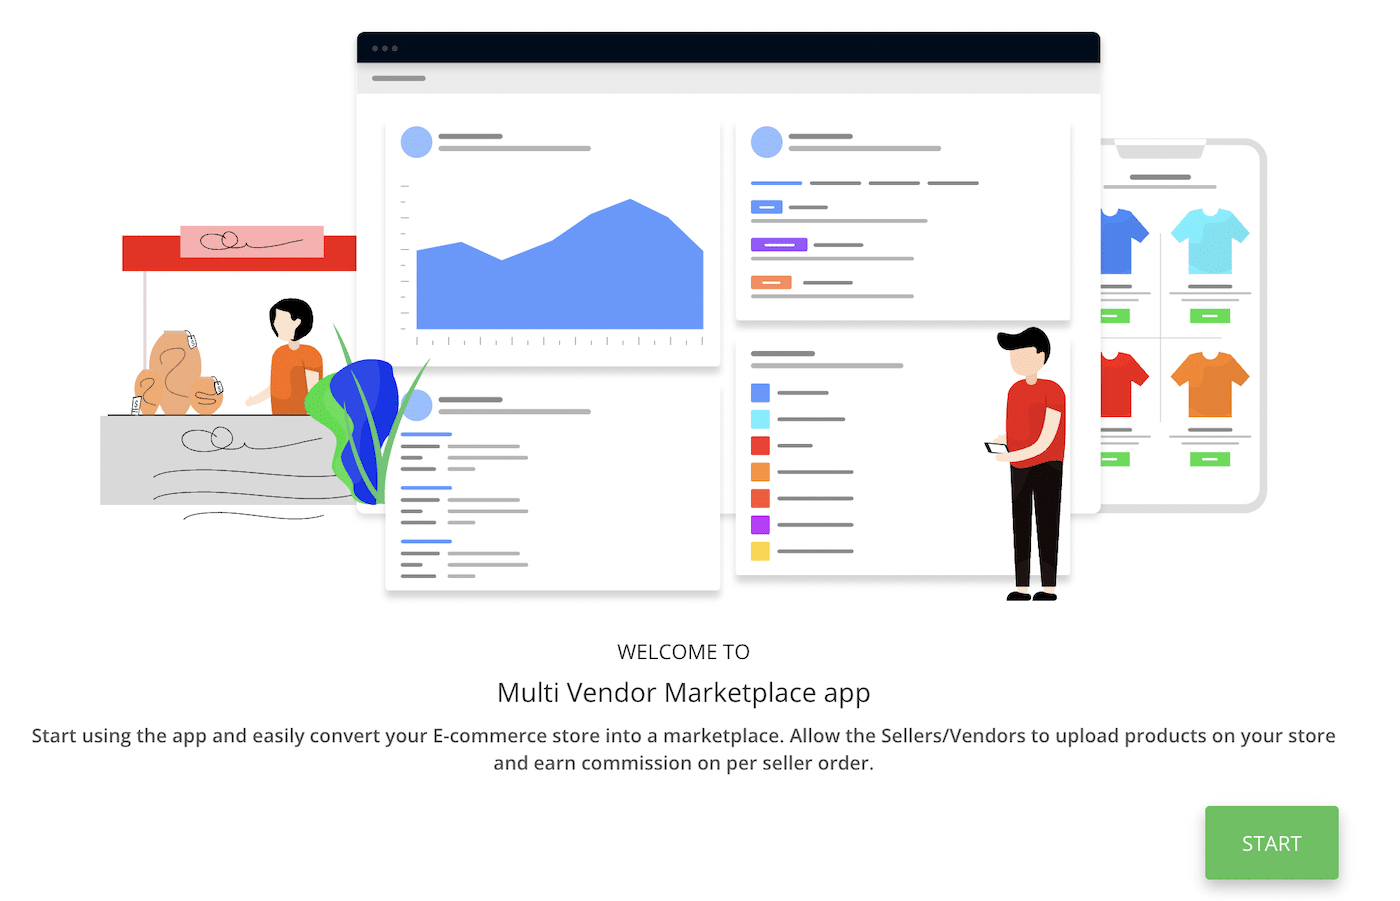
Before you can set up custom SMTP, you’ll need to confirm the email address you want to use for receiving notifications and sending emails from your Shopify store.
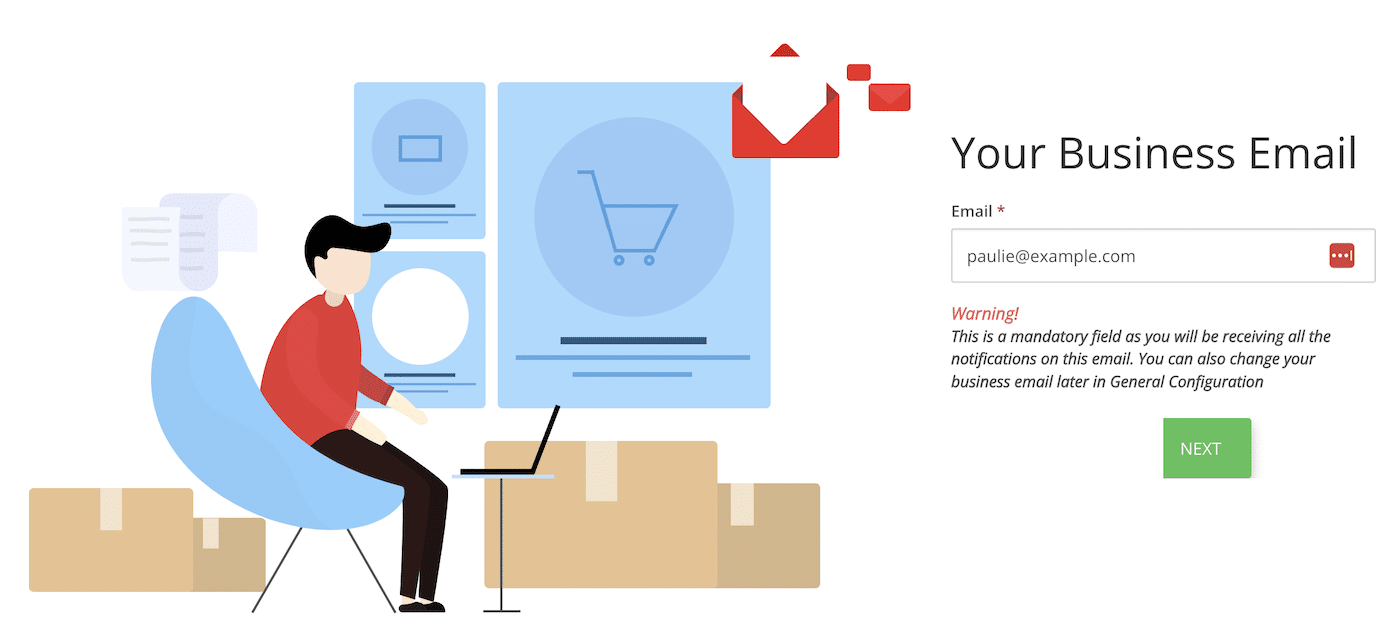
Congratulations! You’re well on the way to running your very own online marketplace. Before delving into the store configuration further, let’s get your email set up correctly with custom SMTP.
3. Set Up Custom SMTP
The settings for the Multi Vendor Marketplace app are located externally from your Shopify store. To access them, navigate to Apps » Multi Vendor Marketplace in your Shopify admin dashboard. This will open a new browser tab and take you to your seller dashboard.
You can access your SMTP settings in the menu by navigating to Mail Configuration » Mail SMTP.
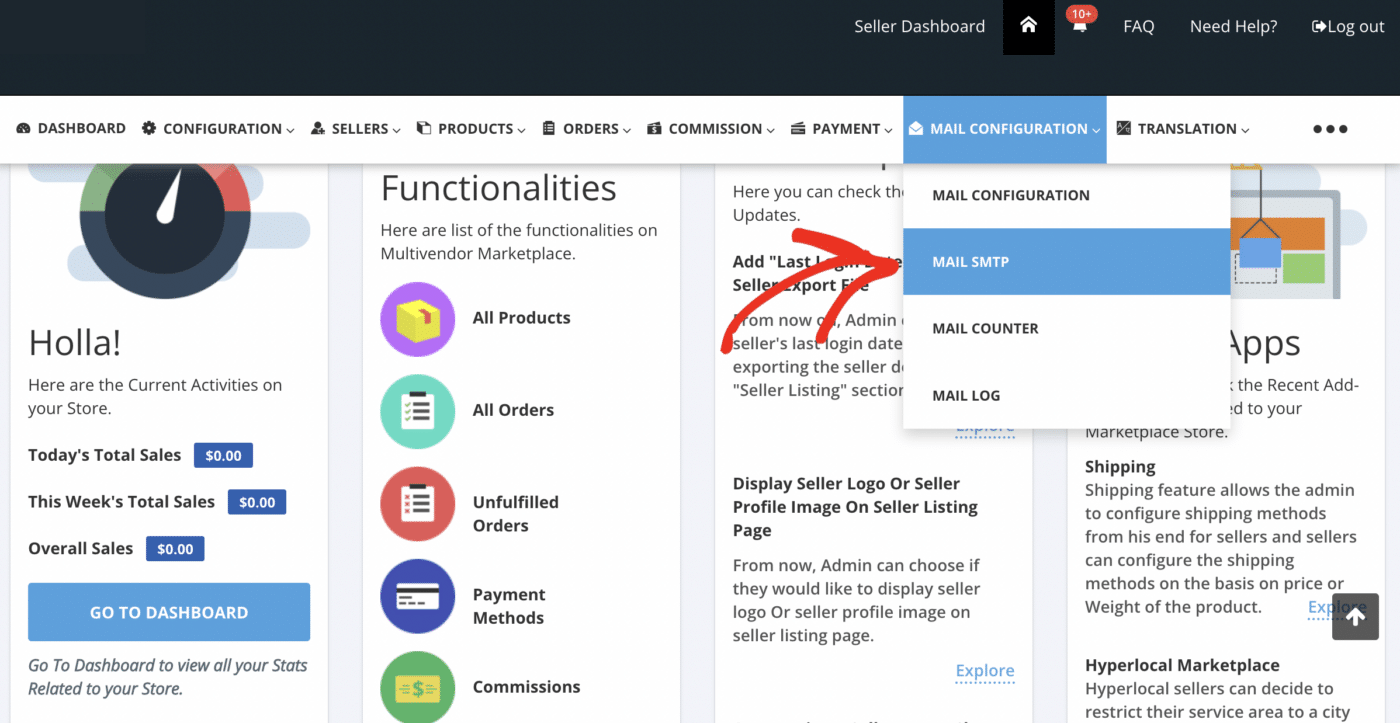
Here, you can fill out the SMTP settings provided by your SMTP service provider.
If you do not already have an SMTP service provider, you can sign up with SendLayer and try out the service with 200 free emails.
SendLayer is built to be the most reliable email delivery platform. As well as superior email deliverability and authentication, SendLayer includes lots of useful features such as detailed email logs, open and click analytics, suppression lists, and more.
For help on getting started with SendLayer, follow our guide on creating a new account and authorizing your domain.
Once your domain is authenticated, you’re ready to start using SendLayer’s SMTP service to send your Shopify marketplace emails.
You’ll find the information you need in your SendLayer dashboard. Navigate to the Settings page, and find the credentials under SMTP credentials.
Now, all you need to do is copy the credentials from SendLayer to your Multi Vendor Marketplace dashboard.
Fill out the settings as follows:
- SMTP Host: smtp.sendlayer.net
- SMTP Username: Copy and paste the username from SendLayer
- Password: Copy and paste the password from Sendlayer
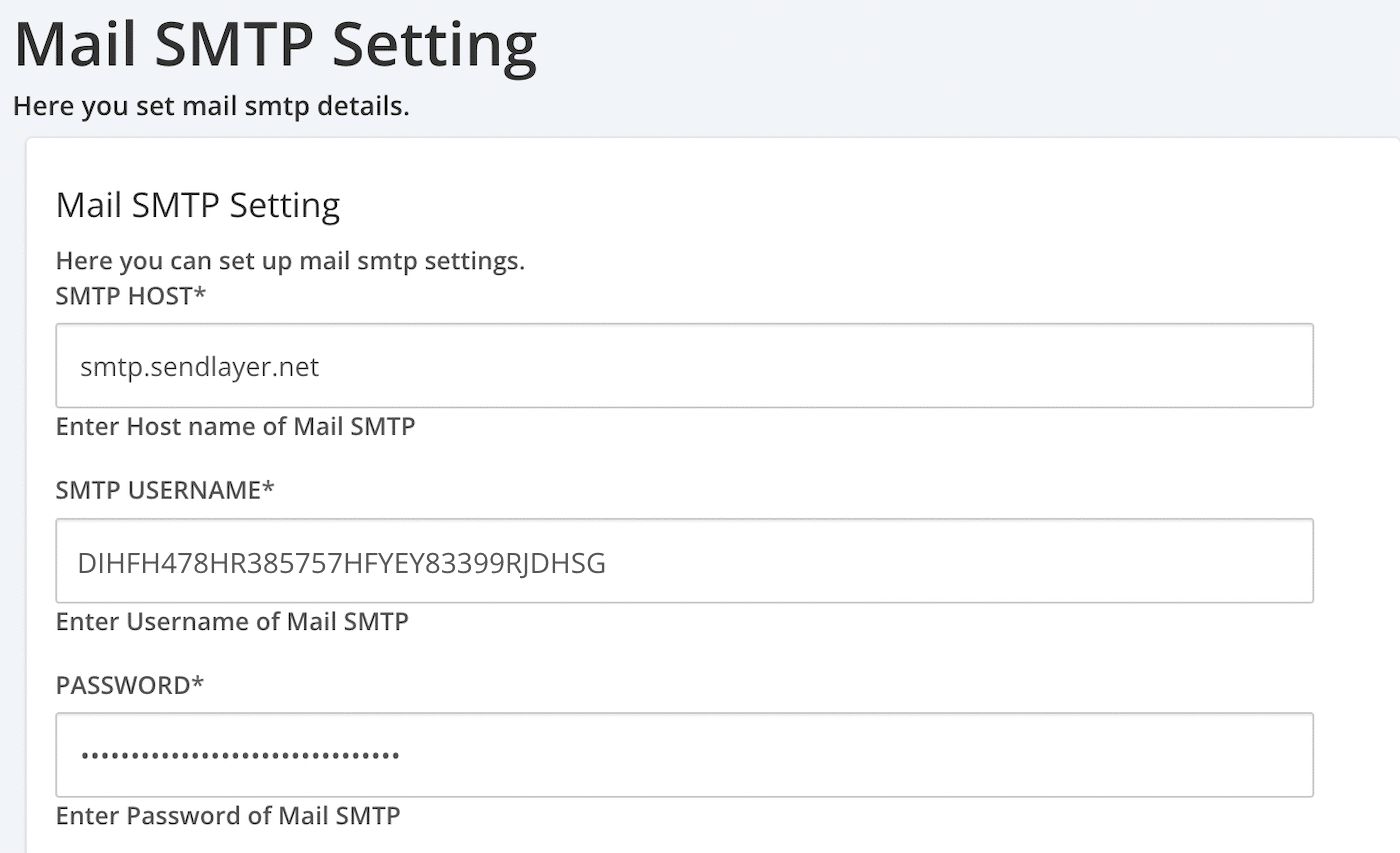
Scroll down to continue entering SMTP settings:
- Email From: The email address you want your store emails to be sent from (this should match the domain you’ve already authorized in SendLayer)
- From Name: The name you want to appear in the From field of your emails
- Reply to: The email address customers or vendors should reply to
- SMTP Type: TLS
- SMTP Port: 587
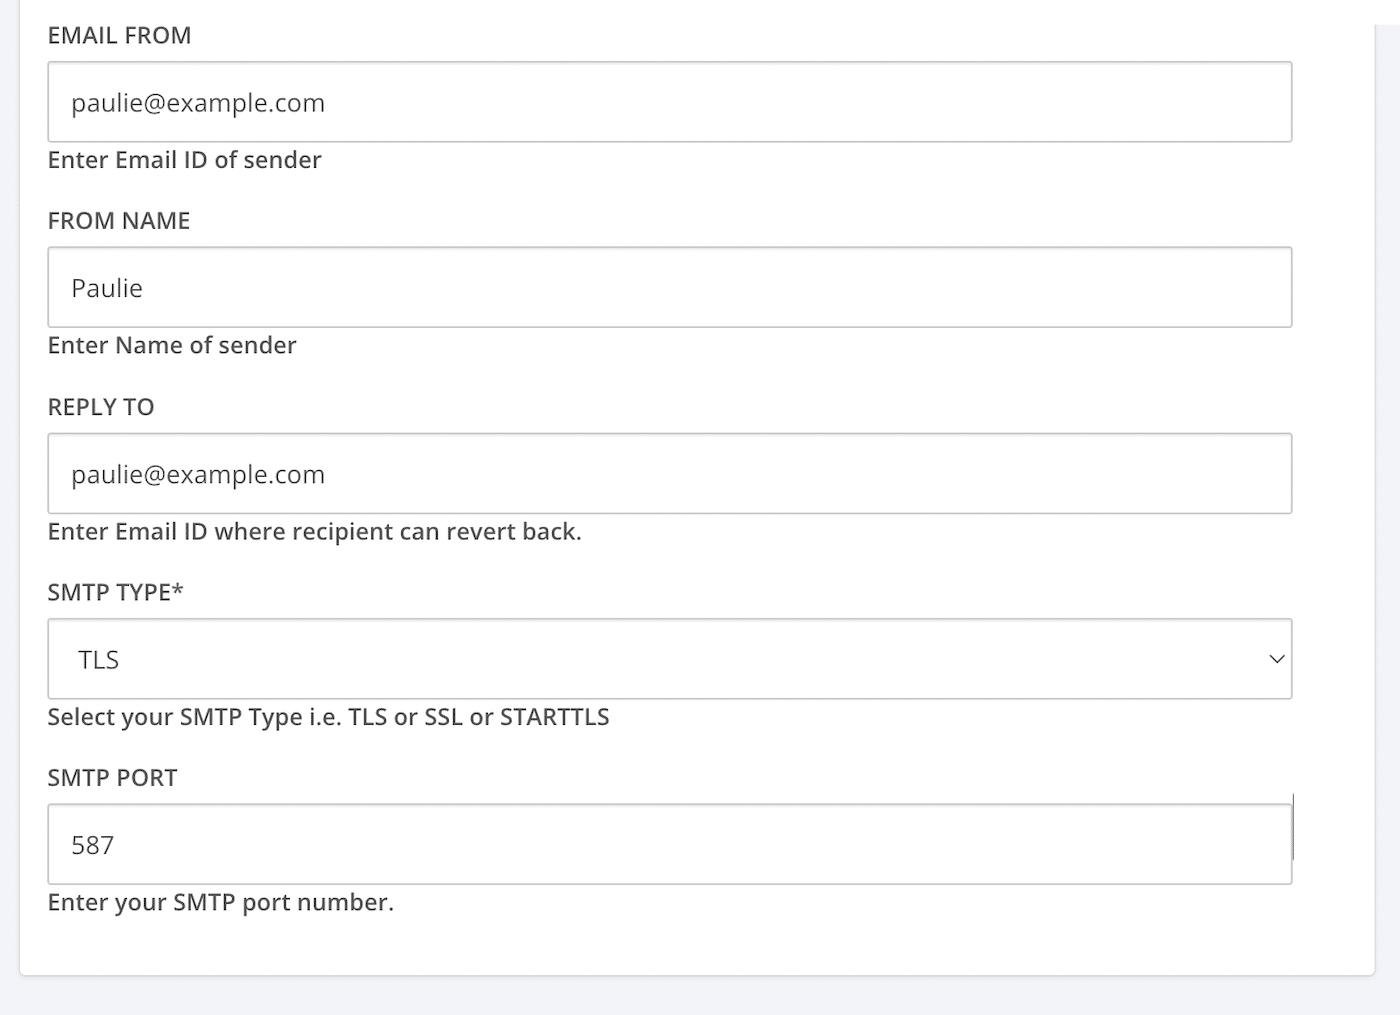
When you’ve finished entering your SMTP credentials, make sure to click the Save button to save your settings.
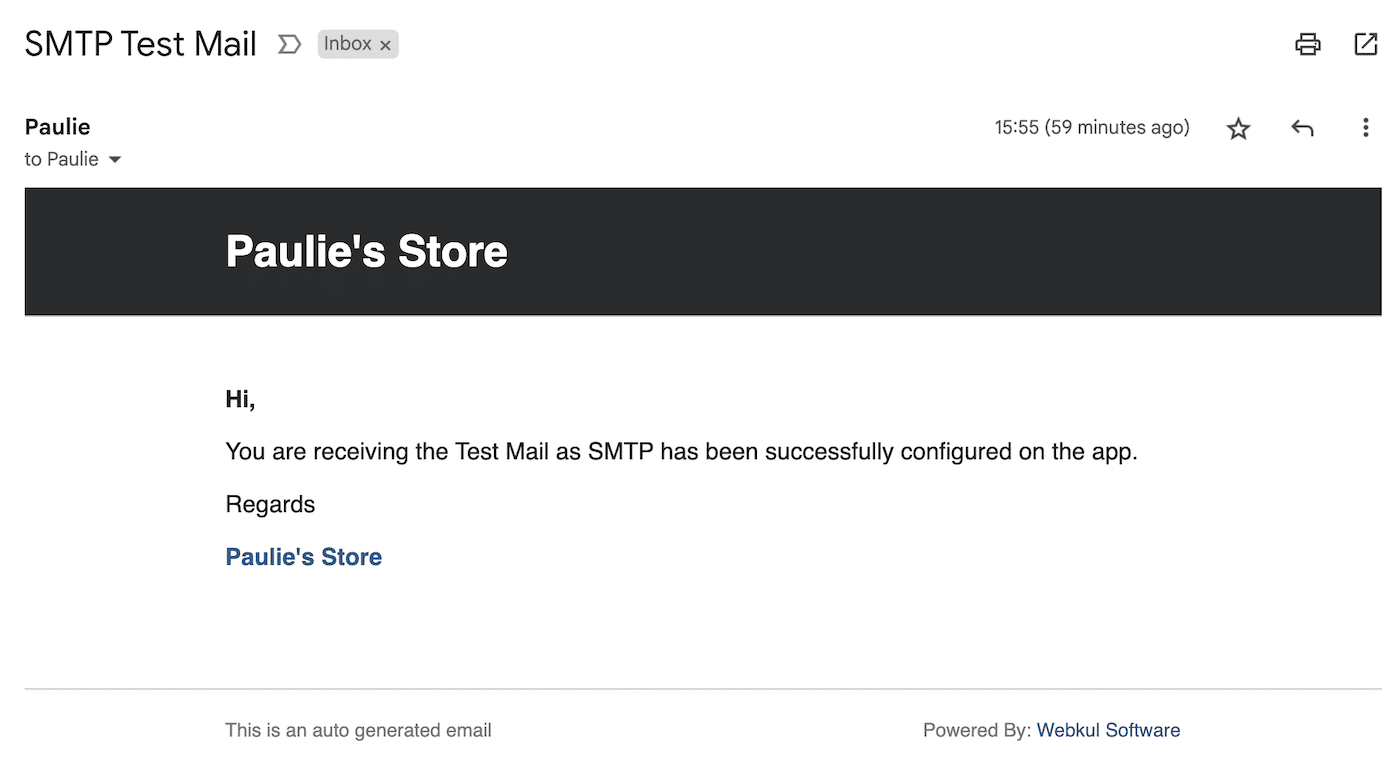
You should receive a test email confirming everything is set up correctly.
4. Configure Your Marketplace Settings
Now your Shopify marketplace is set up to use custom SMTP, you can go ahead and set up the rest of your store.
Start by adding some sellers to your store. You can do this by navigating to Sellers in your dashboard menu and clicking the Add Seller button.

This will take you to a page where you can manually add sellers to your store. You can also set up a page so sellers can sign up by themselves if you wish.
Fill out the details of the seller including name, shop name, email, address, and store description, and click the Create Account button.
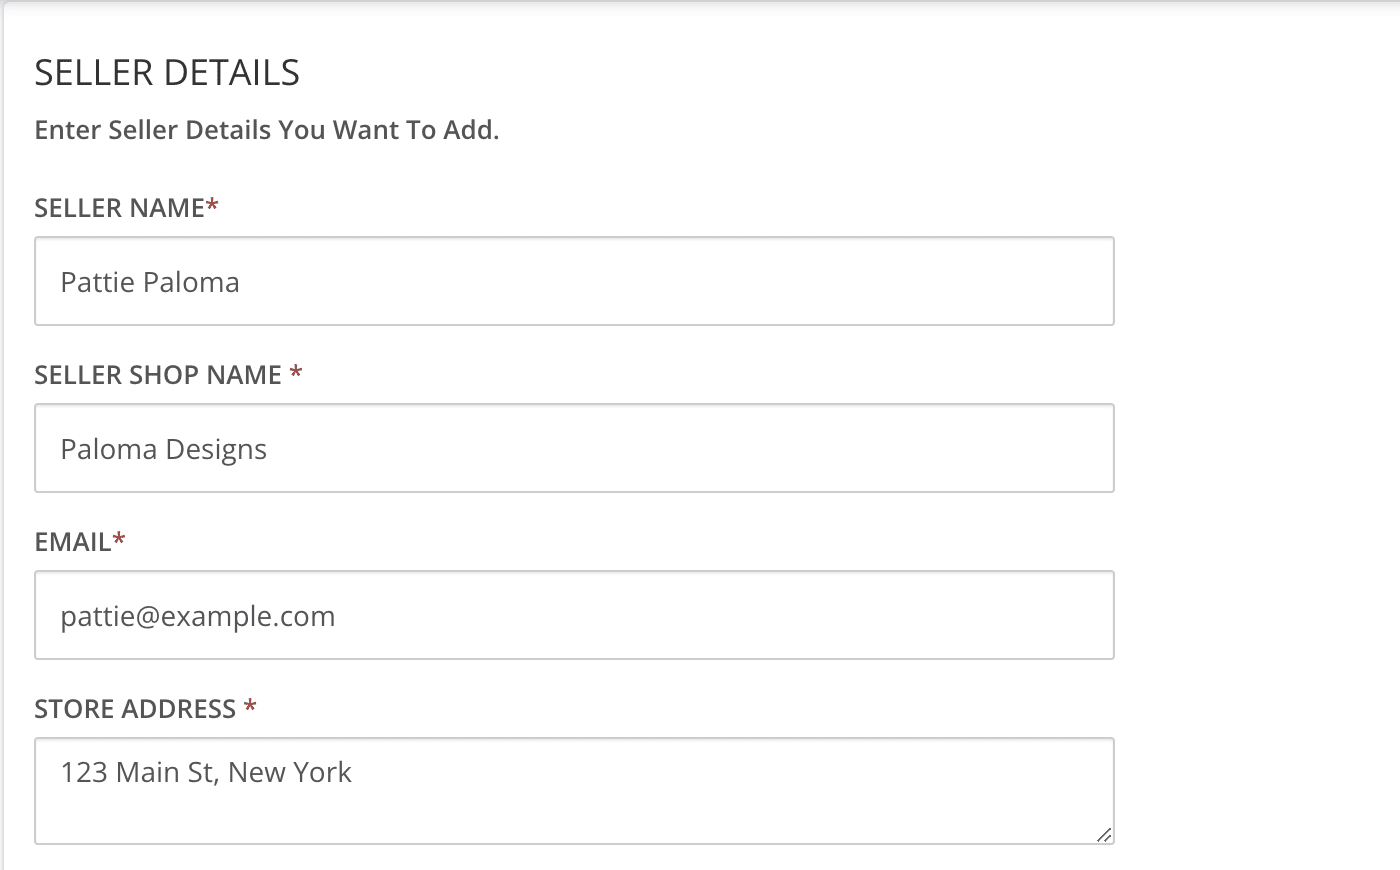
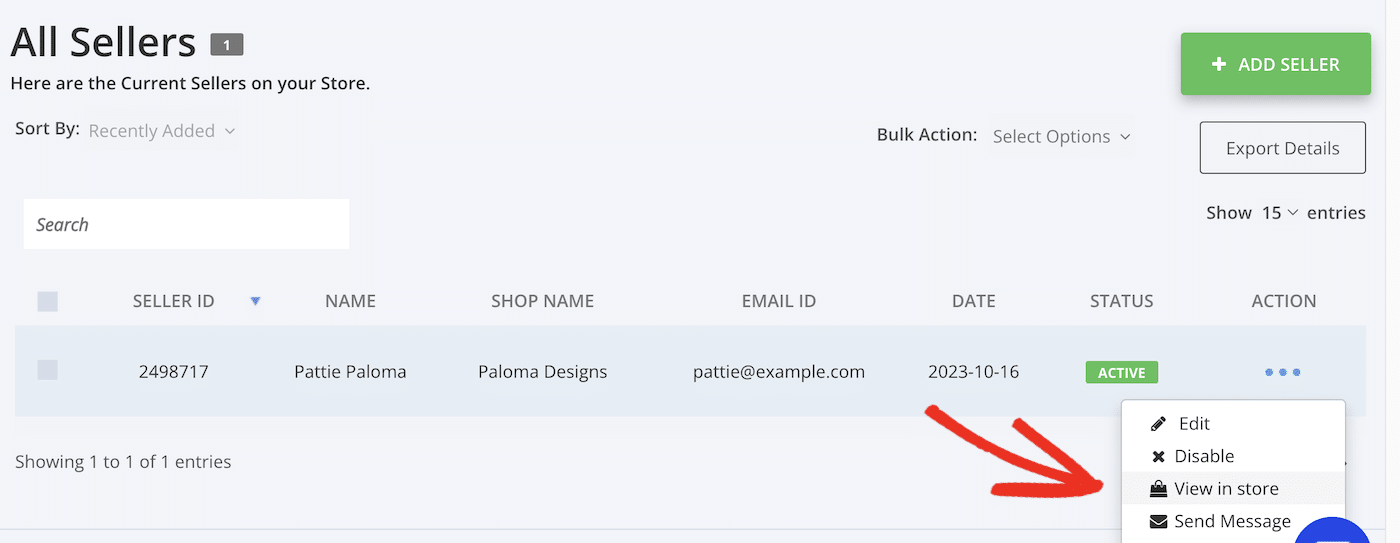
Once you’ve added a new seller, you can see their details under Sellers in your dashboard menu.
If you click the three dots (…) under Action, you can view their storefront on your Shopify store.
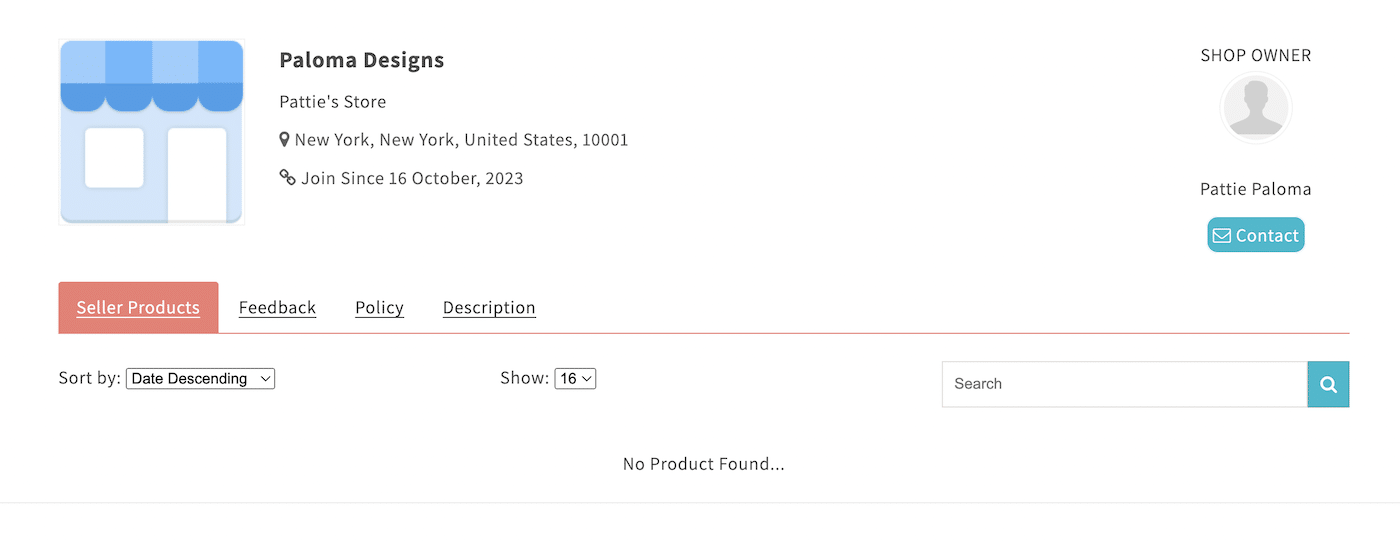
Until sellers add products, there won’t be much to see. But you can get an idea of how the default storefront looks.
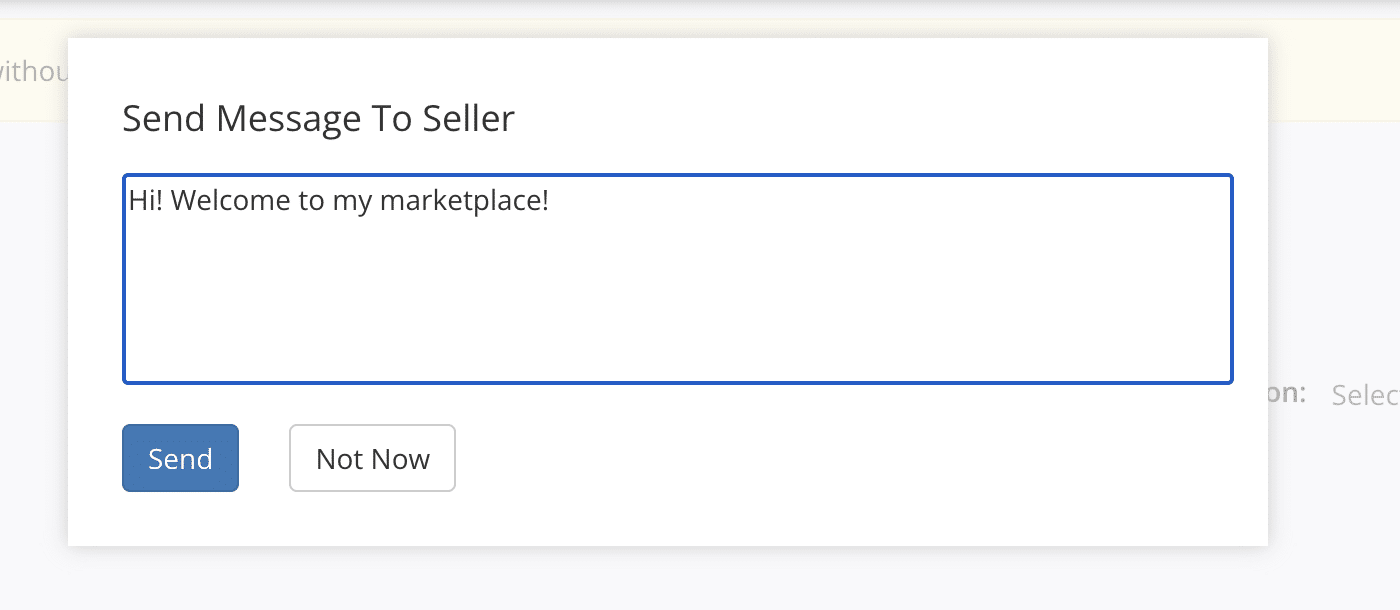
You can also use this menu to send a message directly to sellers. This is a great way to double-check your SMTP email settings are configured correctly for external emails.
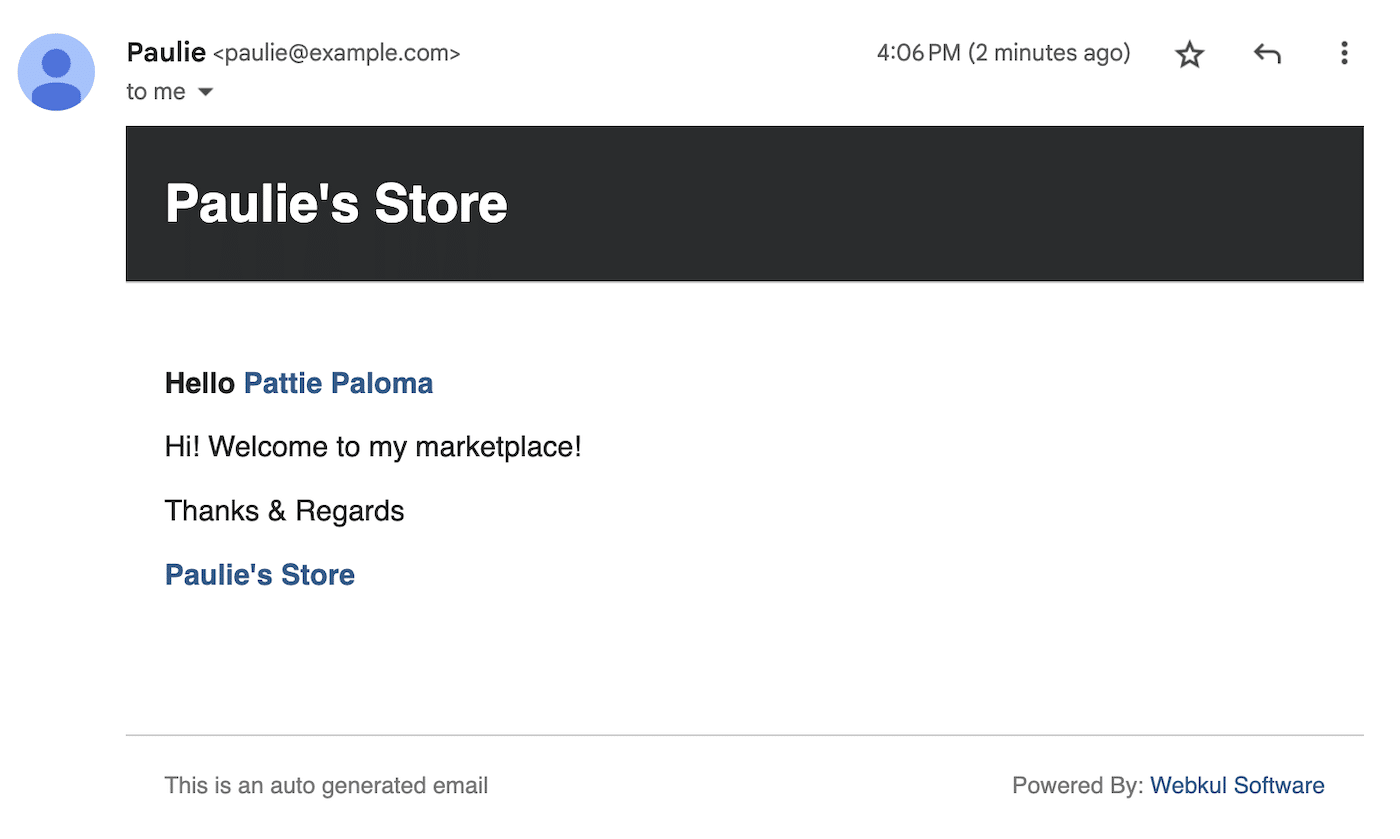
The seller should receive an email that looks something like this:
You can configure the text and format of all the emails generated by your Shopify marketplace on the Mail Configuration page, listed in the dashboard menu.
Here you can click the three-dot (…) menu in the top right corner of the email to change the email you’re editing.
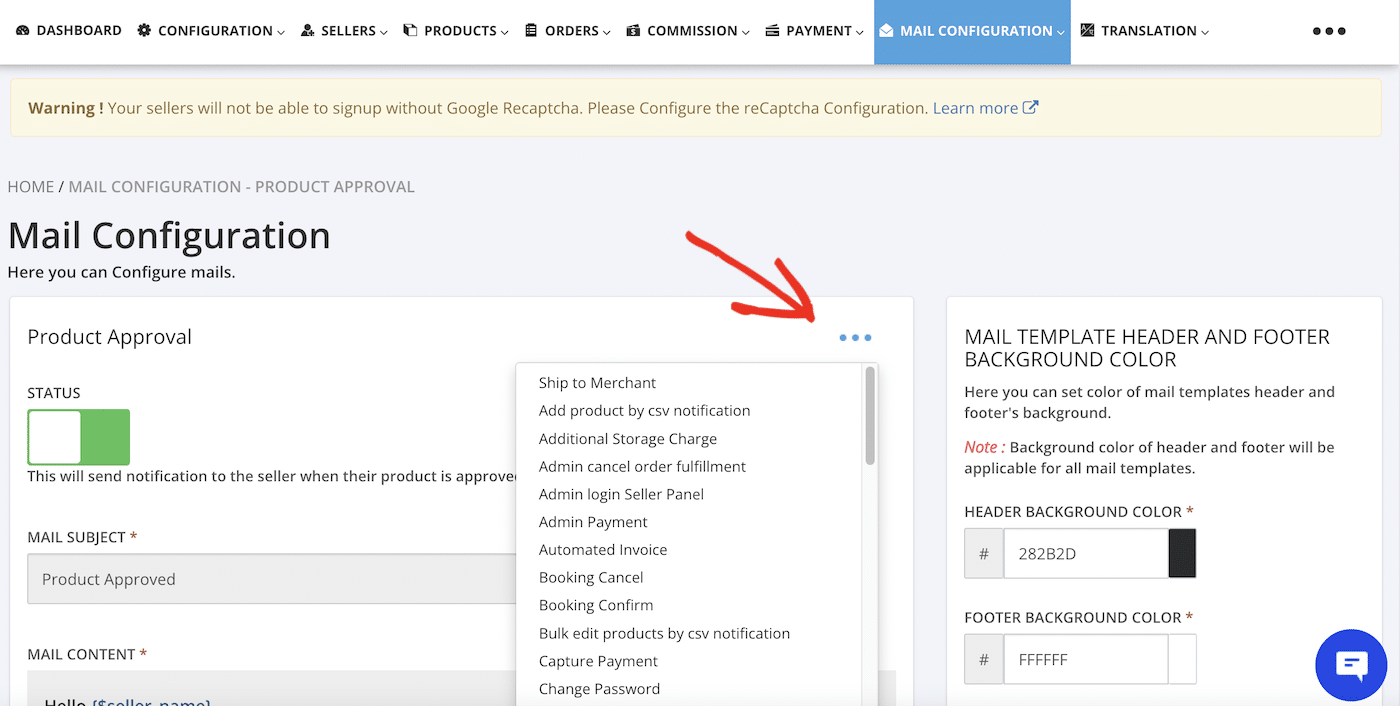
You can browse the list to see all the automated emails that are generated and sent to customers and sellers, which include:
- Welcome emails for new customers
- Order notifications
- Notifications of charges
- Order tracking
- Forgotten password emails
- Abandoned cart emails
- Order cancellations
- Product approval or denial notifications
- Seller approval or denial notifications
After choosing the email you want to edit, you can edit the text and even change the background colors of the header and footer.
And that’s it! You’ve successfully created a multivendor marketplace on Shopify and set up custom SMTP.
Of course, there are a lot more settings in Shopify and the Multi Vendor Marketplace app to explore. For example, you might want to take a look at the Shopify Email app for email marketing to subscribers.
Make sure to take the time to find your way around your new marketplace store and how everything works before publishing it.
Once your store is live, shoppers can browse and buy directly from multiple sellers, right from your marketplace! And you’ll have the peace of mind that all important transactional emails will be delivered safely by SMTP.
Frequently Asked Questions About Shopify SMTP
Below are some of the most common questions our users ask us about setting up custom SMTP in Shopify and the Multi Vendor Marketplace app.
How do I find my Shopify SMTP server?
Shopify doesn’t offer email hosting and so doesn’t have an SMTP server. However, if you want to use Shopify with Gmail or Zoho mail, you can send email from your Shopify-managed domain. You’ll need to add the Shopify SPF and DKIM records to your DNS settings. You can view these records in your store settings after you have added your domain and verified the connection.
Does Shopify have its own email service?
No, Shopify doesn’t offer an email service. You can either set it up to forward emails or connect your Shopify account to your Google Workspace or Zoho Mail account.
How do I send an email to customers from Shopify?
Navigate to the customers section of your Shopify admin dashboard. You can click any customer’s email address on this screen to send a custom email message at any time.
How do I turn my Shopify store into a marketplace?
Install the Multi Vendor Marketplace app. This not only transforms your simple Shopify store into a fully-functioning multivendor marketplace, but also has additional settings for sending Shopify emails via custom SMTP.
That’s it! Now you know how to send email with custom SMTP from your Shopify marketplace.
Next, would you like to learn about email authentication? Check out our tutorial on SPF, DKIM, and DMARC authentication protocols for more information.
