Want to secure your SendLayer account with Two-Factor Authentication?
Two-Factor Authentication (2FA) adds an extra layer of security to your account by requiring further authentication beyond your username and password.
In this tutorial, we’ll show you how to add Two-Factor Authentication to your SendLayer account.
Before you get started, you’ll need:
- Access to a Two-Factor Authentication app
Securing Your Account With 2FA
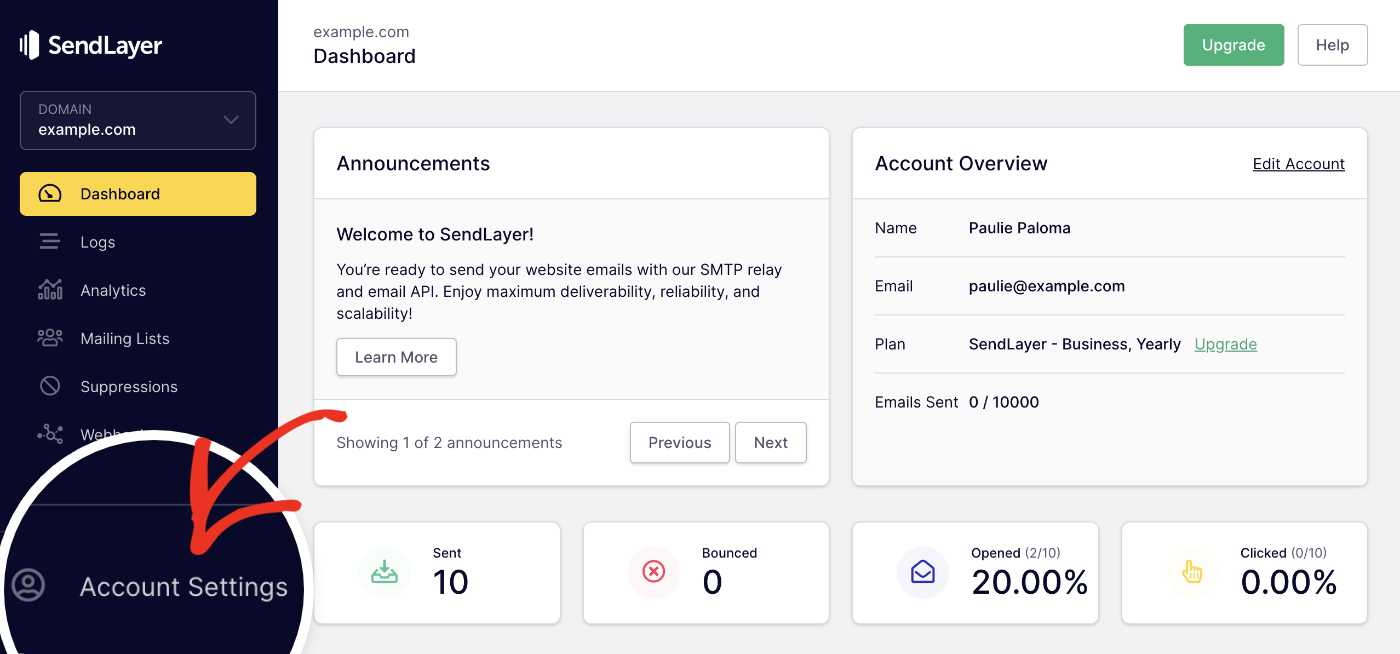
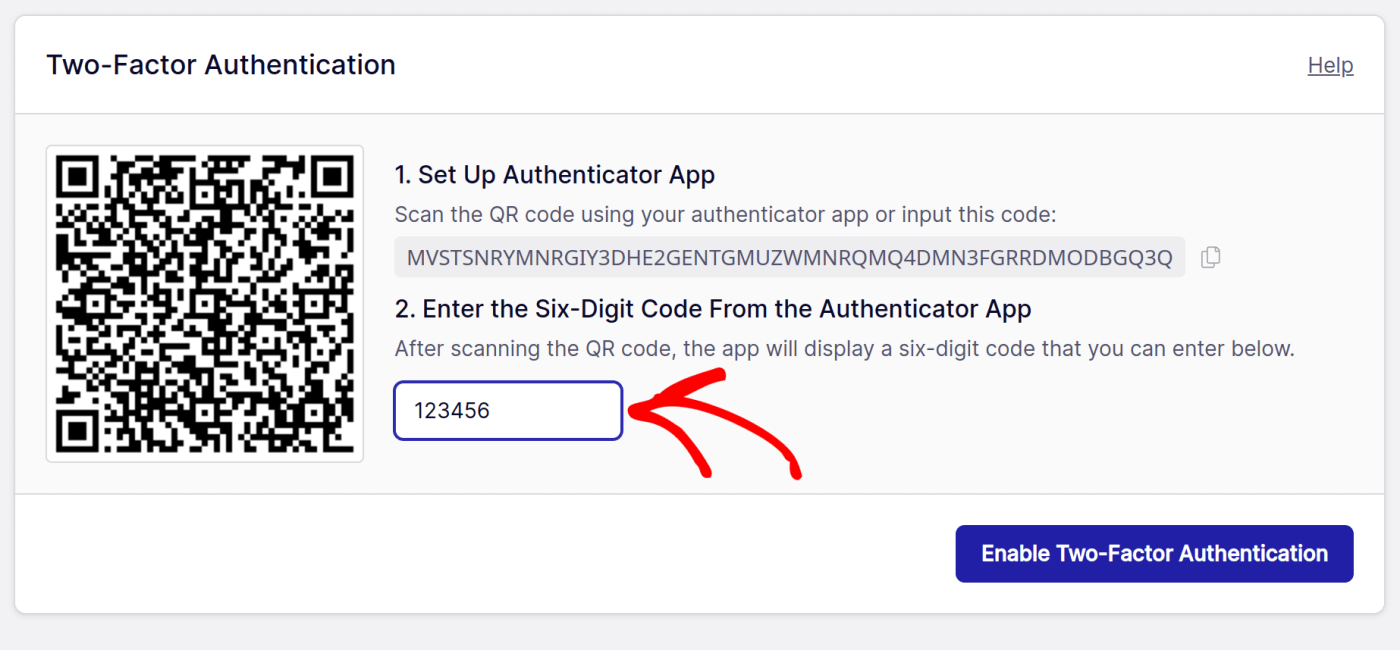
From here, scroll down to the Two-Factor Authentication section. Here you’ll see an authentication key that you’ll need to add to your authenticator app.
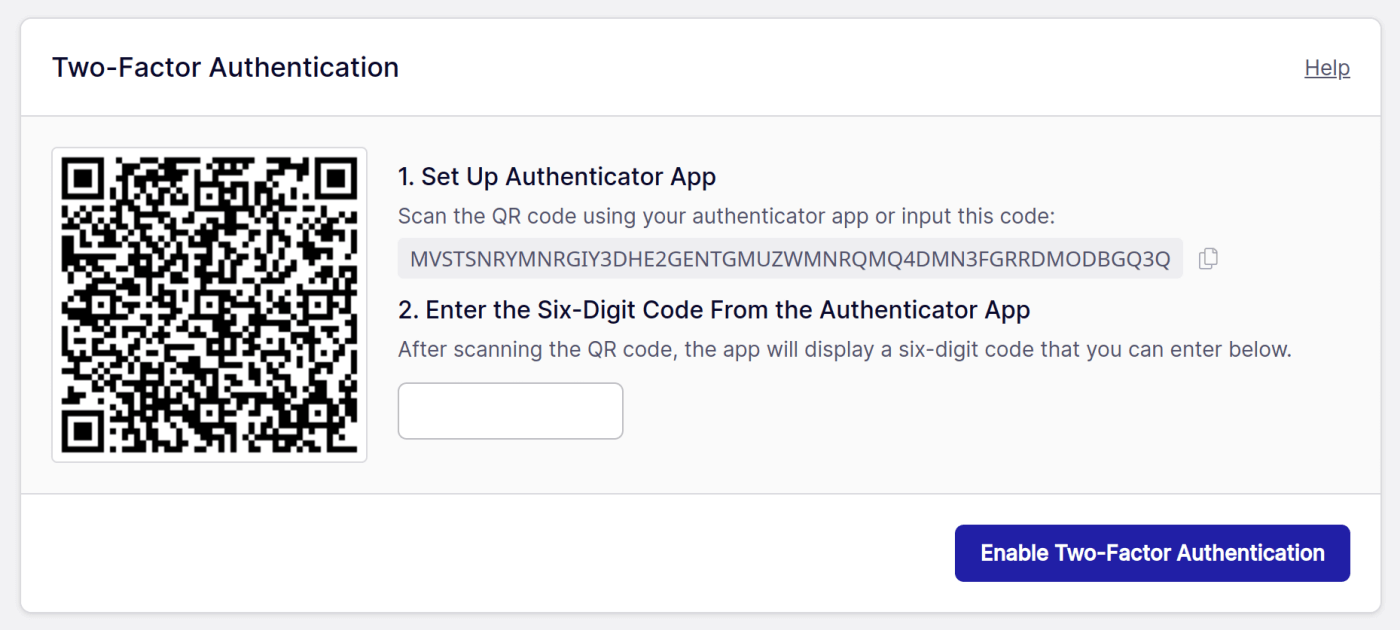
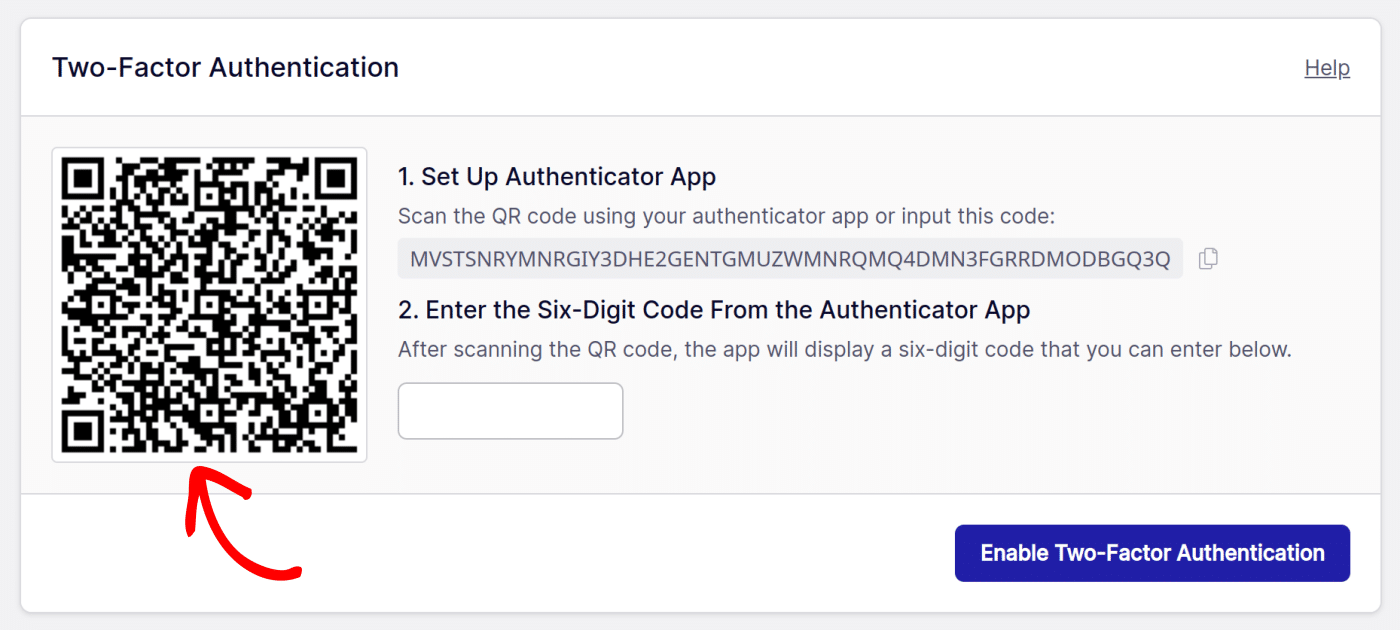
There are two different options for adding your authentication key to your authenticator app. The first option is to scan the QR code.
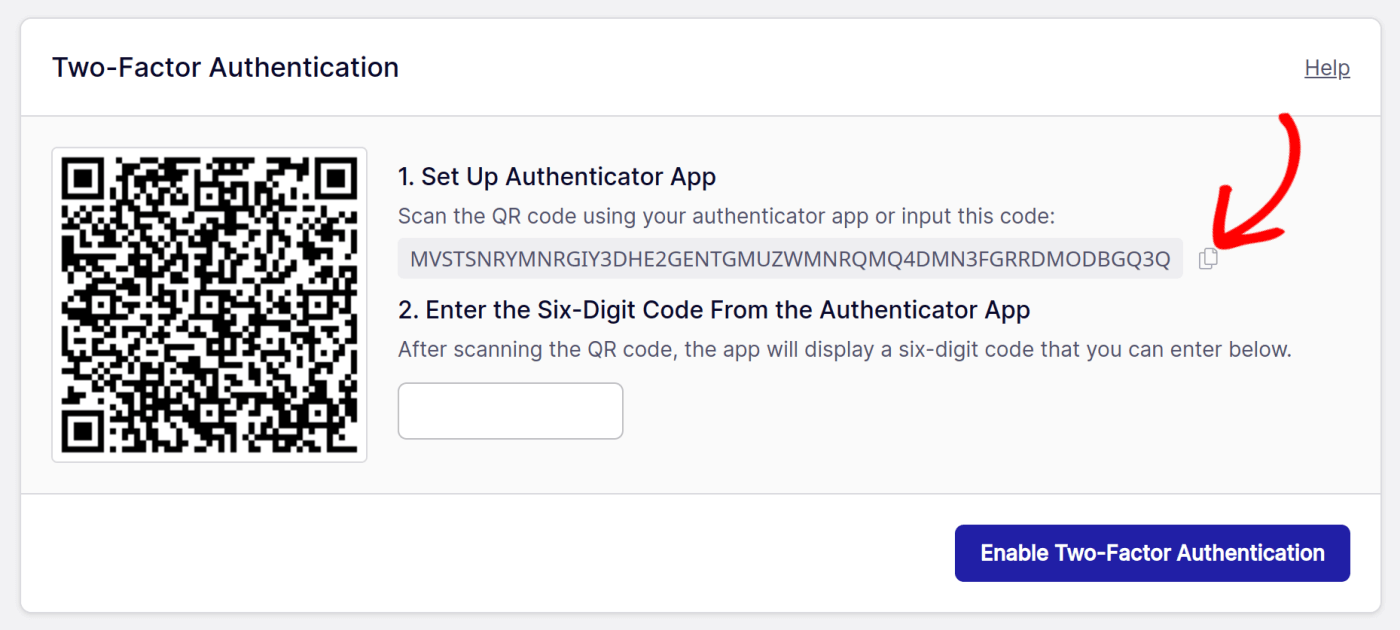
Alternatively, you can manually input the authentication key provided.
After you’ve scanned the QR code or manually added the authentication key, the authenticator app will display a 6-digit code. Go ahead and enter this code in the provided field.
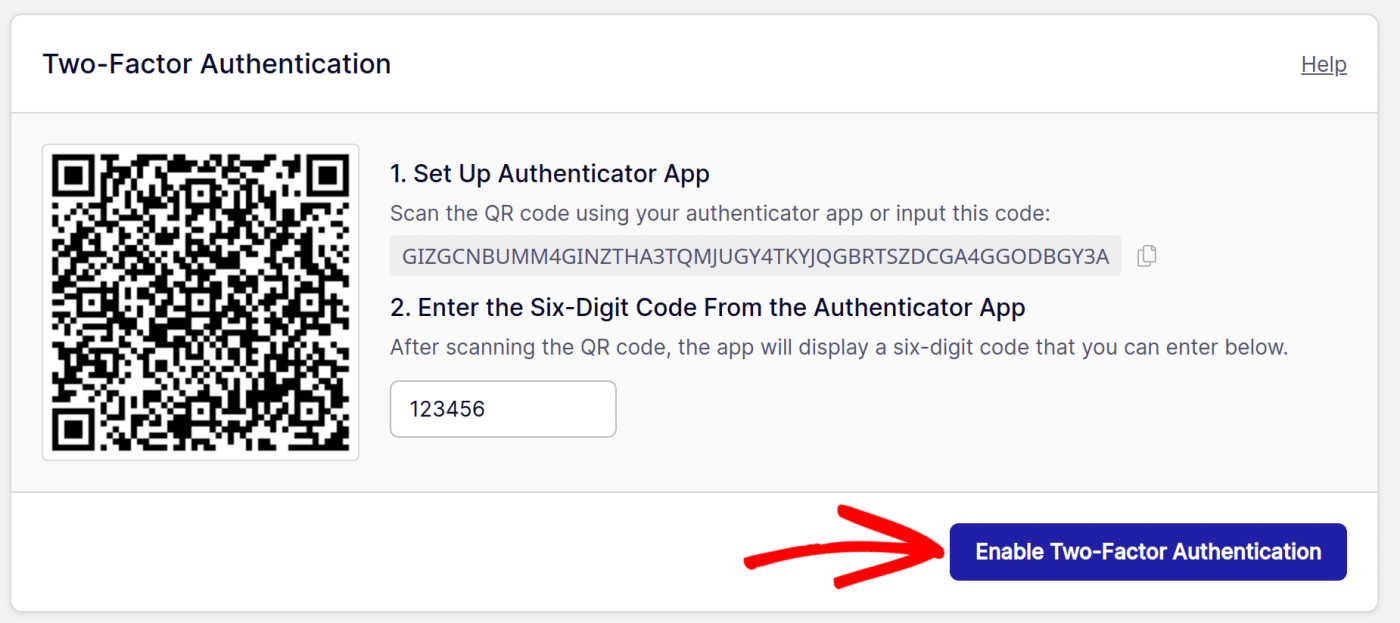
Once you’ve added the code, click the Enable Two-Factor Authentication button.
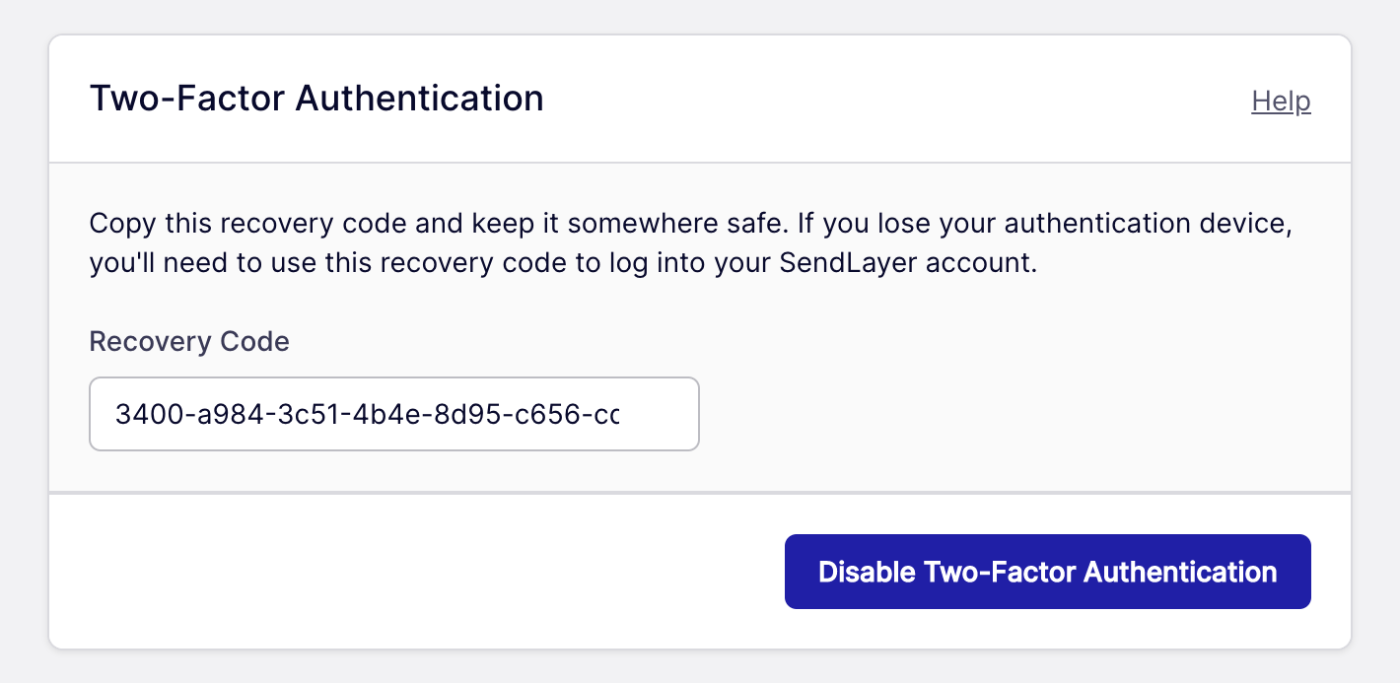
Next, SendLayer will generate a recovery code that you can use in case you lose your authentication device. Be sure to copy the code and keep it somewhere safe.
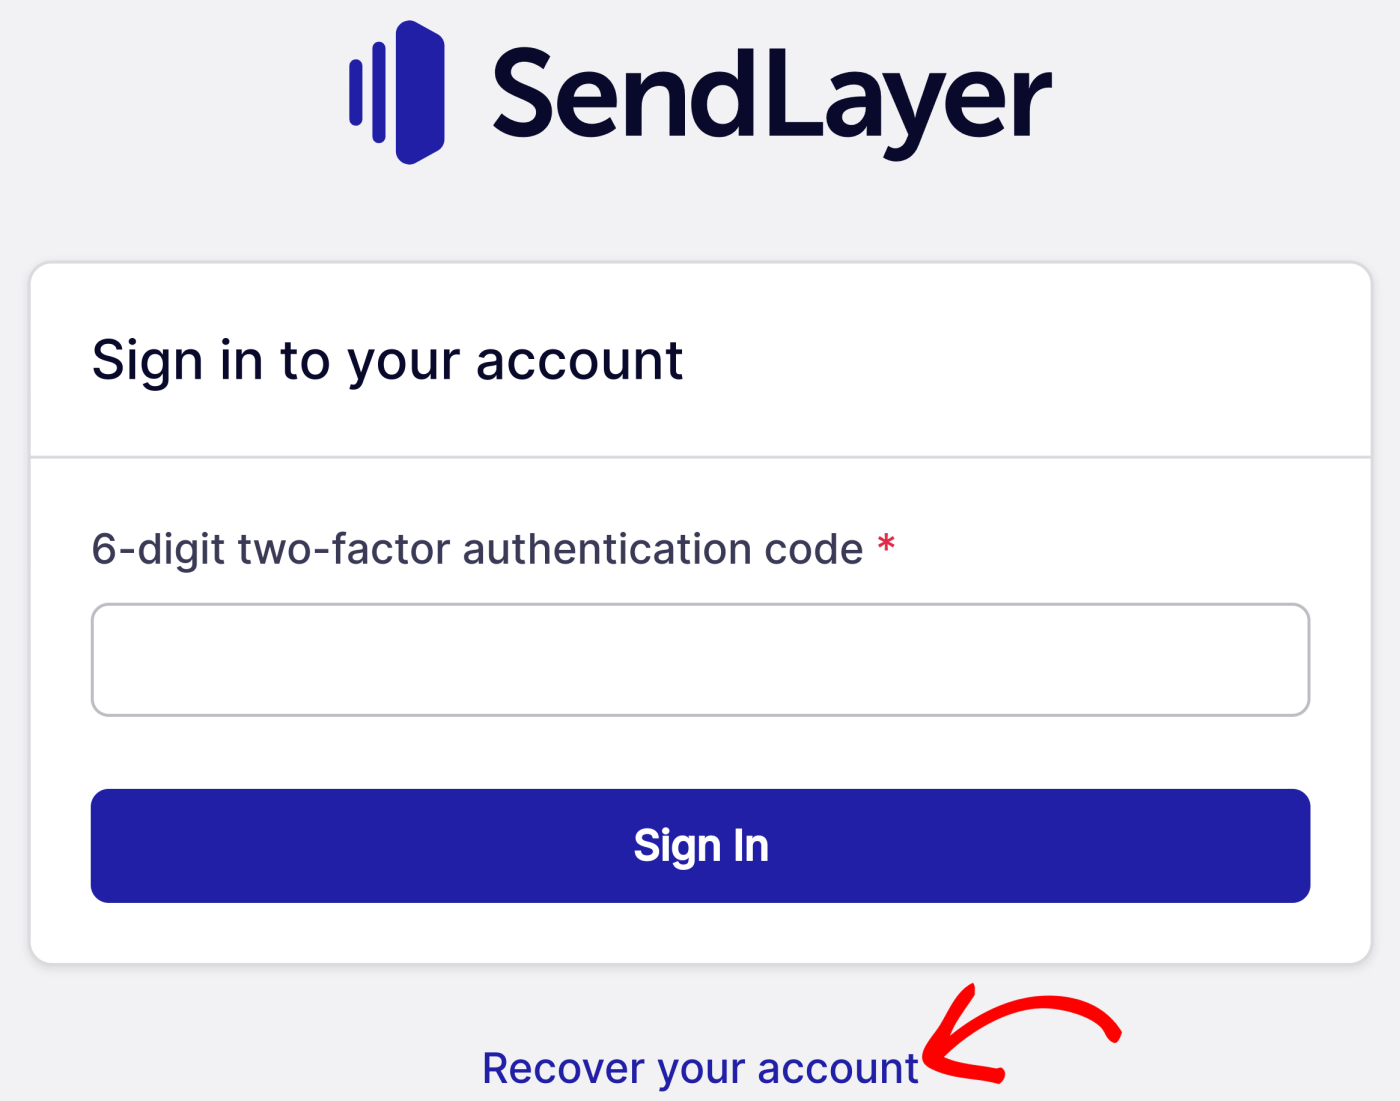
If you’ve lost your authentication device or do not have access to your code, you can use the recovery code on login. Click Recover your account to start the recovery.
You will be asked for your Two-Factor Authentication recovery code.
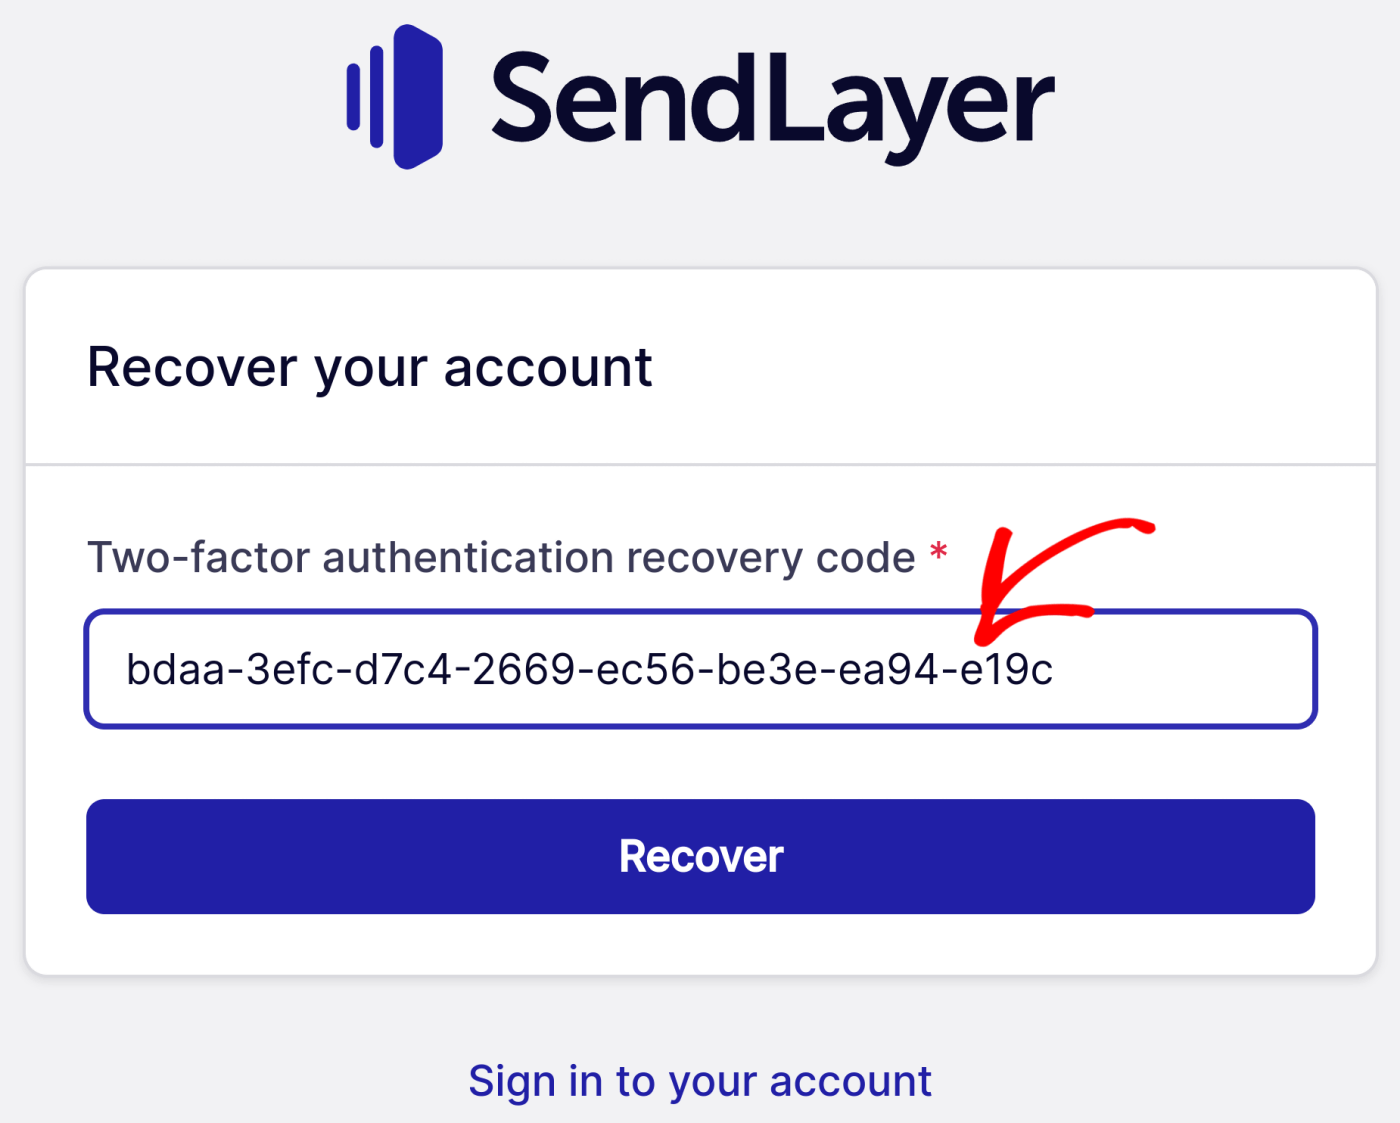
After entering your code, click Recover to access your account.
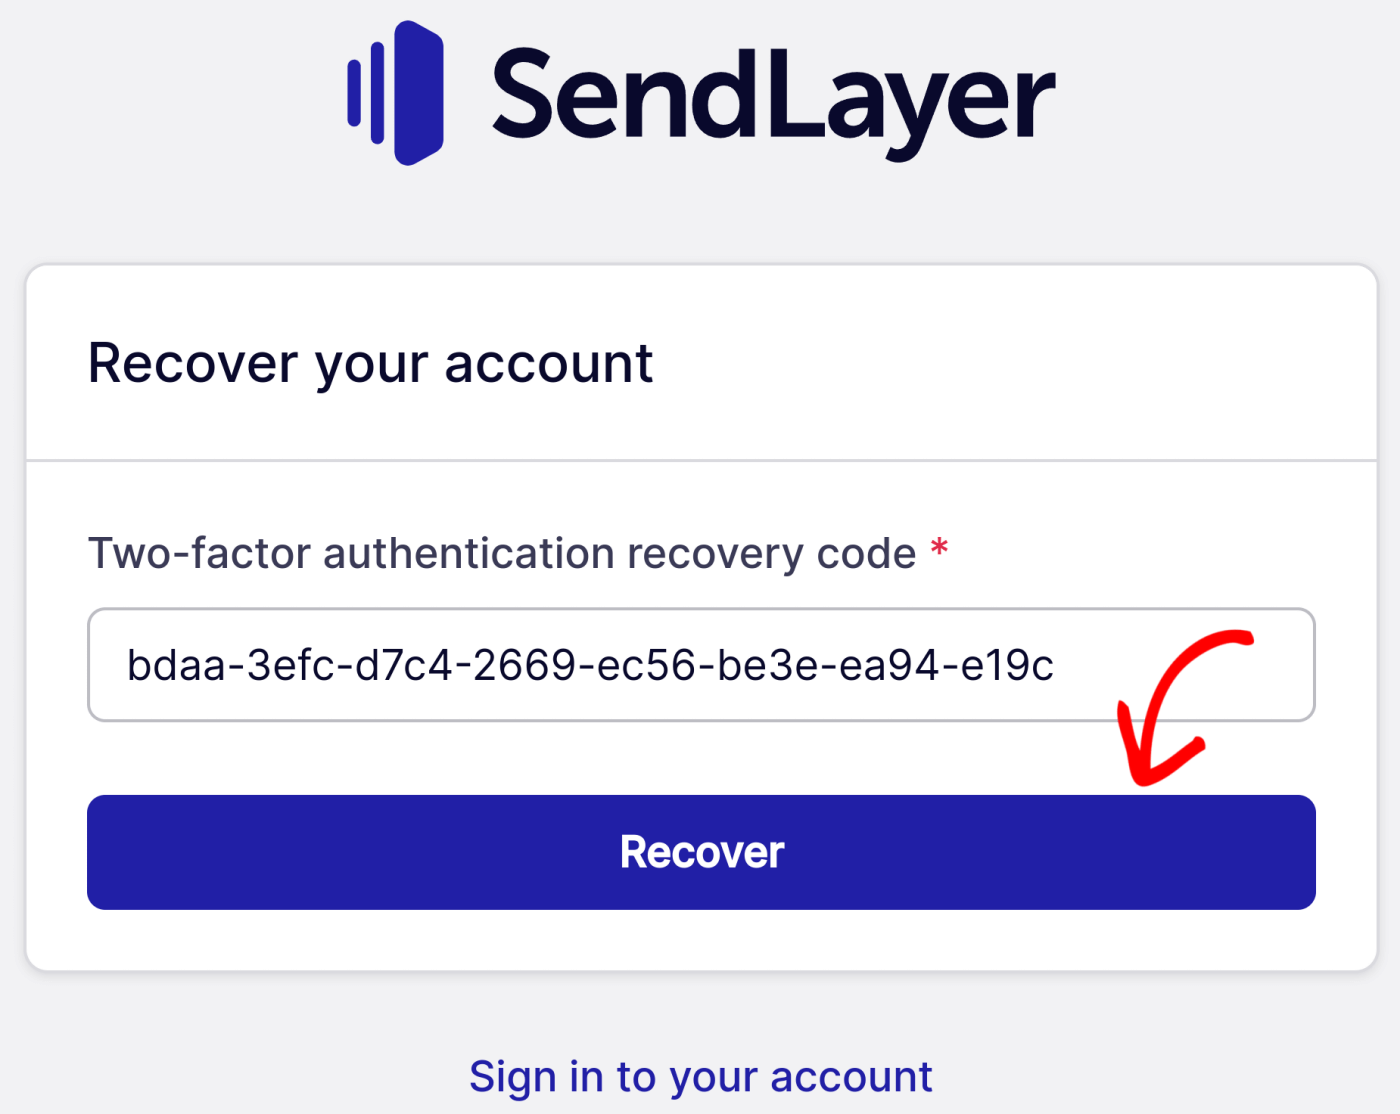
Two-Factor Authentication will now be disabled and will need to be reconfigured.
That’s it! Now you know how to set up Two-Factor Authentication to make your SendLayer account more secure.
Next, would you like to learn about managing other SendLayer account settings? Check out our tutorial on managing your account for more information.