Are you ready to verify your account and start sending emails with SendLayer?
Before sending emails with your account, you’ll need to complete phone number verification.
In this tutorial, we’ll show you how to verify your SendLayer account.
Accessing Account Verification Page
To start, you’ll need to log in to your SendLayer account dashboard.
Once you’re logged in, you can click the orange Verify Now button to get started.
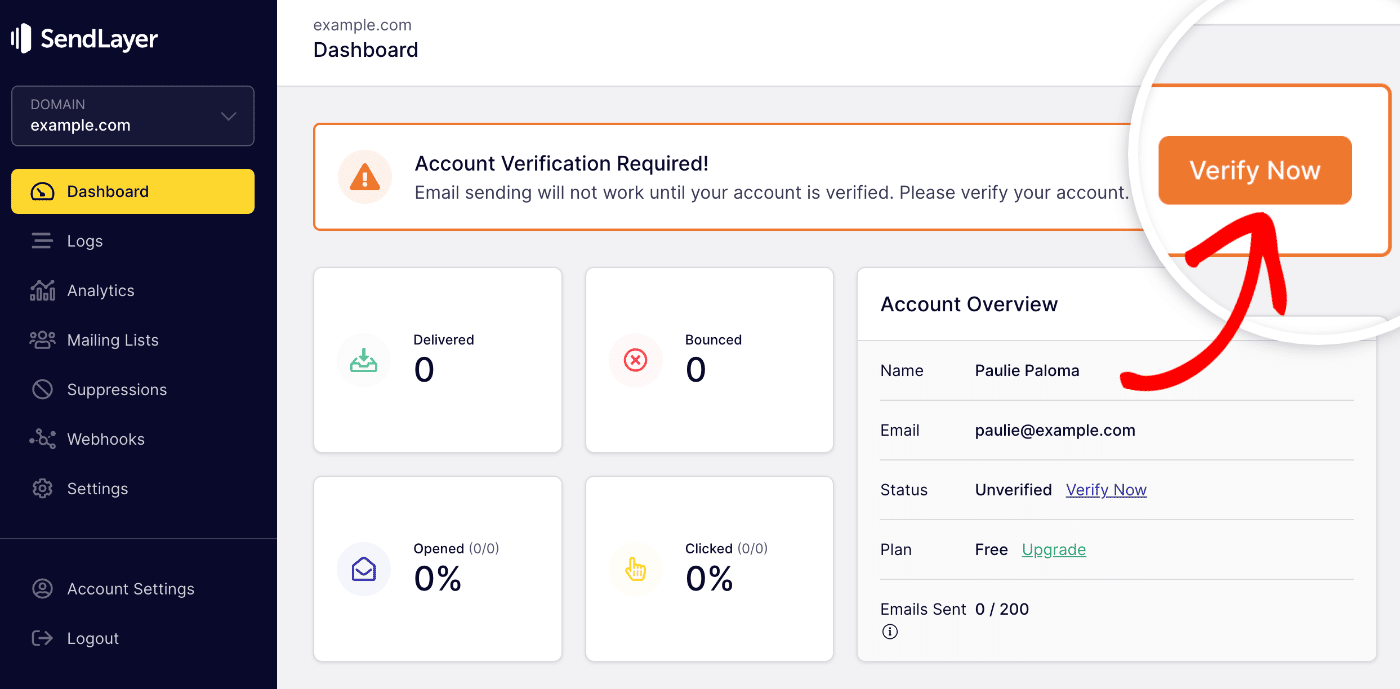
Note: If you haven’t added any domain to your account, you won’t see the Verify Now button. Instead, you’ll see a button to add a domain.
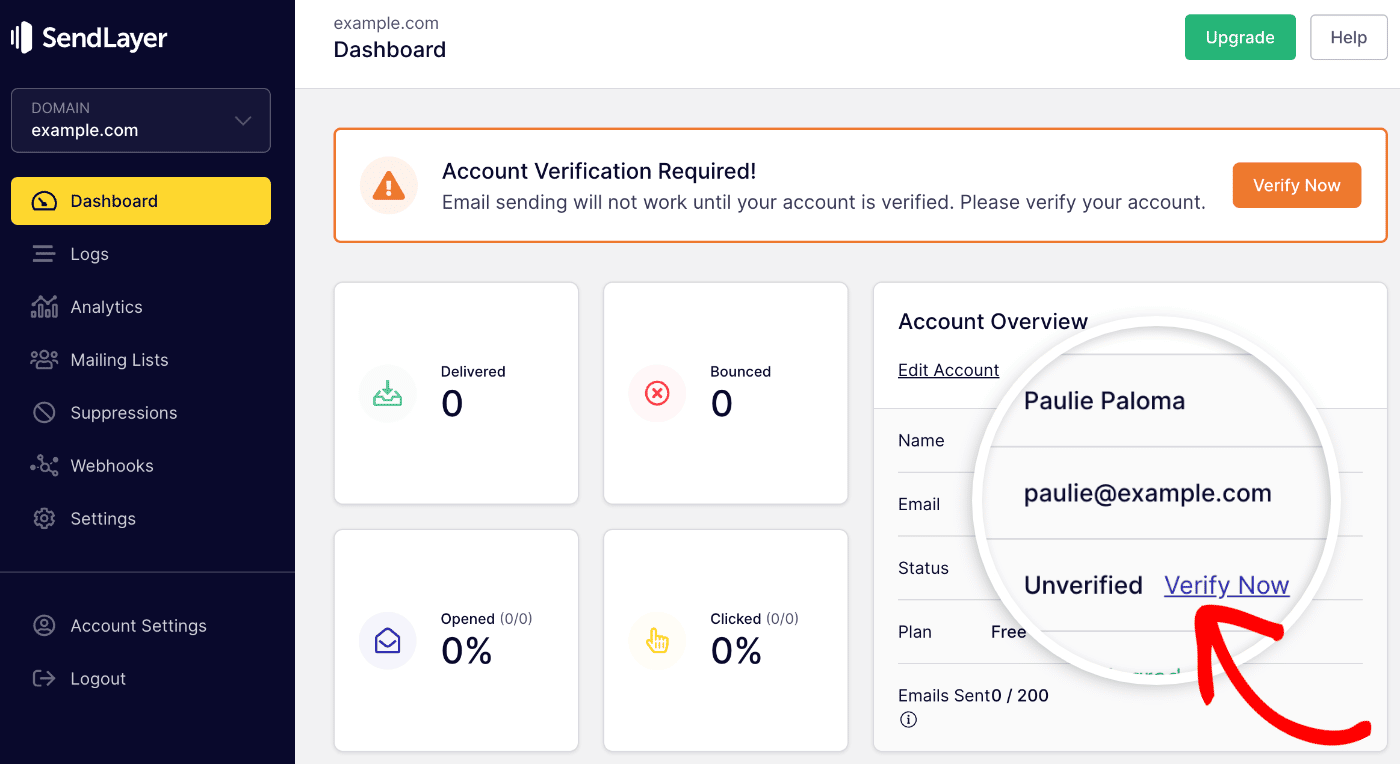
Alternatively, you can click the Verify Now link in the Account Overview section to access the verification page.
Verifying Your Account
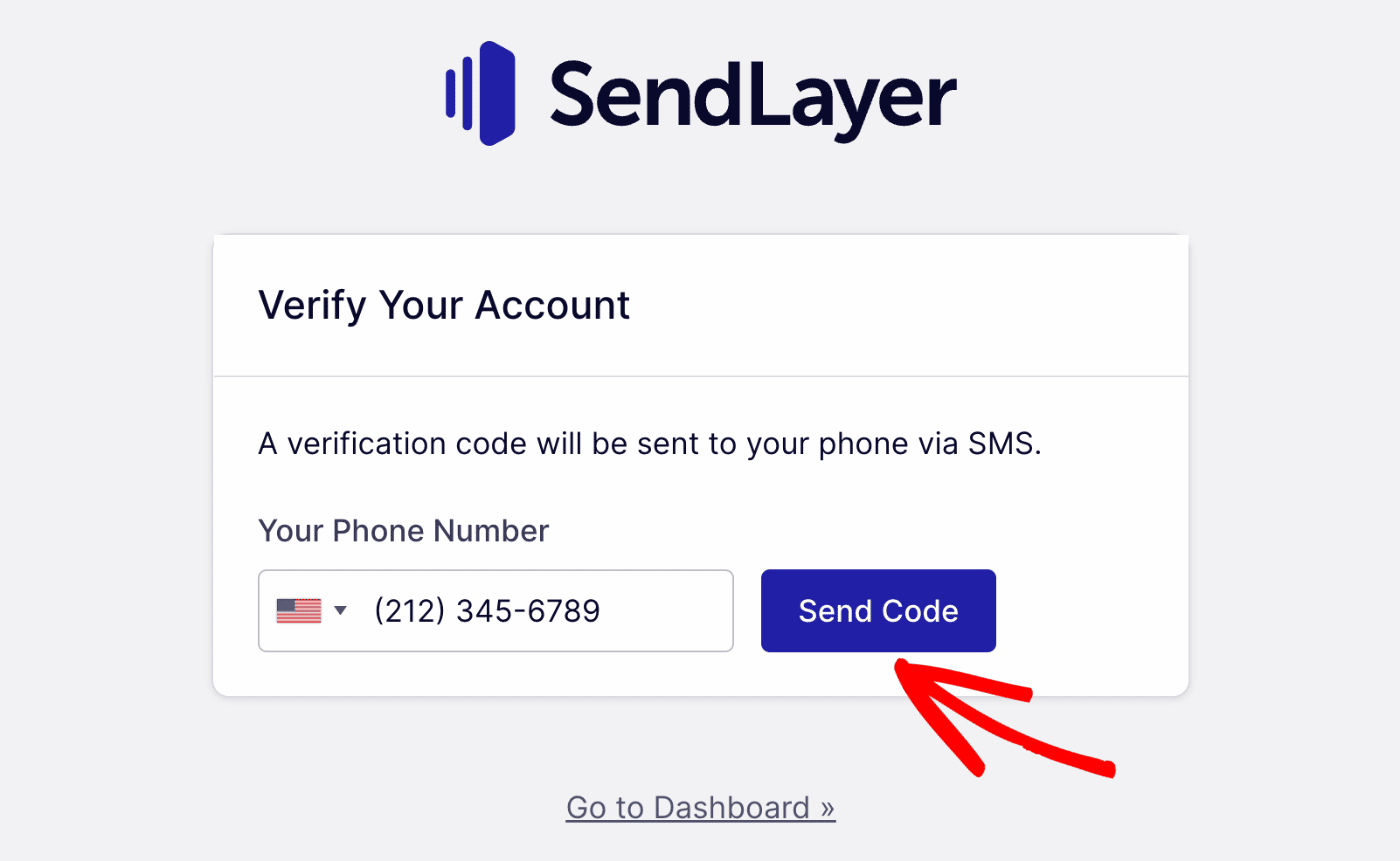
In the Your Phone Number field, you’ll need to enter a phone number whose SMS inbox you can access. Then click on Send Code to get the verification code.
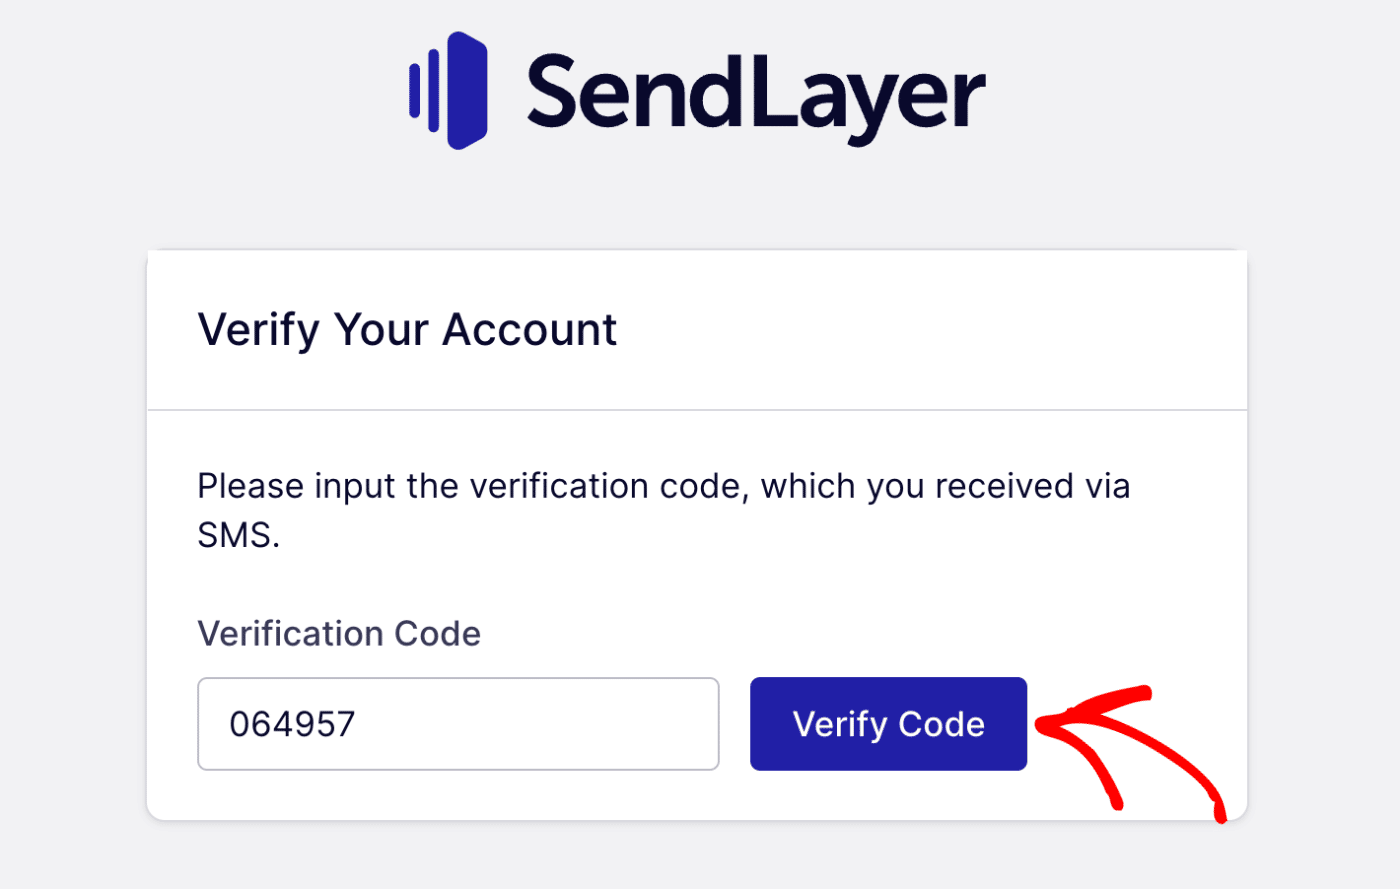
Once you’ve received the verification code, you’ll need to paste the code into the Verification Code field. Then click on Verify Code to continue.
You’ll see a notification that your account is now verified.
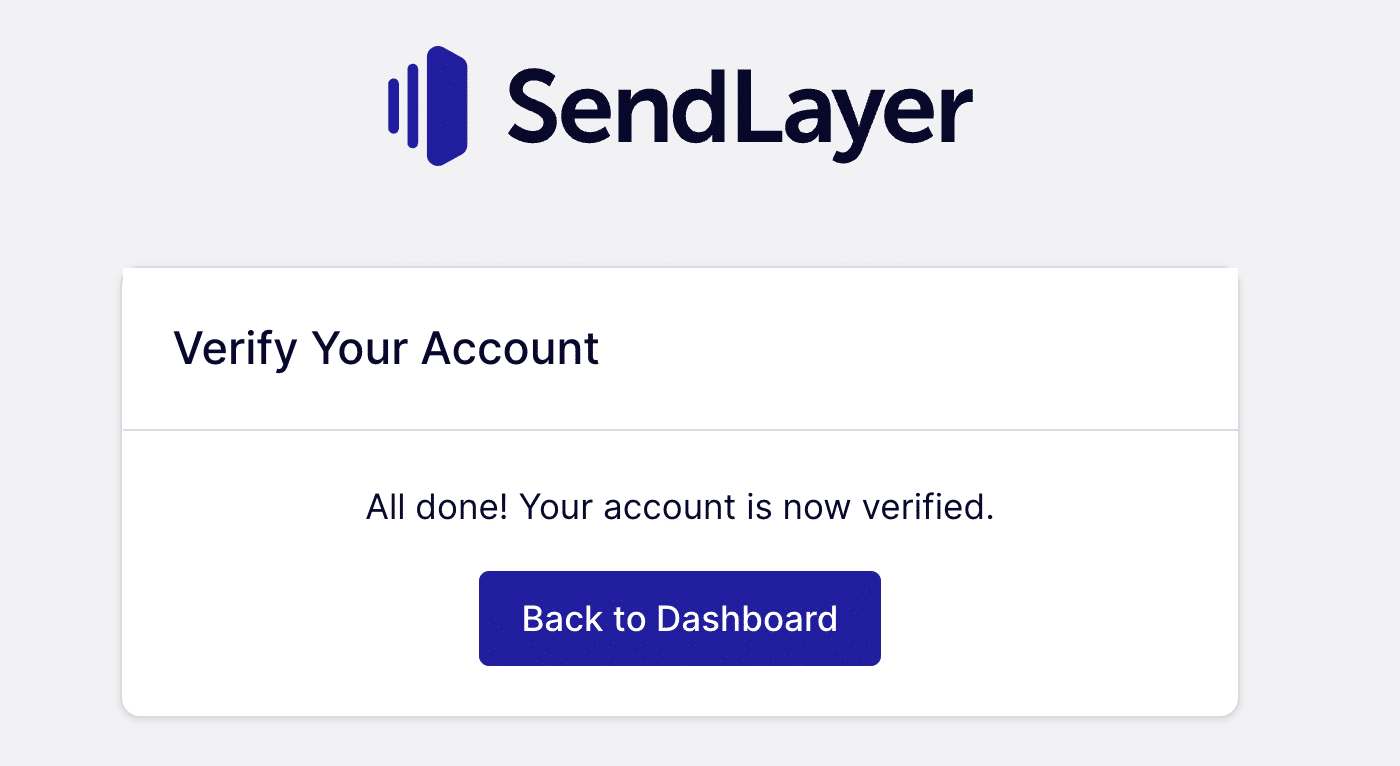
When you’re ready, click the Back to Dashboard button to return to your account dashboard.
That’s it! Now you know how to verify your SendLayer account.
Next, would you like to learn how to upgrade your account? Check out our tutorial on upgrading your SendLayer account for more information.