Do you need to connect SendLayer to your domain on Namecheap?
SendLayer provides a straightforward and reliable transactional email delivery service that you can use with your Namecheap domain.
In this tutorial, we’ll show you how to set up SendLayer on Namecheap.
To get started, you’ll need to:
Viewing DNS Records in SendLayer
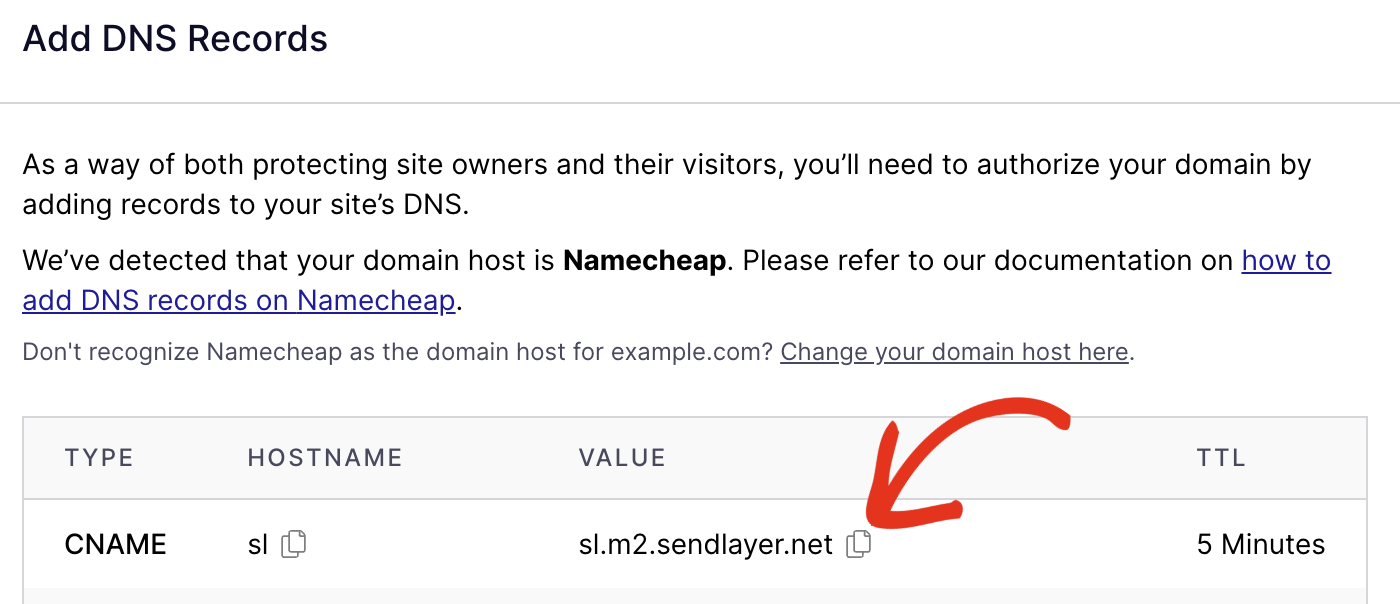
After you add a domain to your account, SendLayer will automatically detect your domain host and generate 5 unique DNS records for your domain.

If it doesn’t detect the correct domain host, click the Change your domain host here link to choose your domain registrar.

In the overlay that appears, click the Choose your domain host dropdown and select Namecheap from the available options.

Note: SendLayer will generate the sl subdomain for you, so you don’t need to choose your own subdomain. For more information, you can learn why SendLayer creates a subdomain.
SendLayer will generate two kinds of records:
Each of the 5 records will have a TYPE, HOSTNAME, VALUE, and TTL (Time To Live), corresponding to your domain. For Namecheap, you’ll need the TYPE, HOSTNAME, and VALUE.
Finding DNS Settings in Namecheap
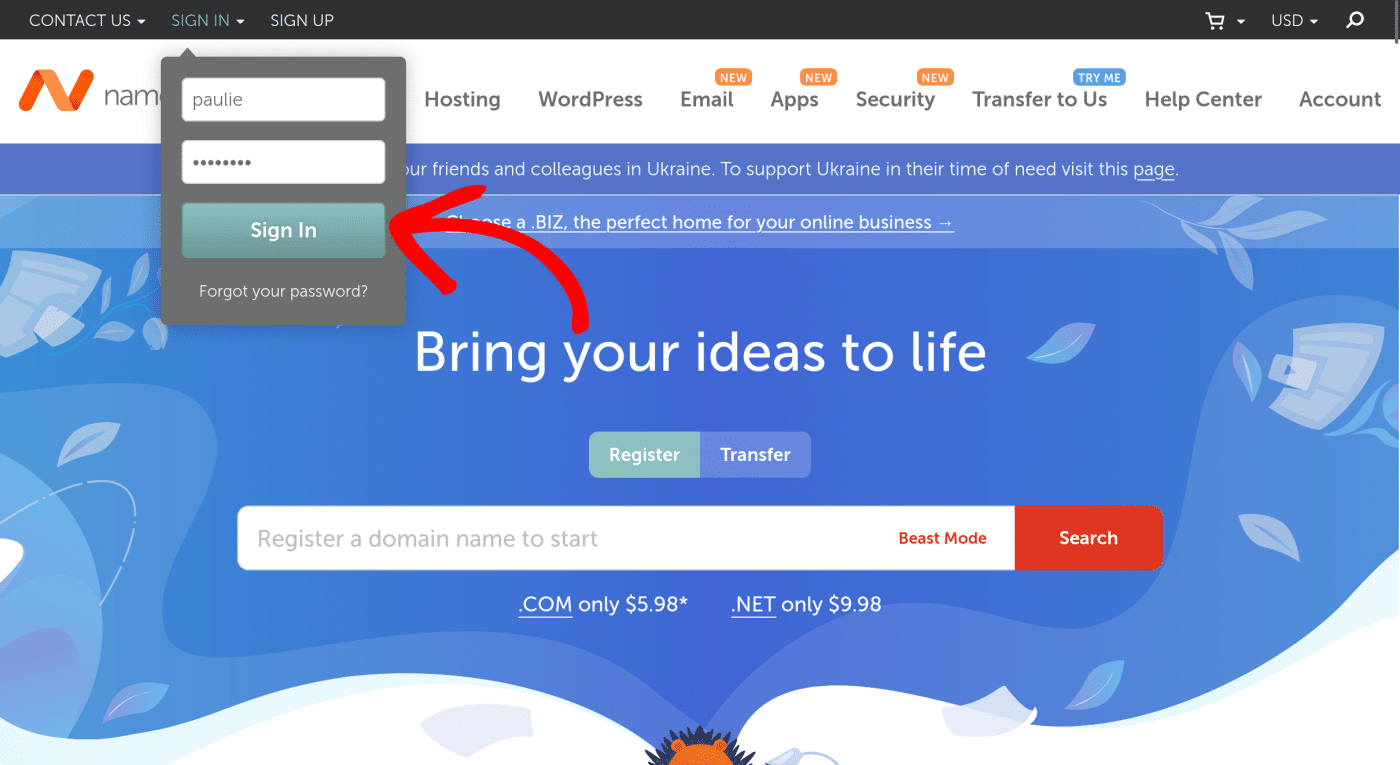
Now that you’ve added your domain to SendLayer, it’s time to add your SendLayer DNS settings to your domain in Namecheap. To do so, first, log in to your Namecheap account.
This will take you straight to the Dashboard. From here, find the domain you’d like to connect to SendLayer, and click MANAGE.

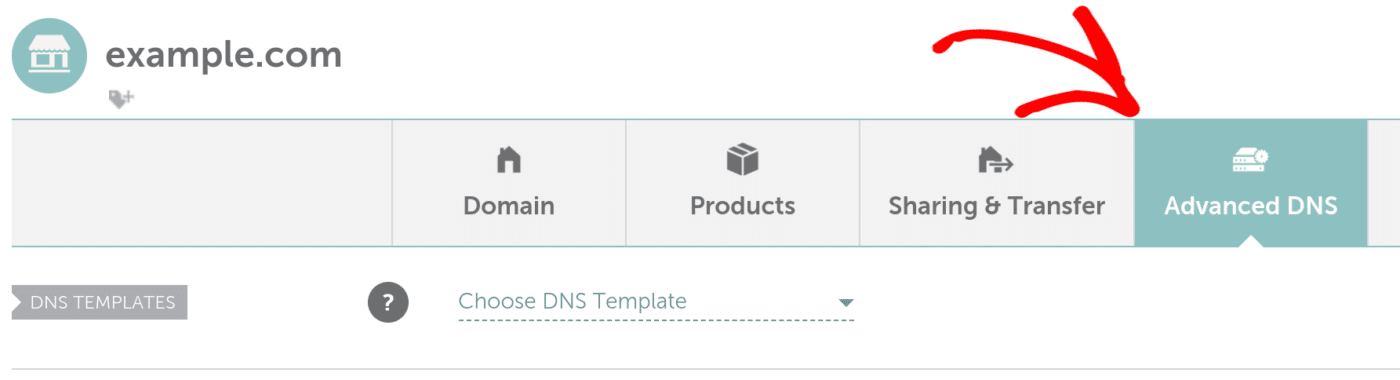
Next, click on Advanced DNS to view the domain’s DNS entries.
Adding SendLayer DNS Settings to Your Domain in Namecheap
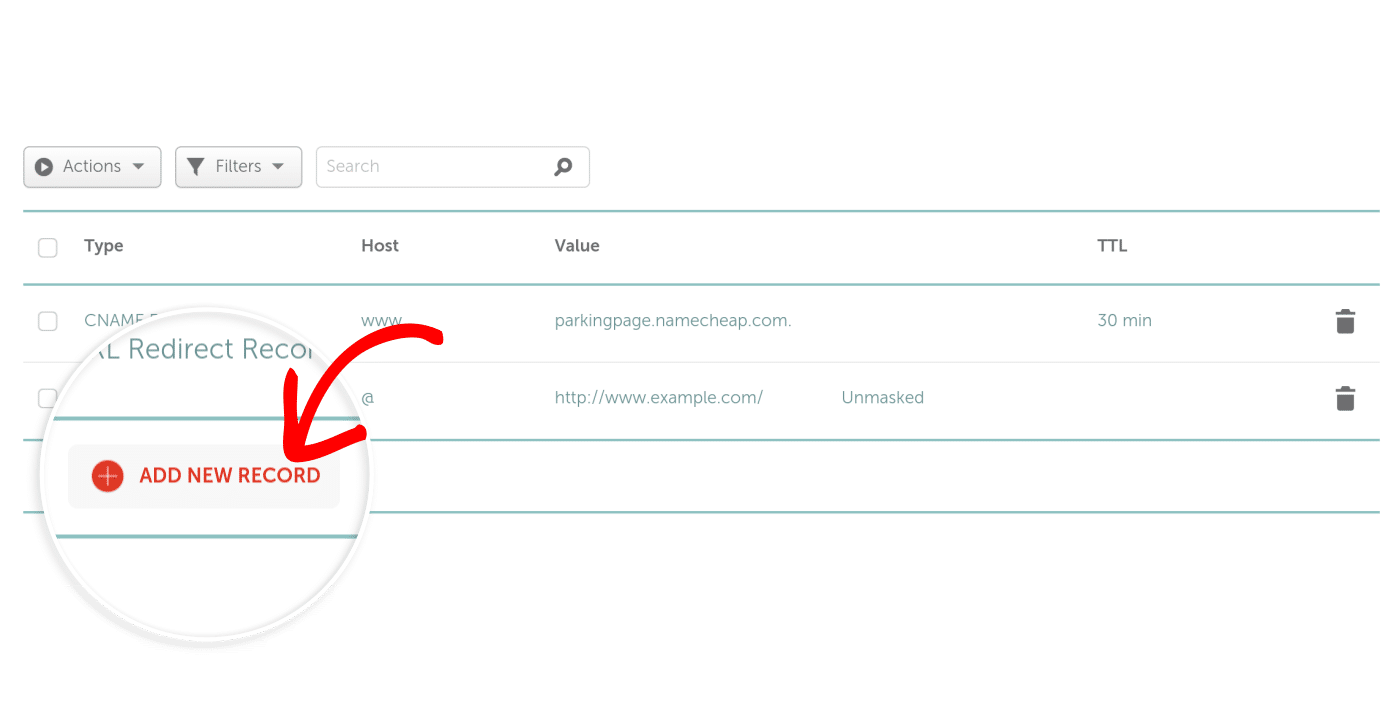
From within Advanced DNS, click ADD NEW RECORD and enter the SendLayer DNS records for your domain.
As an example, we’ll add the first CNAME record. To start, select CNAME as the record type.

Next, switch back to your SendLayer account and locate the HOSTNAME. Here, you’ll need to copy the sl hostname.

Then return to your Namecheap dashboard and paste it into the Host field.

You can use the Copy button in the SendLayer interface to copy any value to your clipboard.
After copying a record, switch back to your Namecheap dashboard and paste it into the appropriate area.

Remember to change the Record type to match the corresponding type for each record from the dropdown list. For the TTL value, leave it as Automatic, which Namecheap will use by default.
Once you’ve added an individual record, click the green tick to save it. You’ll need to repeat the process for each of the 5 records SendLayer generates.

Alternatively, you can enter all 5 records, then click SAVE ALL CHANGES.

Either method you choose, be sure to save your changes before continuing. When you’re done, your settings should look something like this:
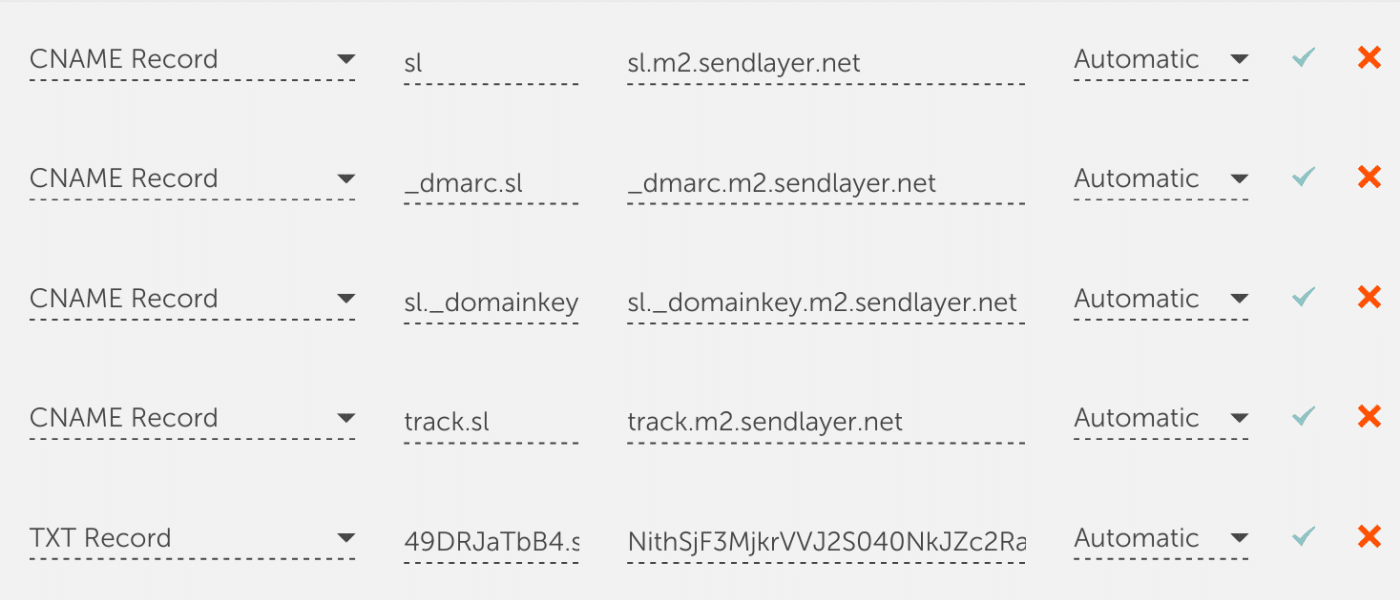
Before closing your Namecheap Dashboard, remember to double-check that your settings are correct and match the values found in your SendLayer DNS settings.
Verifying Your Domain Status
After you’ve added the necessary domains to your Namecheap account, you can check to see if they’ve been updated by checking your SendLayer account. Namecheap typically updates records rather quickly, but bear in mind that it can take up to 48 hours for domain updates to propagate.
Check out our tutorial to learn how to check your DNS records. If you need more information about editing other domain settings, be sure to read our guide on the topic.
That’s it! You now know how to set up SendLayer on your Namecheap domain!
Next, would you like to know how to integrate your app or site with SendLayer? Take a look at our guide to integrations in SendLayer to find out how it works.