Do you want to view or update your SendLayer account settings?
Directly from your SendLayer dashboard, you can upgrade your plan, generate an invoice, change your password, and much more!
In this tutorial, we’ll show you how to manage your SendLayer account.
Accessing Your Account Settings
To access your account settings, you’ll first need to log in to your SendLayer dashboard. Then, click on Account Settings in the sidebar menu.
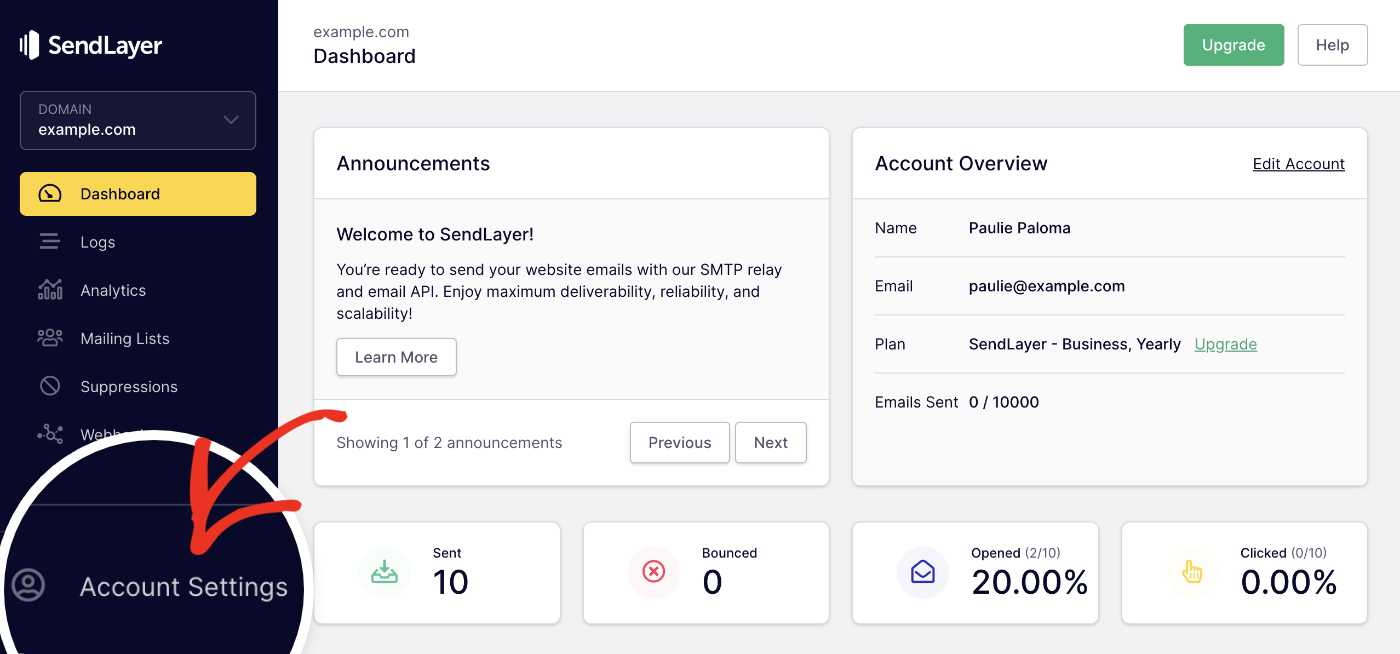
This will take you to the Account Settings page. Here you’ll find options to upgrade, downgrade, or cancel your account. You can also update your billing and profile information, change your password, generate an invoice, and set up Two-Factor Authentication (2FA). We’ll cover each of these settings in the following sections.
Upgrading or Downgrading Your Account
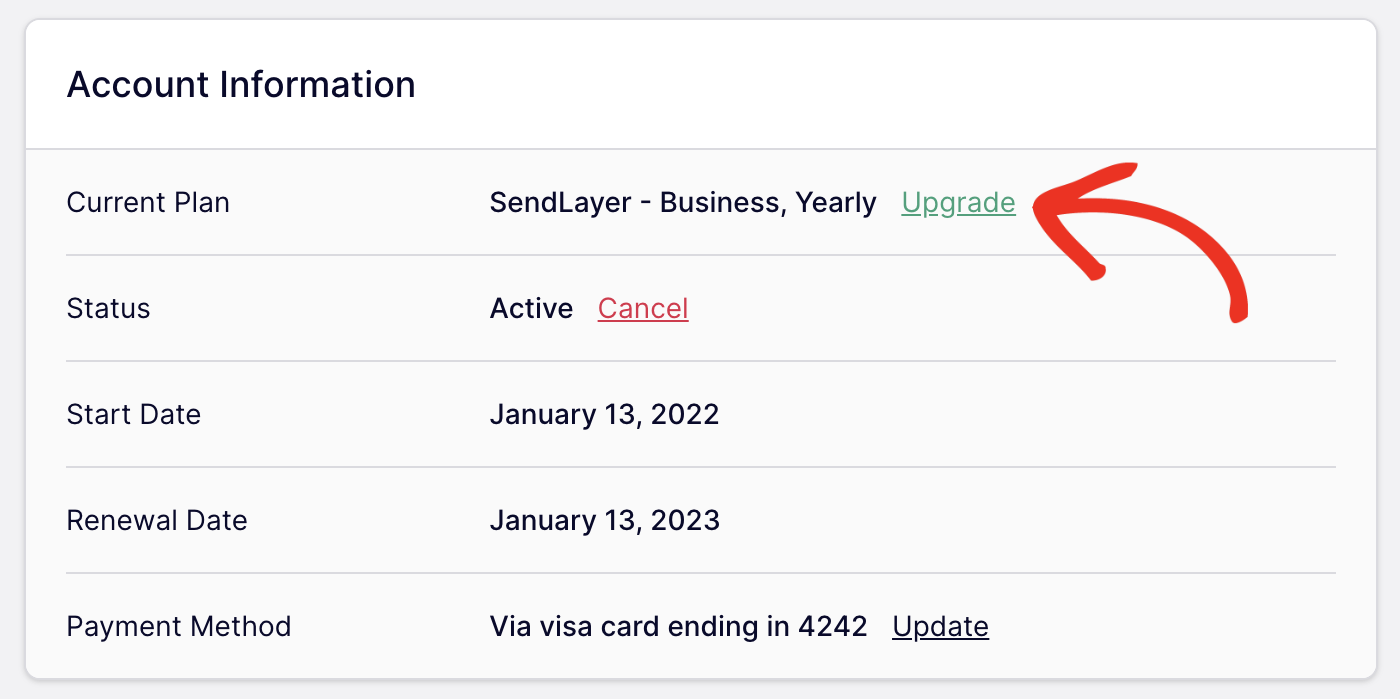
To upgrade or downgrade your SendLayer plan, head to the Account Information section. Then, click on the Upgrade button to begin the upgrade or downgrade process.
Canceling Your Account
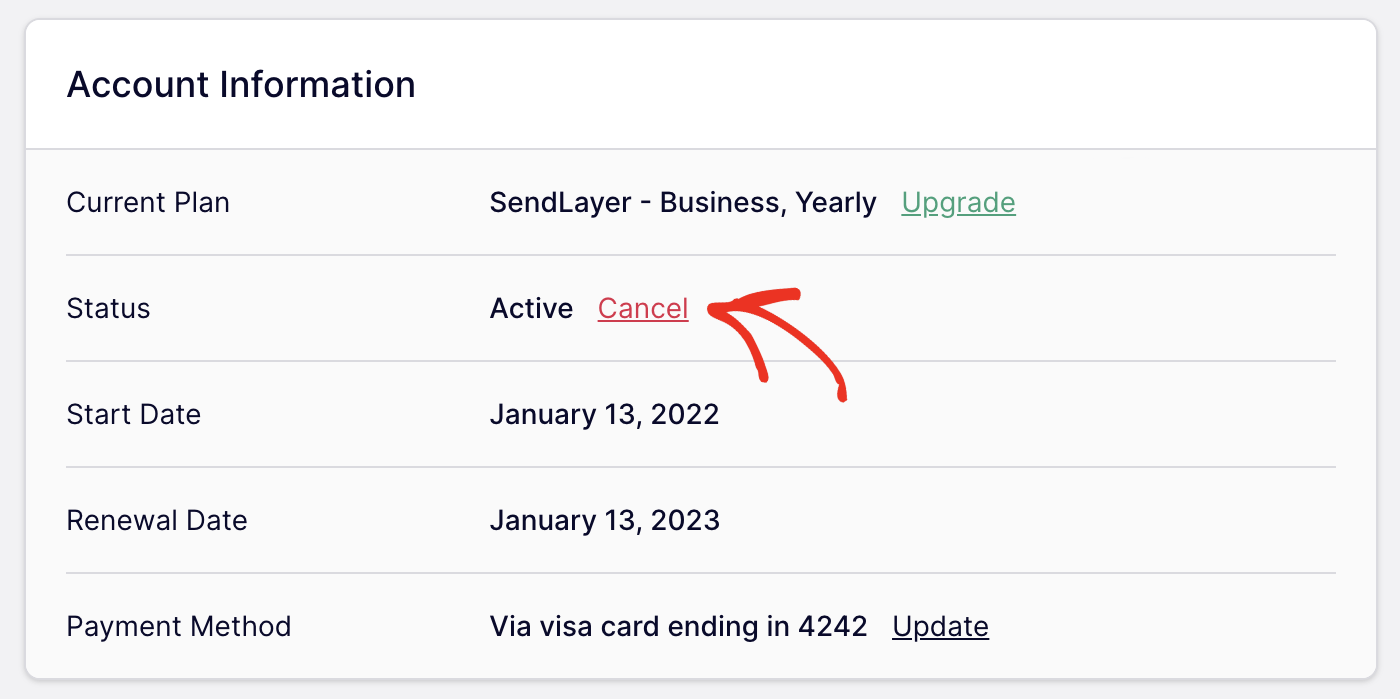
If you’d like to cancel your SendLayer account, click the Cancel link located in the Account Information section.
Updating Your Payment Method
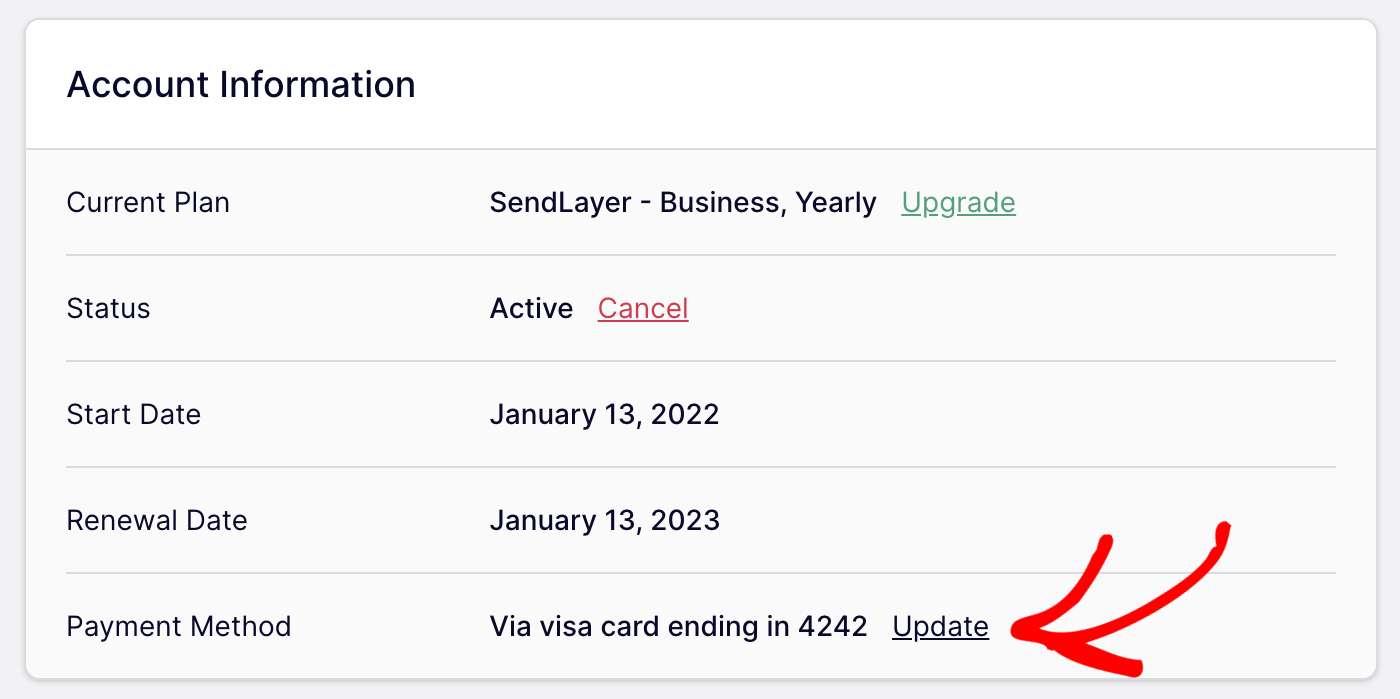
To update the payment method you use for your SendLayer plan, click the Update link in the Payment Method section of your account information.
On the next page, you’ll see an overview of your plan and billing details.
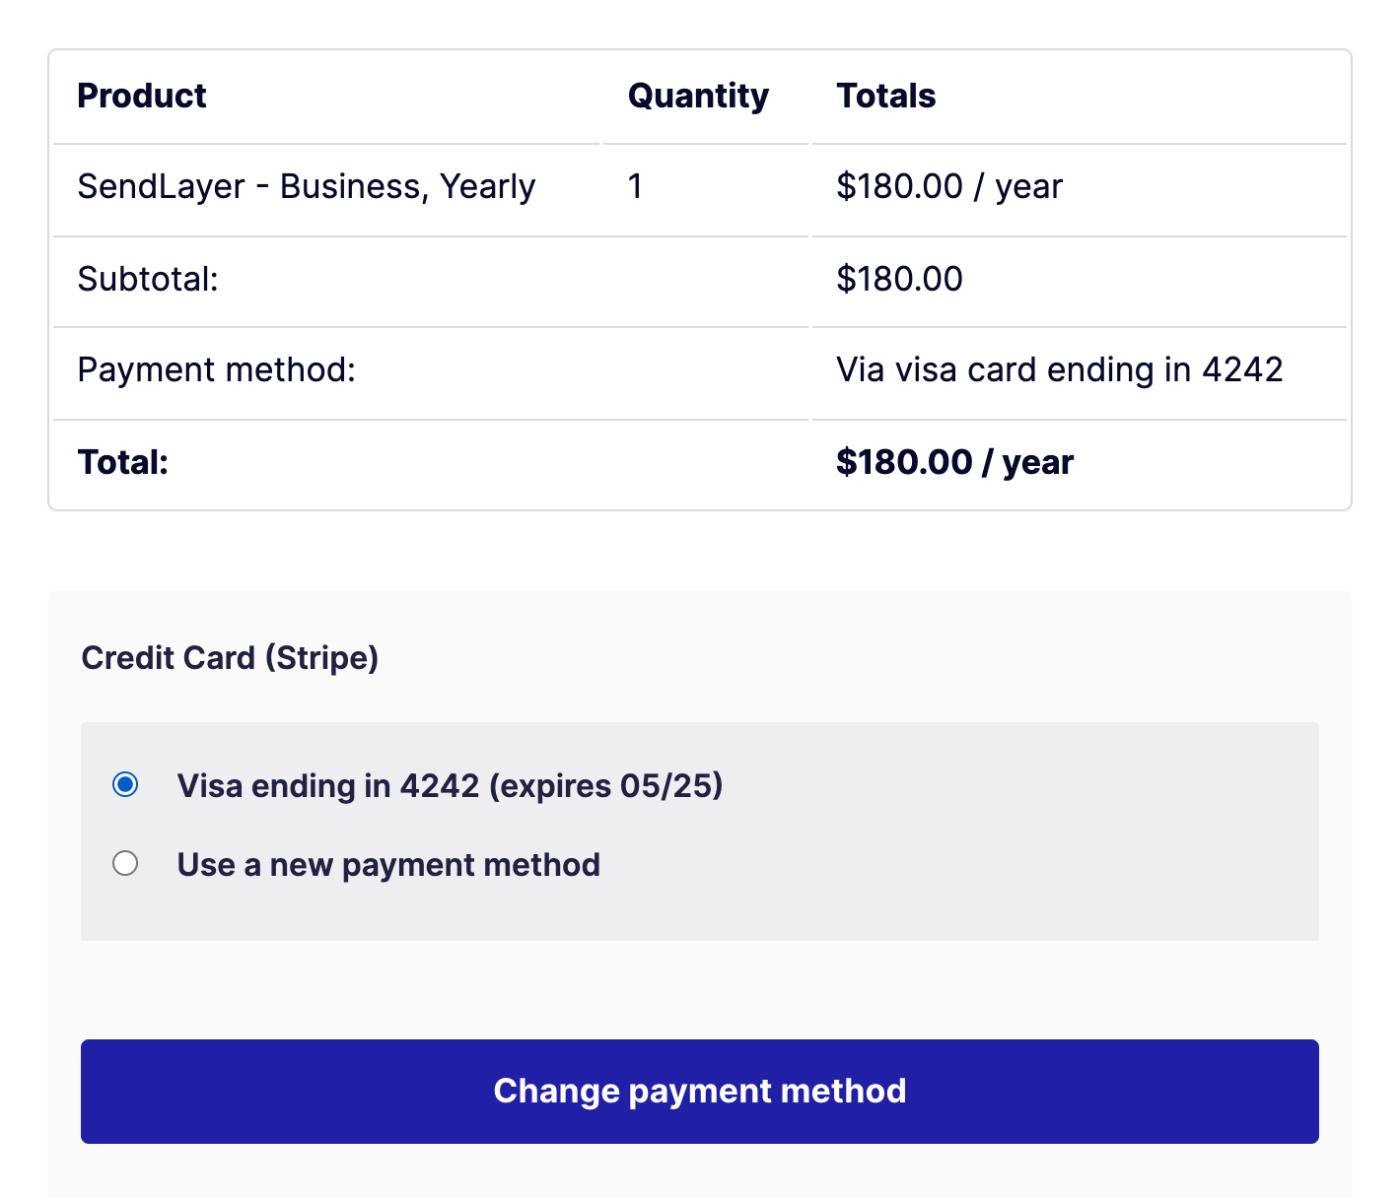
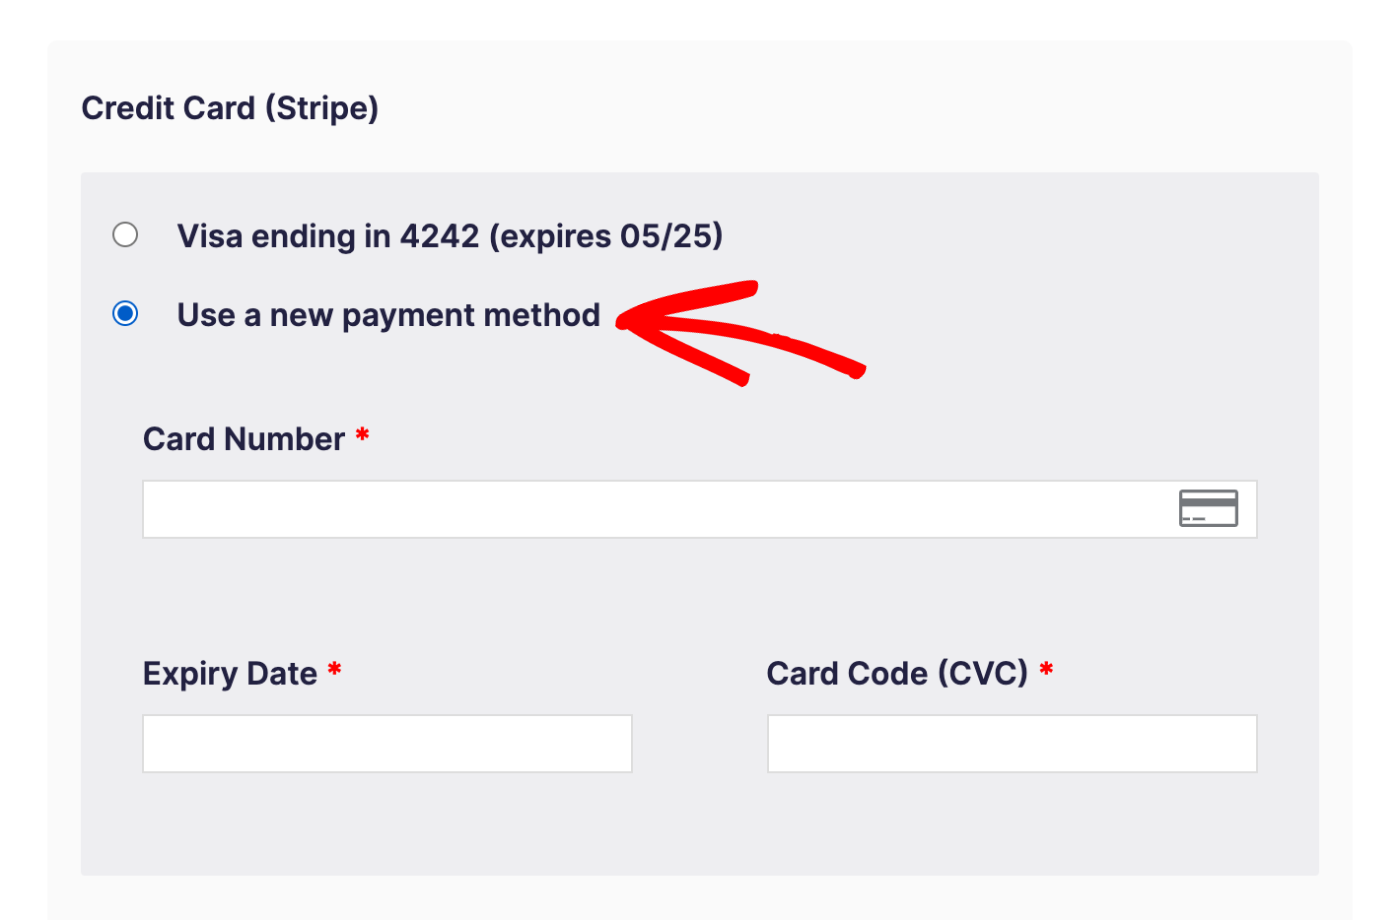
From here, you can select the Use a new payment method option to add a new card.
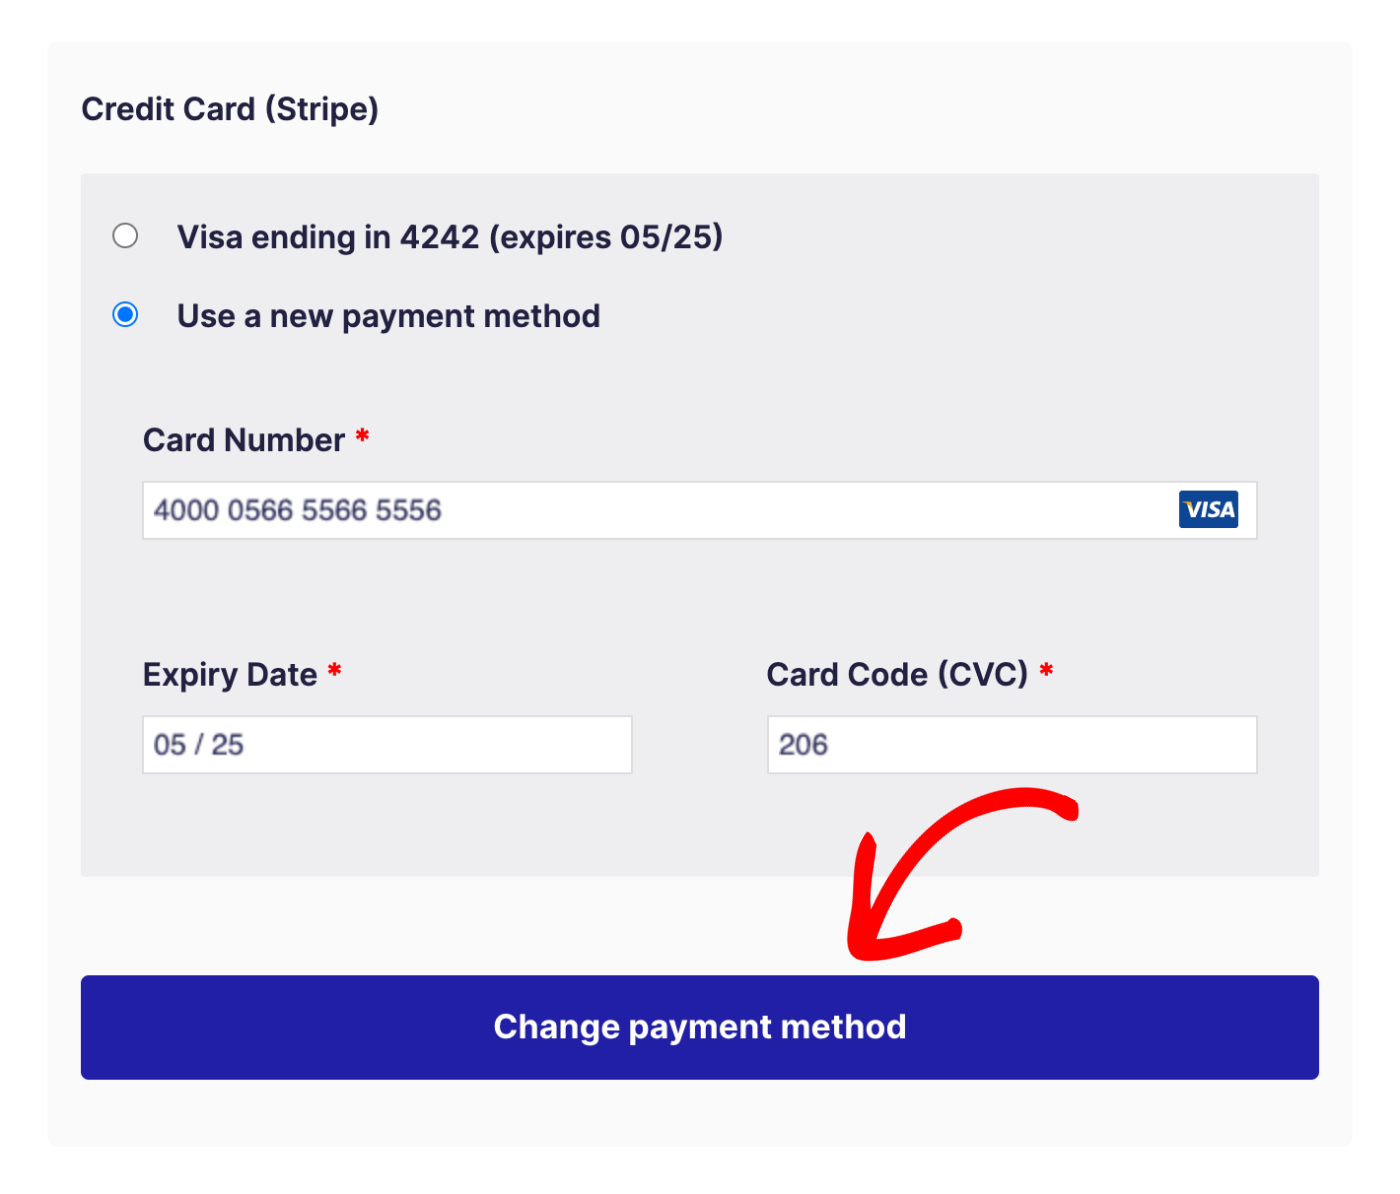
Next, go ahead and add your card details and click the Change payment method button to switch your default payment method to the new card you’re adding.
Generating an Invoice
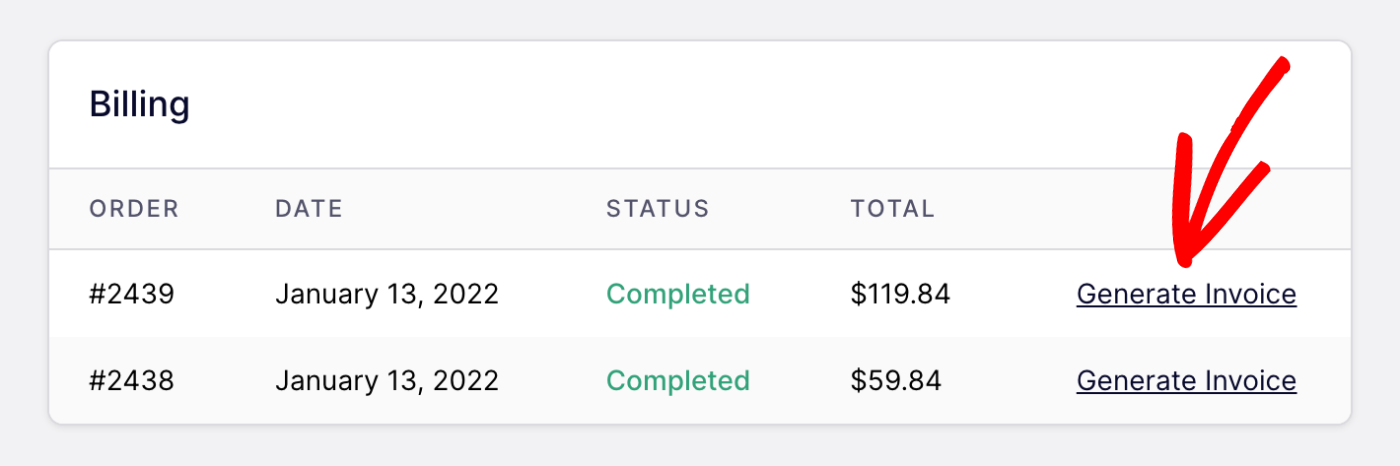
SendLayer makes it easy to quickly generate an invoice for any account-related purchases. To do this, scroll to the Billing section of your account settings.
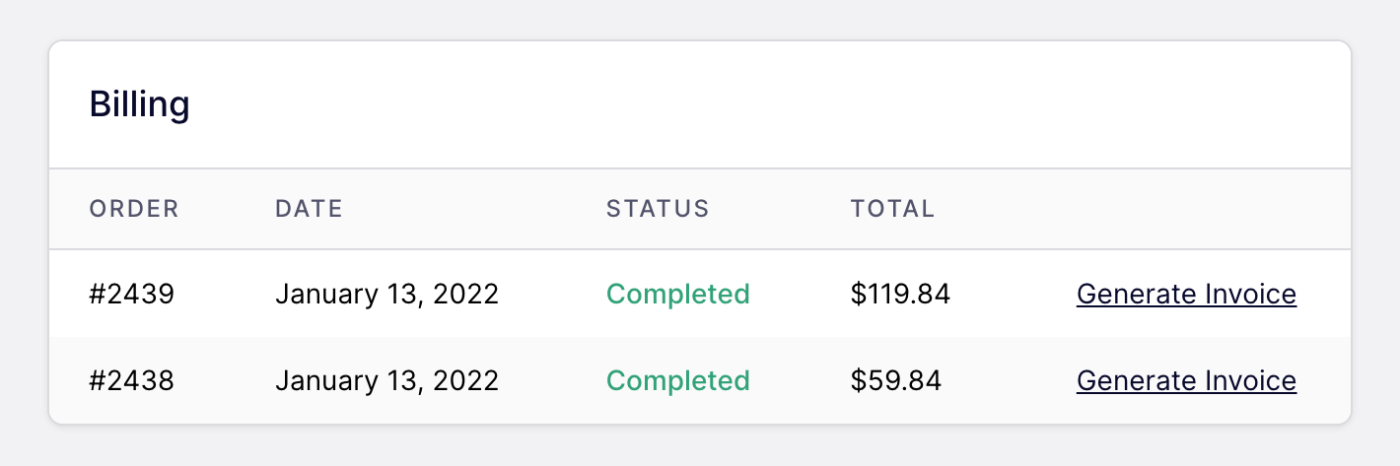
Then, click on the Generate Invoice link next to an order to download a PDF of your invoice.
Updating Your Profile
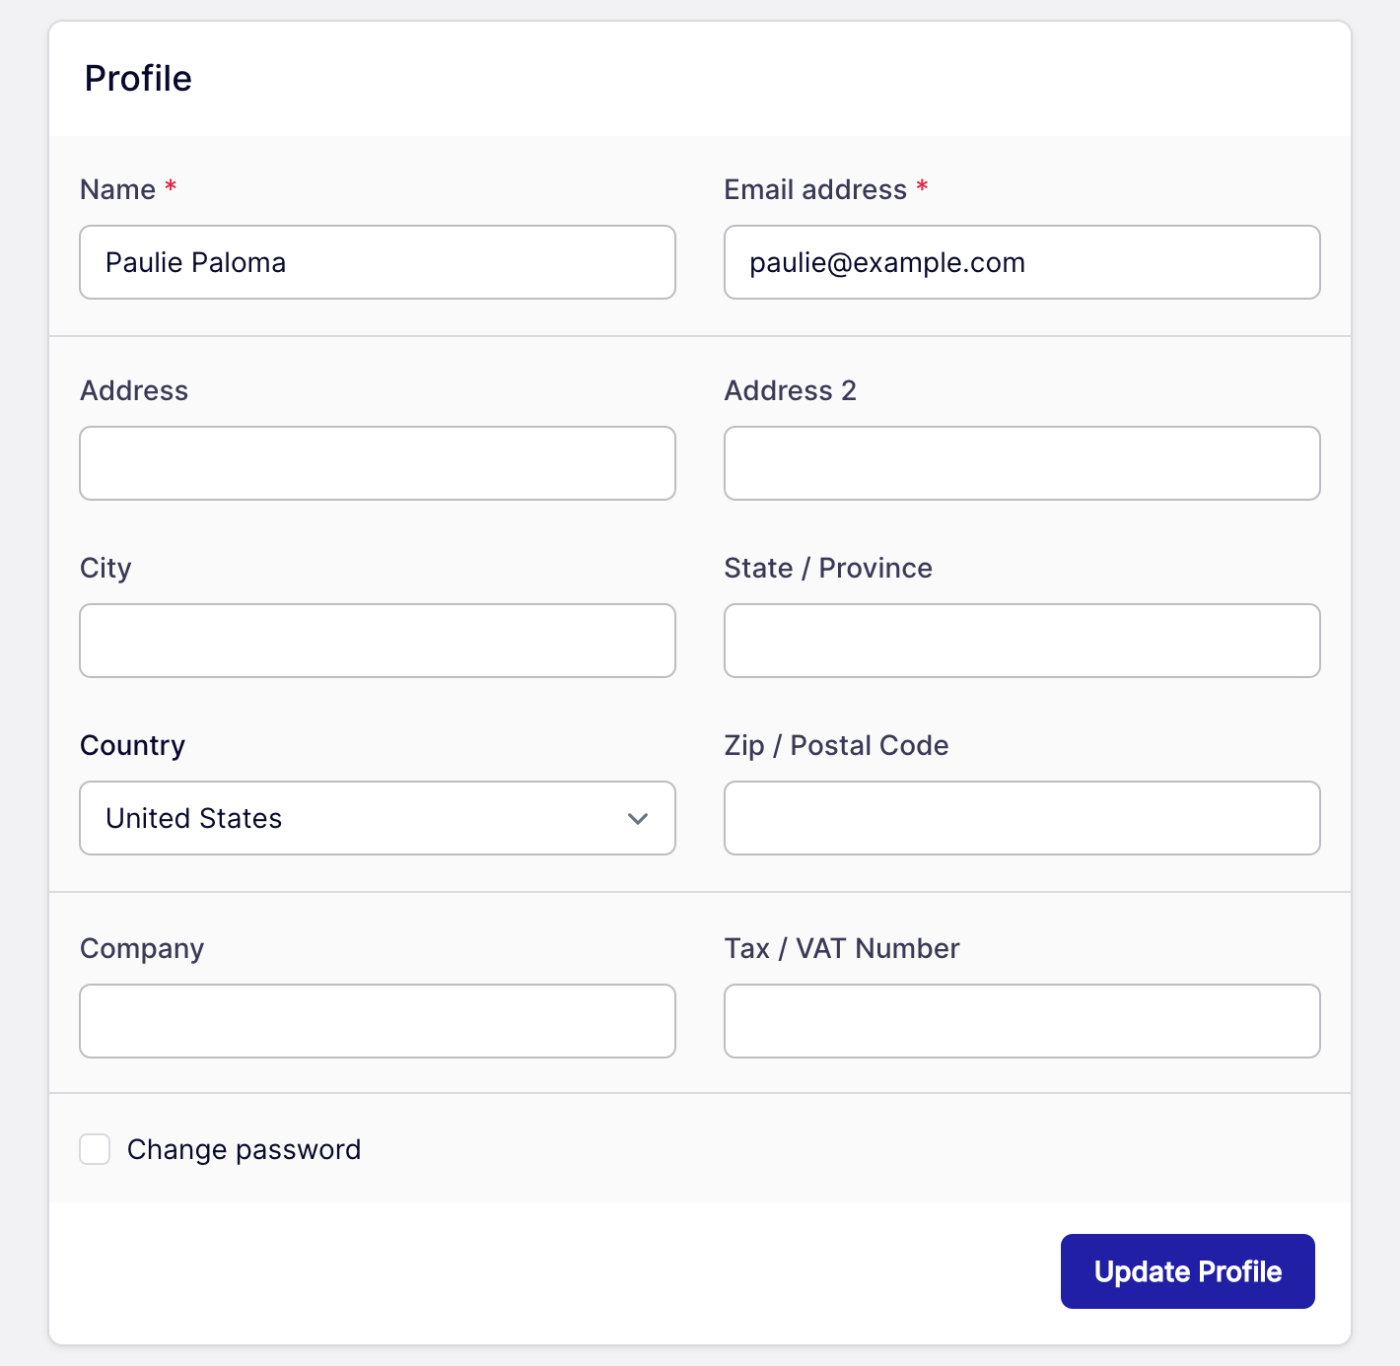
In the Profile section of your account settings, you can update any of your personal details, such as your name, email address, and mailing address.
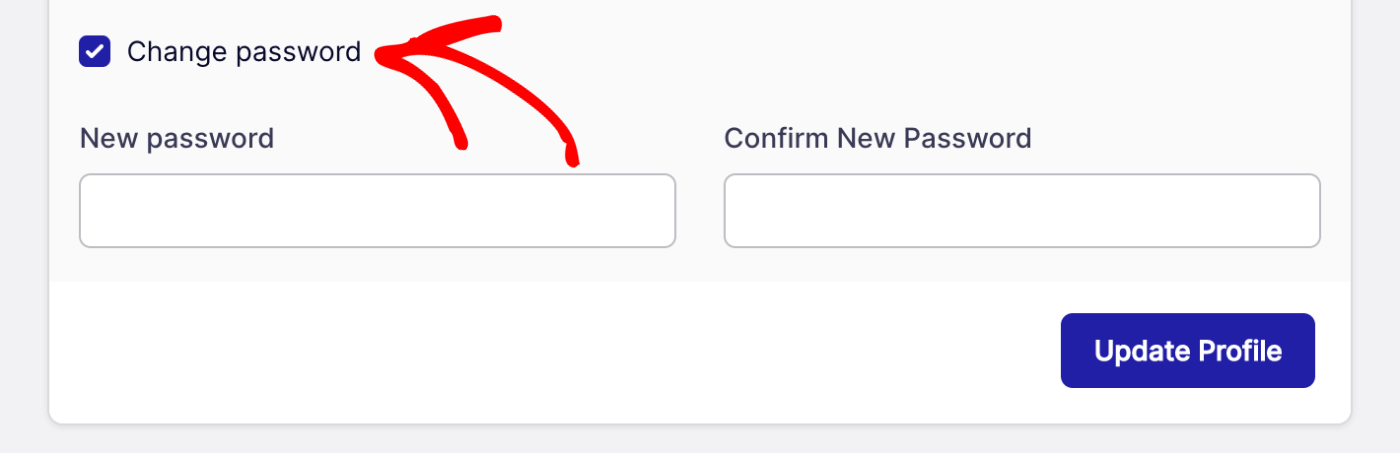
In this section, you also have the option to change your account password. To do this, check the box next to Change password and add your new password details.
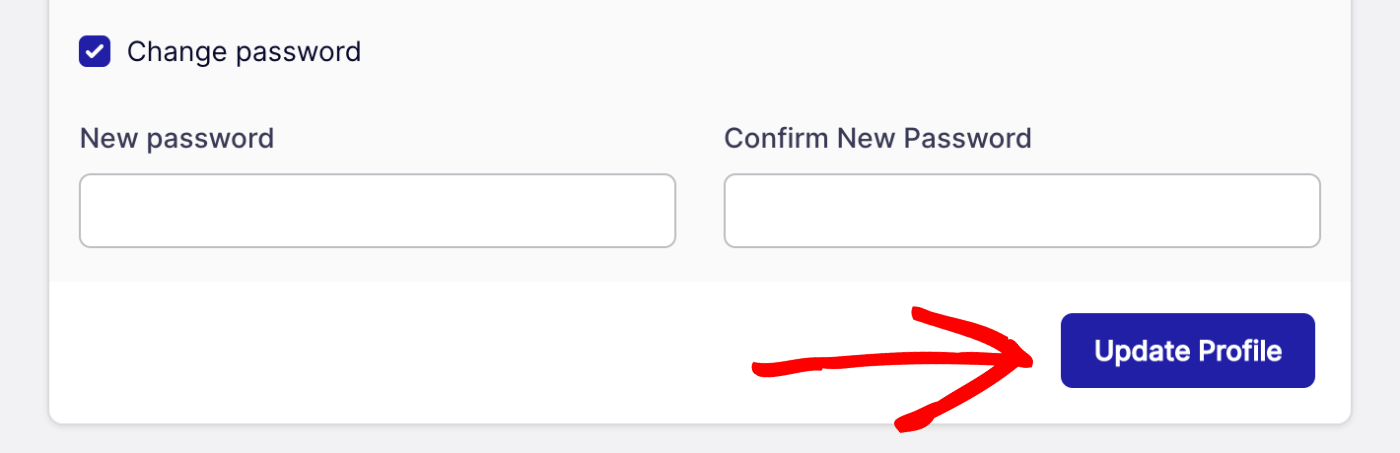
If you’ve updated your personal details or password, be sure to click the Update Profile button to save the changes.
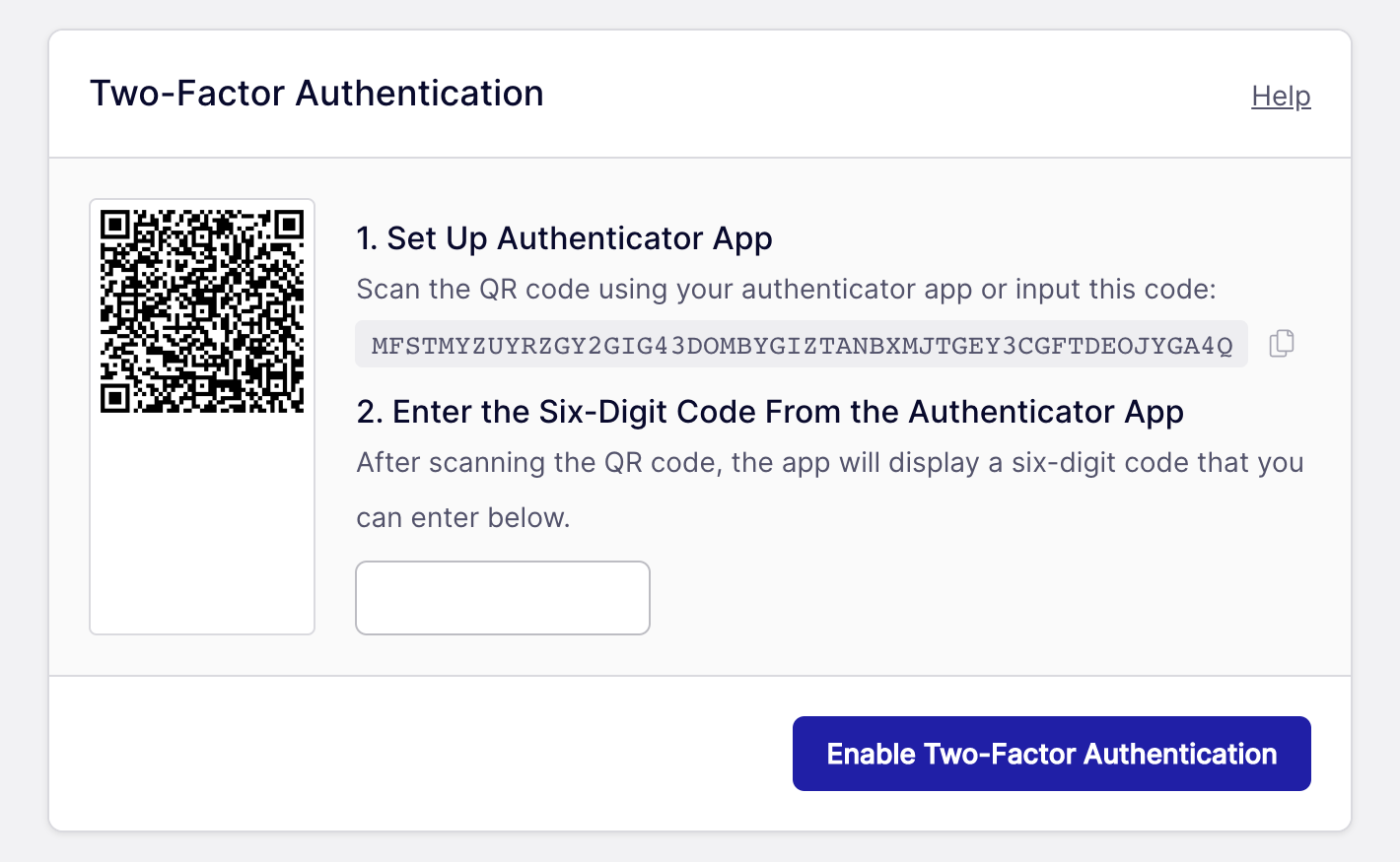
Setting Up Two-Factor Authentication
At the bottom of the page, you’ll find an option to set up Two-Factor Authentication (2FA). This is an easy way to add another layer of security to your account.
That’s it! Now you know how to manage your SendLayer account.
Next, would you like to learn about managing your domain settings? Check out our tutorial on editing domain settings for more information.