Would you like to edit your sending domain’s settings in SendLayer?
We provide several options for your domains so that you can get the most out of our platform.
In this tutorial, we’ll show you how to access and change settings for your domains.
Before getting started, be sure to:
Opening Your Domain’s Settings
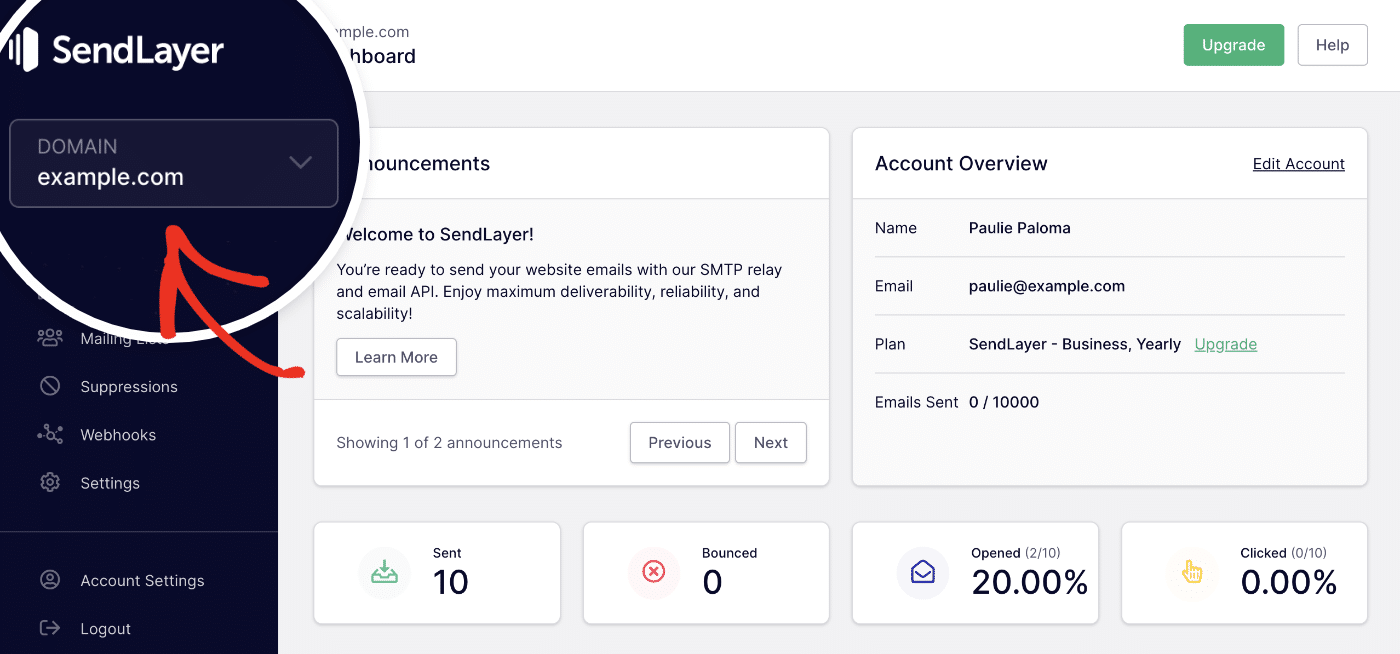
To access your domain settings, first log in to your SendLayer dashboard. Then make sure the correct domain is selected from the dropdown in the top left corner.
Next, click on Settings in the navigation menu on the left side of the screen.
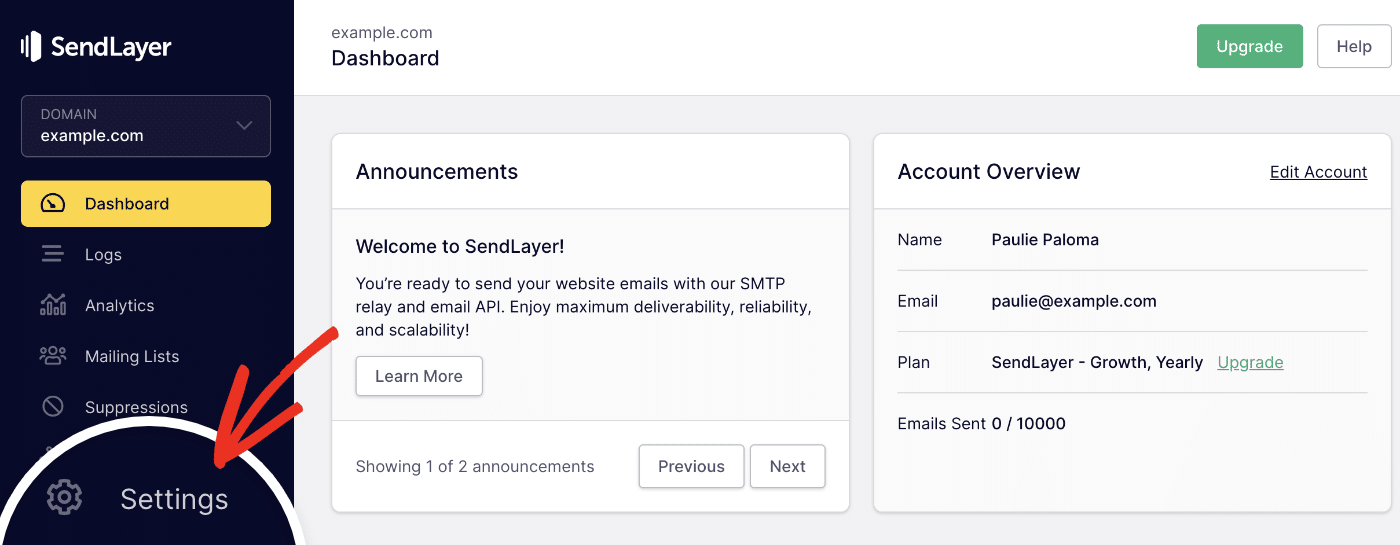
Note: Be sure to select Settings and not Account Settings. These two areas contain different options.
Editing DNS Records & Settings
When you open your Settings page, you should automatically be directed to the DNS Records & Settings tab.

Make sure you’re in this section before you check out the options described below.
Verifying DNS Settings
The first section in your domain settings shows your DNS records. You should have already added these to your domain’s DNS settings when you authorized it after creating your account.
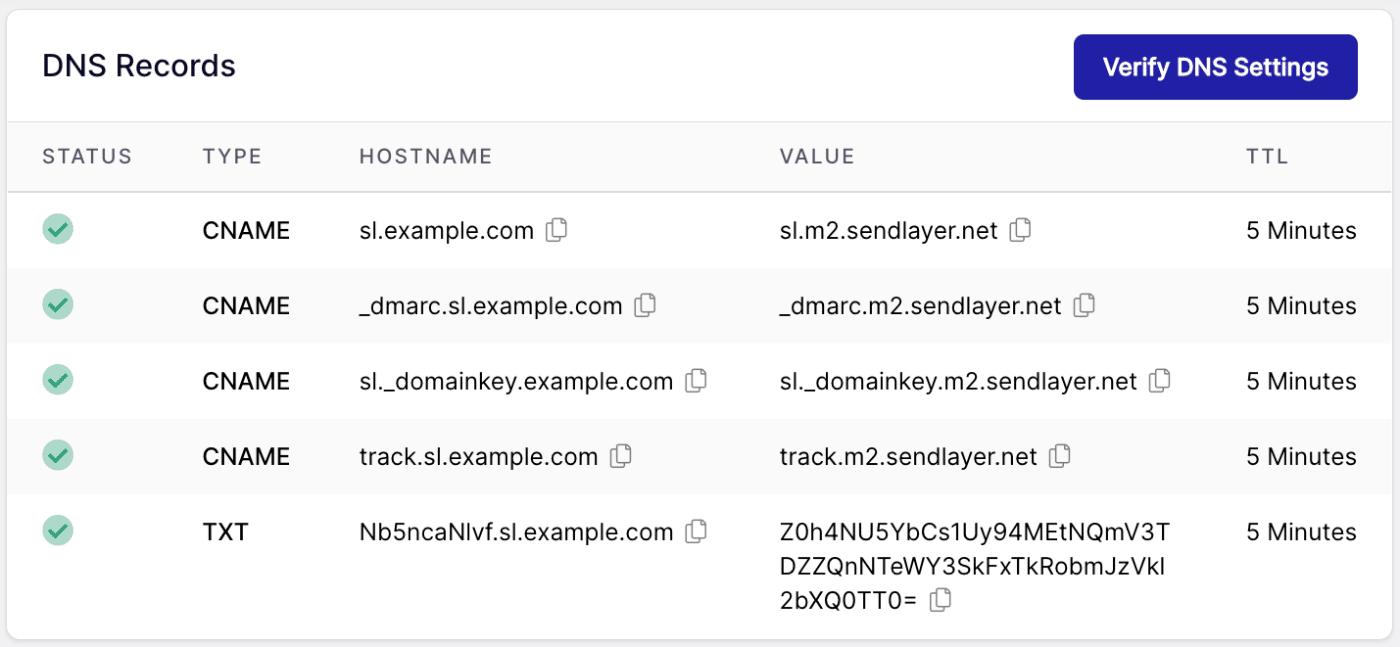
If you need to add your DNS records again, you can access all the information you need to copy into your DNS settings in the table provided here. Also, if you want SendLayer to check your domain for these records, just click the Verify DNS Settings button.
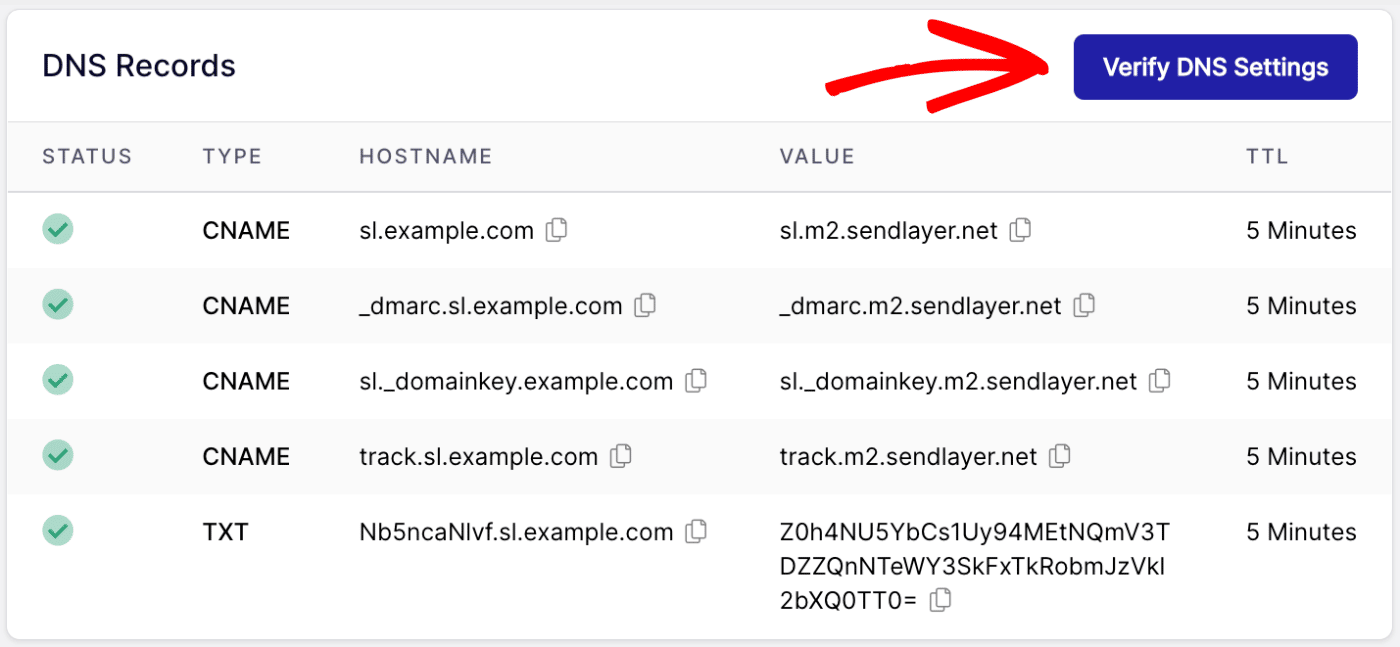
This will let you know if your domain has been properly authorized and your DNS settings have propagated.
Enabling Tracking
SendLayer includes several features that enable you to track user behavior. You can turn these options on or off from the Settings screen by clicking on the toggles.
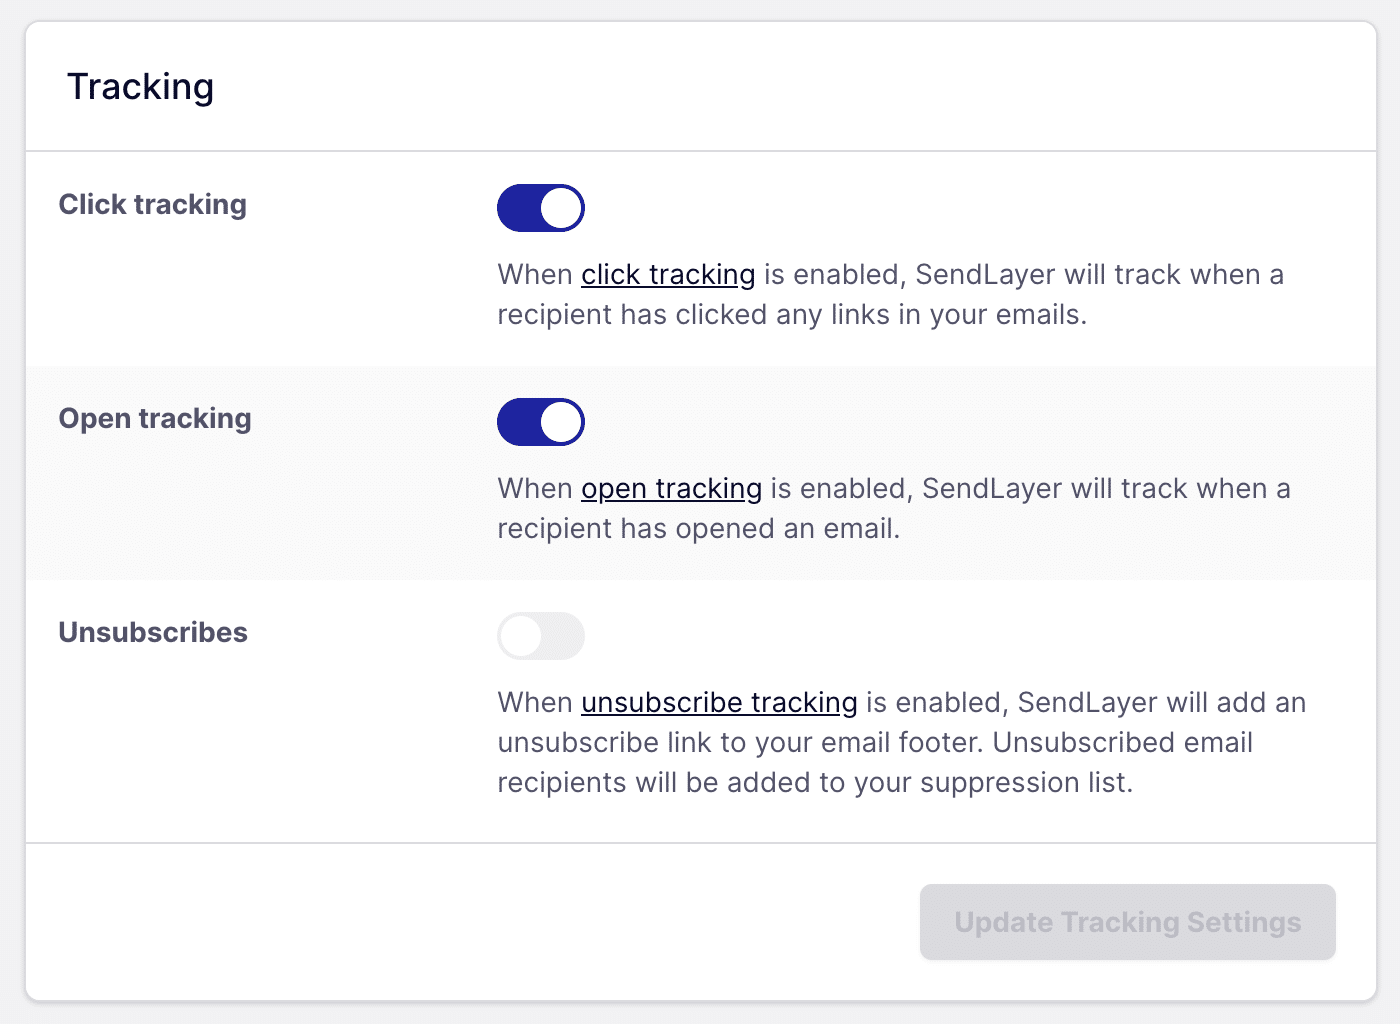
The tracking features include:
- Click tracking: If your emails include links, click tracking will let you know if recipients are clicking on them. You can keep track of your click-through rate in your SendLayer Analytics.
- Open tracking: This option will track how many recipients open the emails you send them. Your open rate is also included in your SendLayer Analytics.
- Unsubscribes: Turning on this option will add an “unsubscribe” link to all of the emails you send through SendLayer. Recipients who unsubscribe from your emails using this link will automatically be added to your suppression list and will no longer receive emails from you.
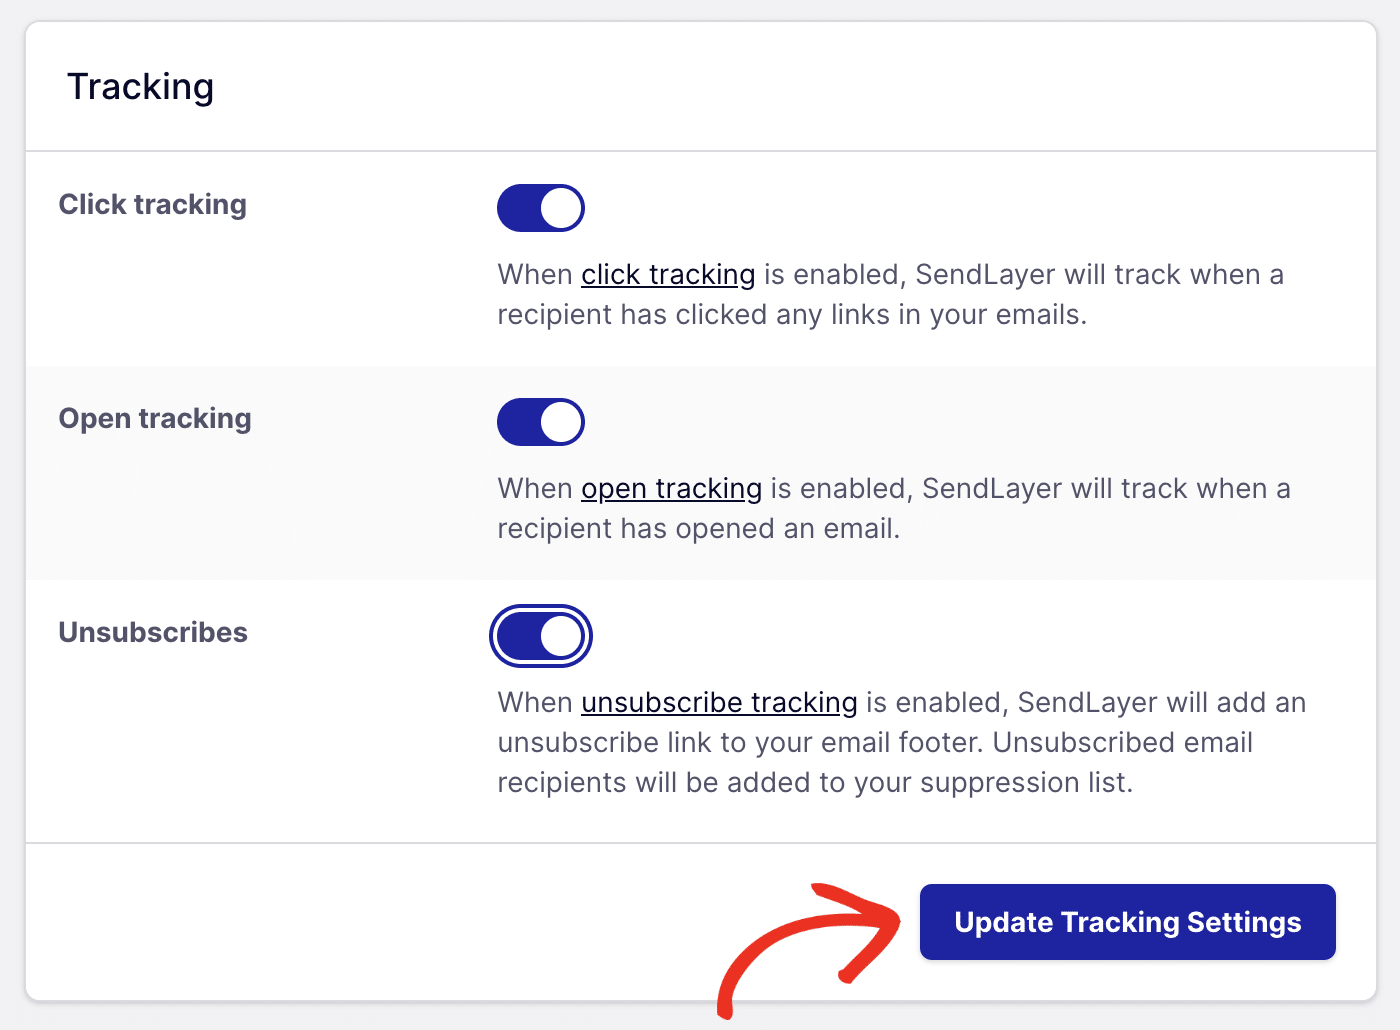
If you make any changes to your tracking settings, be sure to click on the Update Tracking Settings button that appears at the bottom of this section.
Configuring Advanced Domain Settings
There are two advanced domain settings on this screen as well.
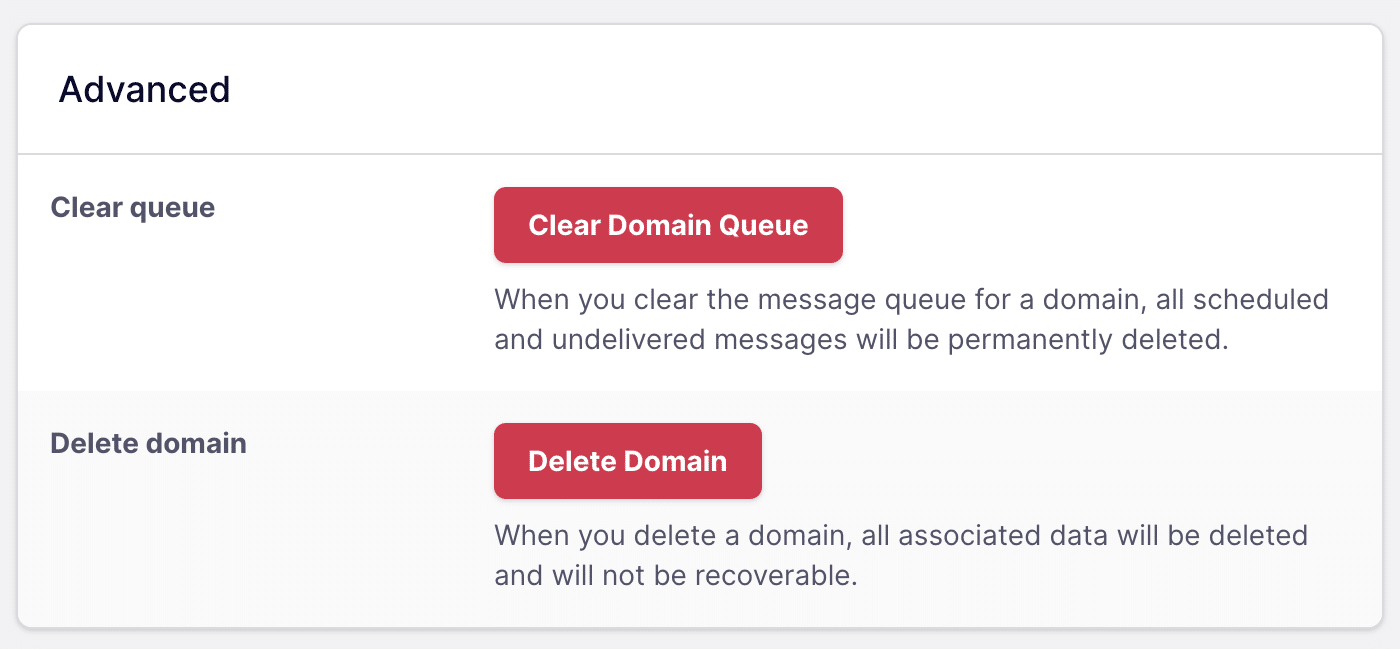
The Clear queue option will delete any scheduled and undelivered emails waiting to be sent. This includes messages that have failed and are waiting to be resent, as well as any messages you’ve scheduled to go out to your mailing lists.
Click on the Clear Domain Queue button to erase these messages.
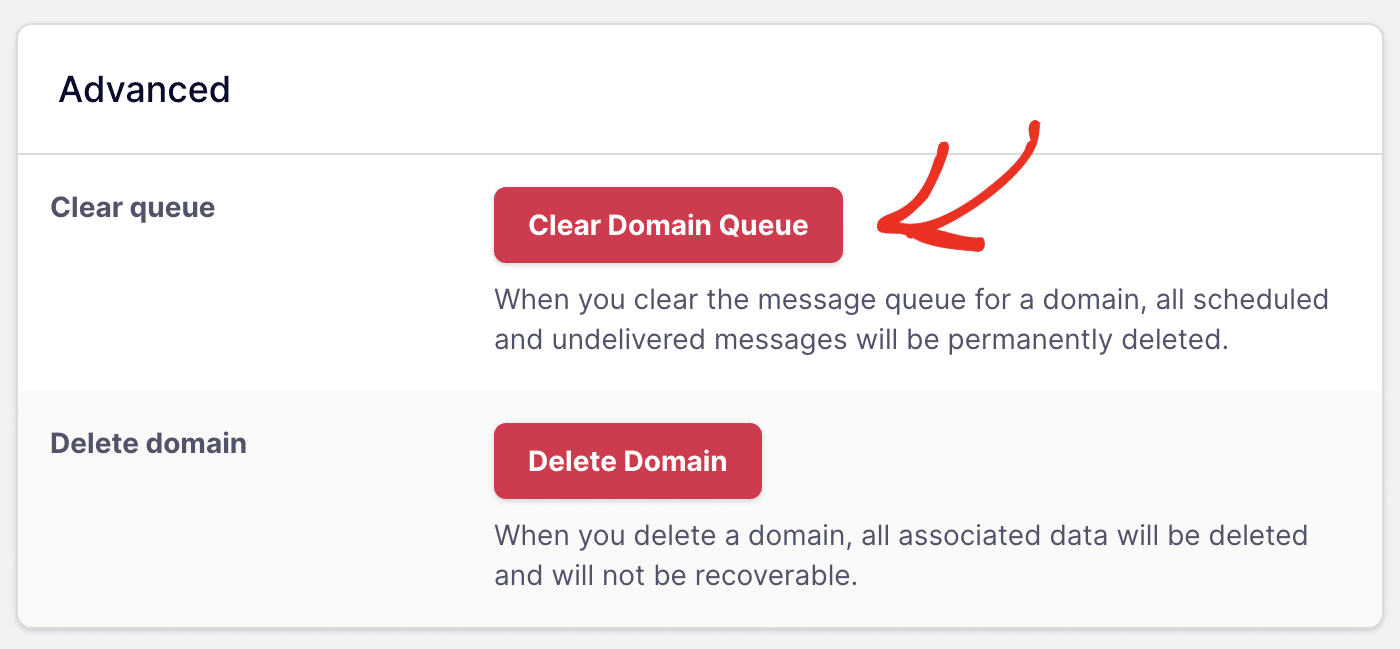
The other advanced setting on this screen enables you to delete your domain from your SendLayer account. All you have to do is click the Delete Domain button.
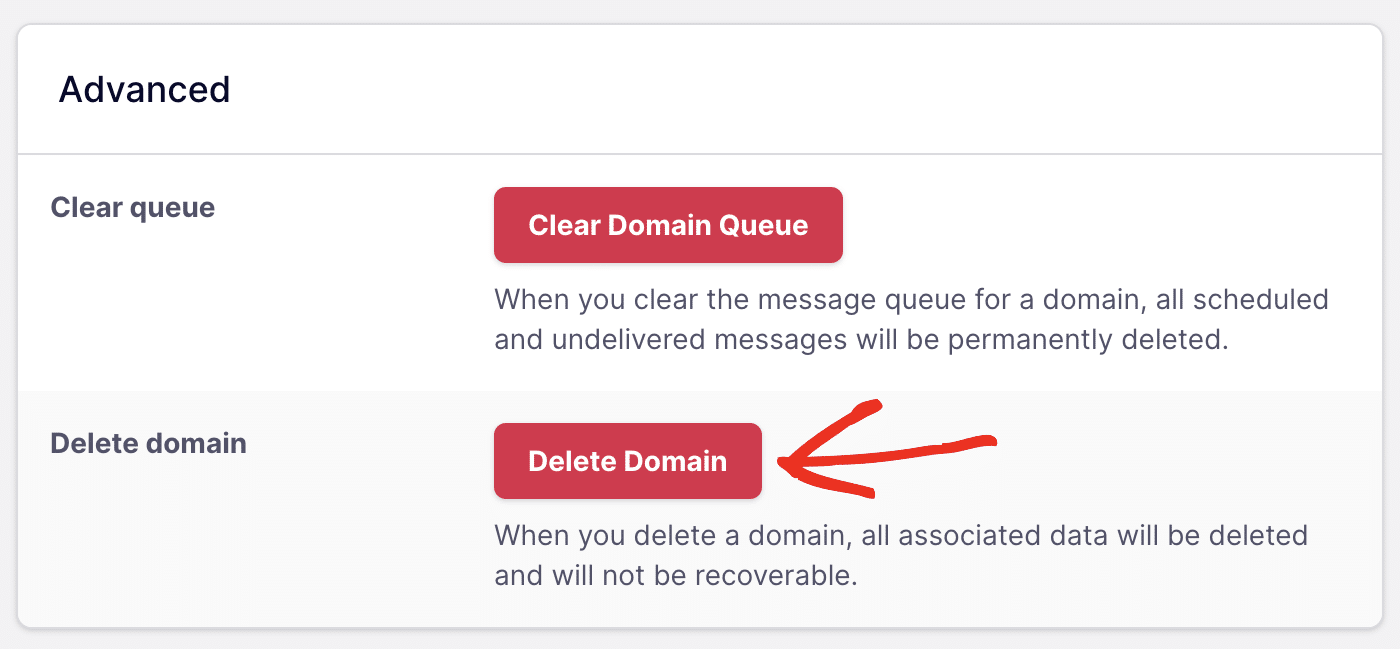
Note: Deleting your domain cannot be undone and there is no way to recover the data associated with the domain once it’s deleted. Be sure you no longer need any of the information associated with the domain before you delete it from your account.
SMTP Credentials
The second tab in the Settings area will take you to your SMTP credentials.

For more details on the options here, see our guide to managing your SMTP credentials in SendLayer.
API Keys
The last tab on the Settings screen is for your API keys.

To learn more about how to use, create, and delete API keys, see our documentation on managing SendLayer API keys.
That’s it! Now you know how to edit your domain settings in SendLayer.
Next, would you like to learn about the SMTP Credentials and API Keys tabs in your settings? Check out our tutorials on managing SMTP credentials and API Keys for more information.