Want to ensure your emails reach the recipients’ inboxes?
Before sending emails with SendLayer, you’ll need to authorize your domain. This process helps improve email deliverability by letting email servers know that you are the confirmed owner of the domain.
In this tutorial, we’ll guide you through the steps to authorize your domain.
Before getting started, you’ll need:
- Access to your web hosting account’s DNS settings
What Is Domain Authorization?
Domain authorization shows receiving email servers that you are the confirmed owner of the sending domain. This process helps email providers like Gmail, Yahoo, and Outlook determine that your emails are legitimate, unharmful to the recipient, and are sent from an authorized sender. This leads to improved email deliverability, which means that your emails are more likely to reach the recipients’ inboxes and stay out of their spam boxes.
To authorize your domain, SendLayer will provide you with DNS (Domain Name System) records that you’ll add to your domain host’s DNS settings. In the next section, we’ll cover all the steps needed to authorize your domain.
Authorizing Your Domain in SendLayer
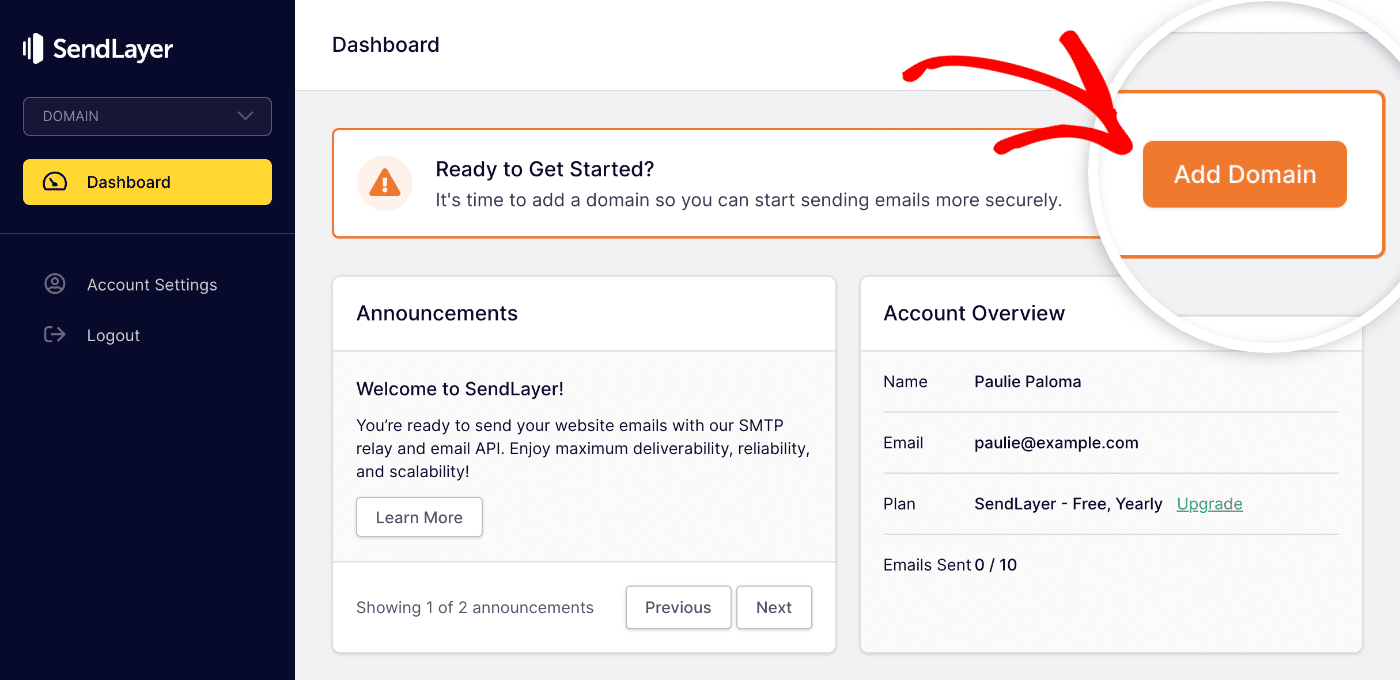
First, you’ll need to log in to your SendLayer account dashboard.
To authorize your first domain, start by clicking the orange Add Domain button at the top of the page.
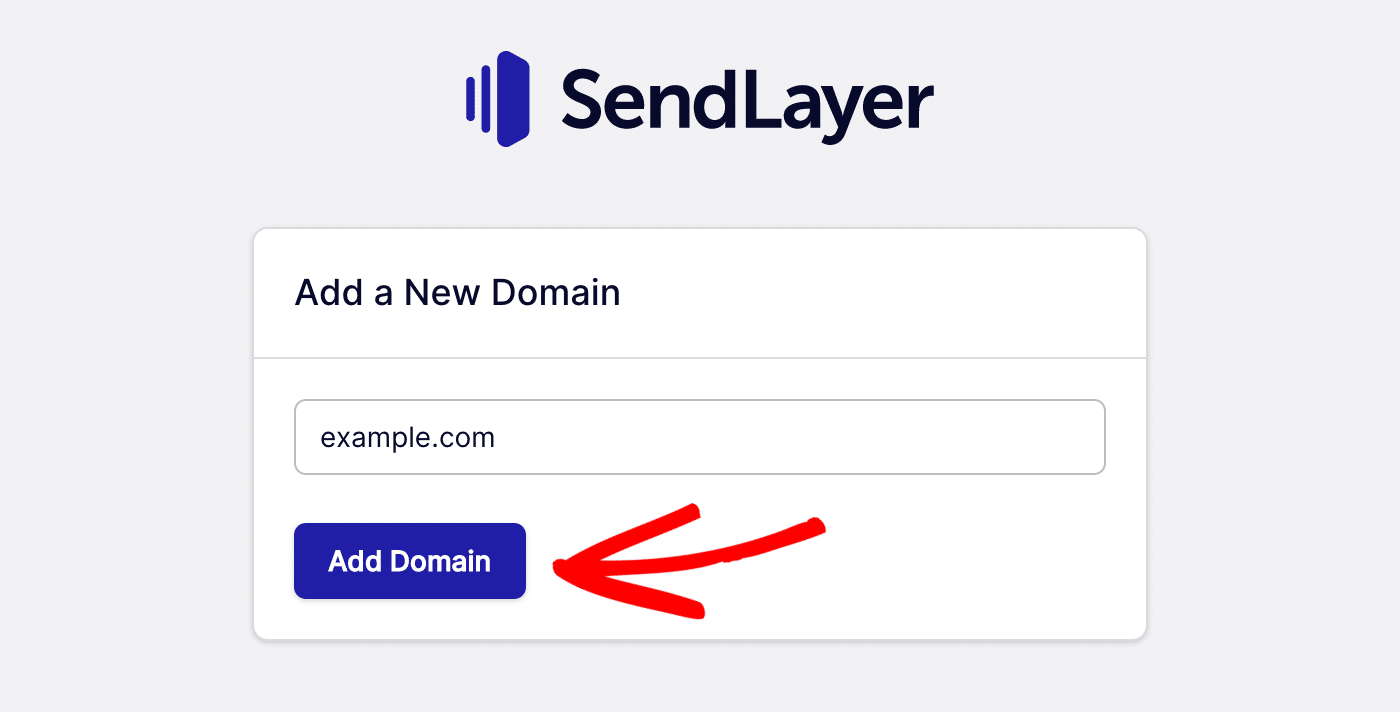
On the next page, you’ll be prompted to add a new domain. Go ahead and add your domain and click the Add Domain button.
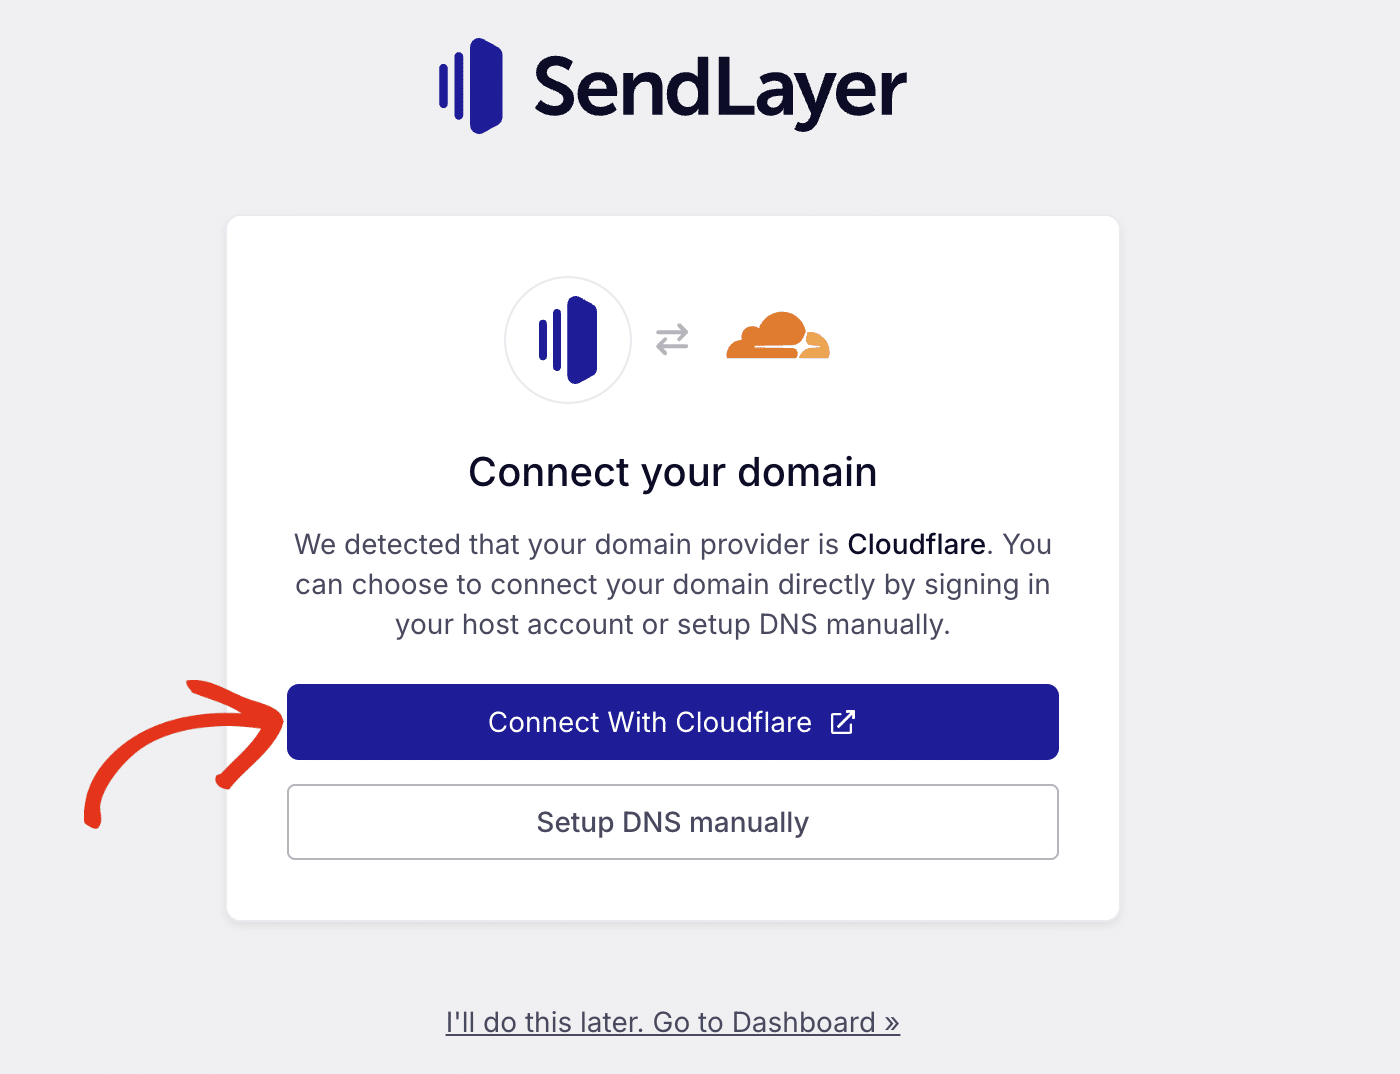
Once you’ve added your domain, SendLayer will automatically detect your domain host.
Depending on your domain host, you can either automatically verify your domain or manually add the 5 DNS (Domain Name System) records generated for it.
Using the One-Click Domain Verification Option
To use the one-click verification option, click the Connect With Cloudflare button.
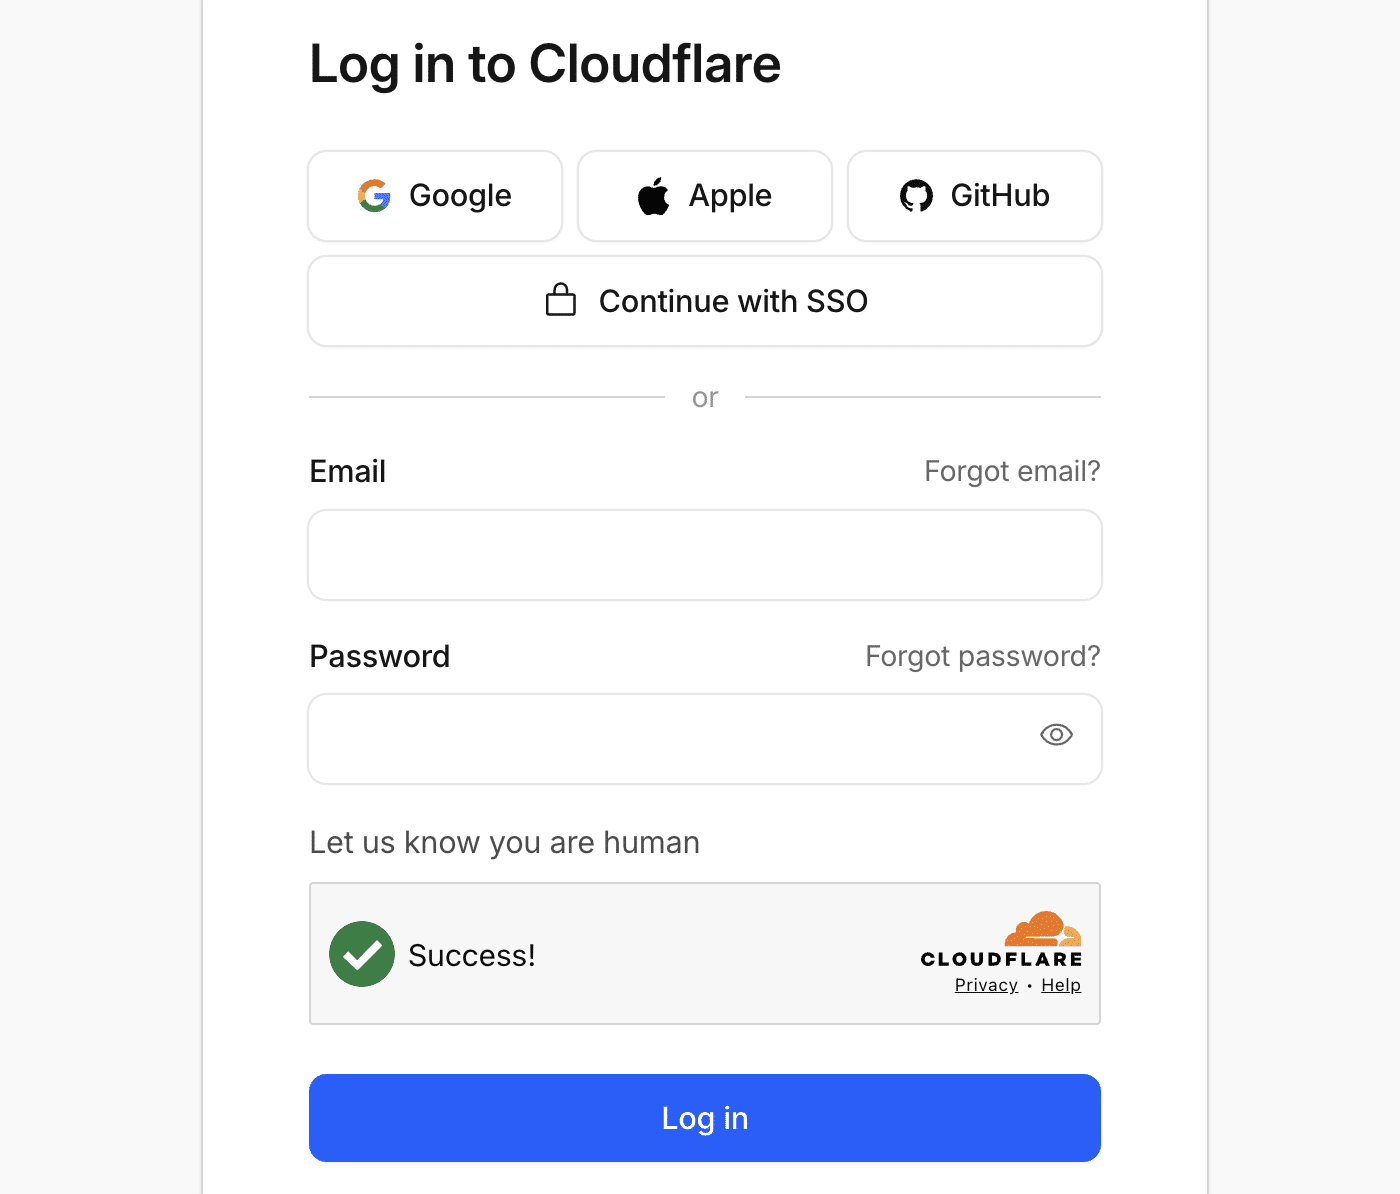
After that, you’ll need to log in to your Cloudflare account.
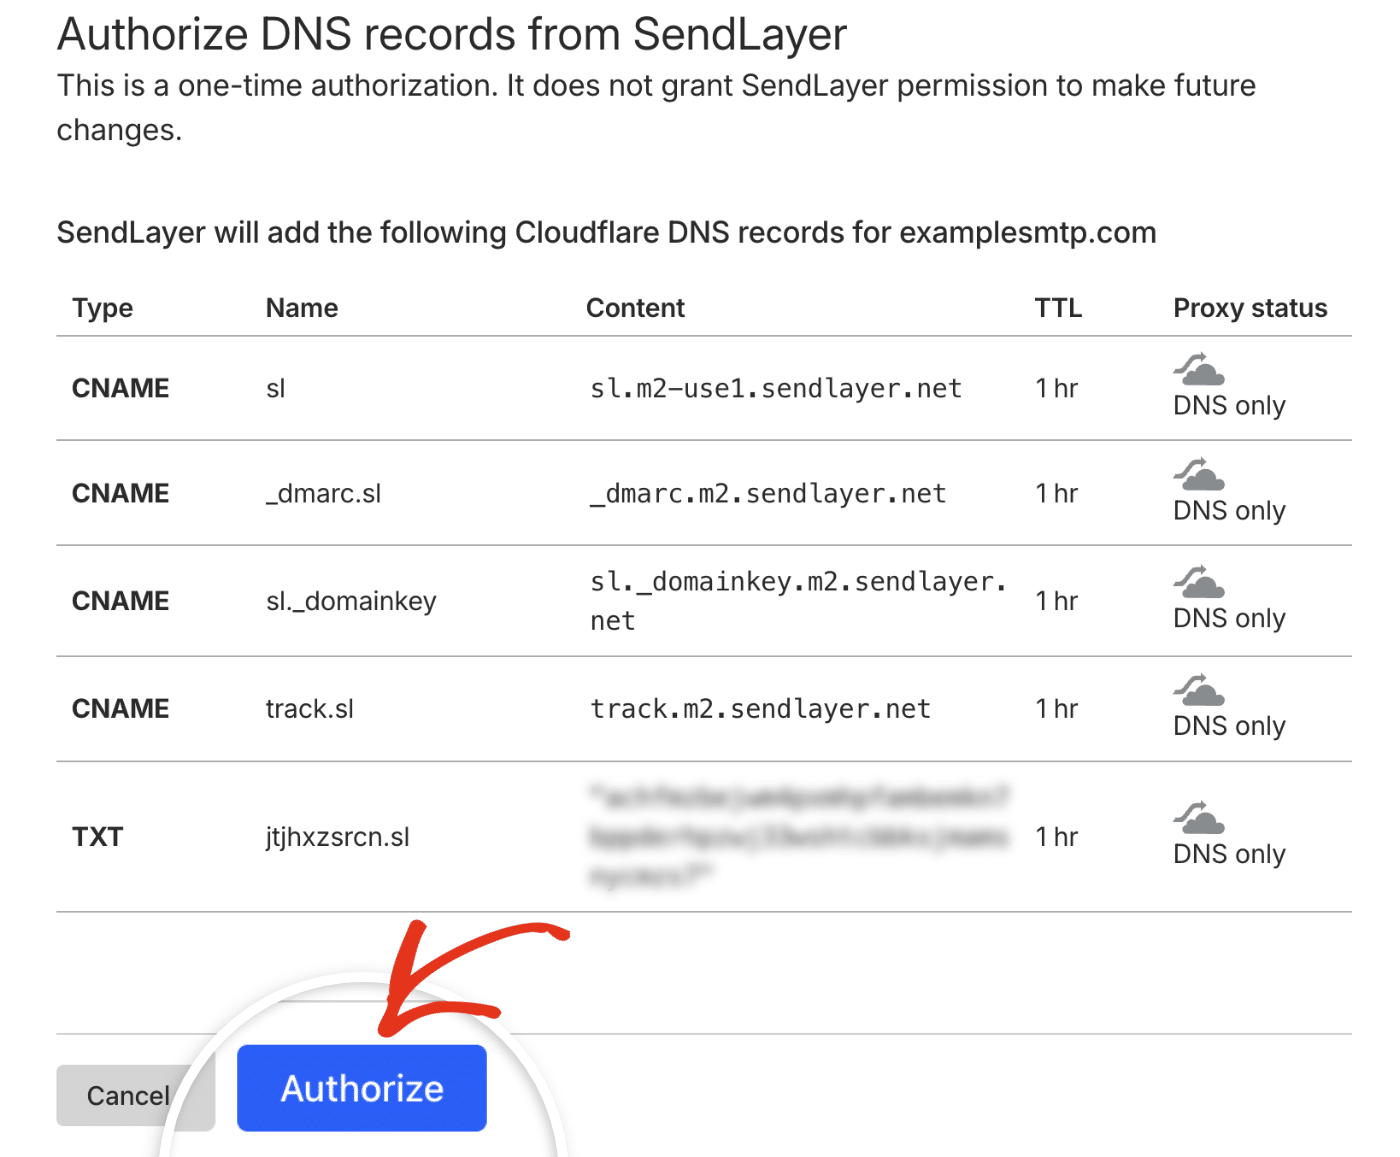
Once logged in, you’ll see the list of records you need to add to your account. Click Authorize to add them.
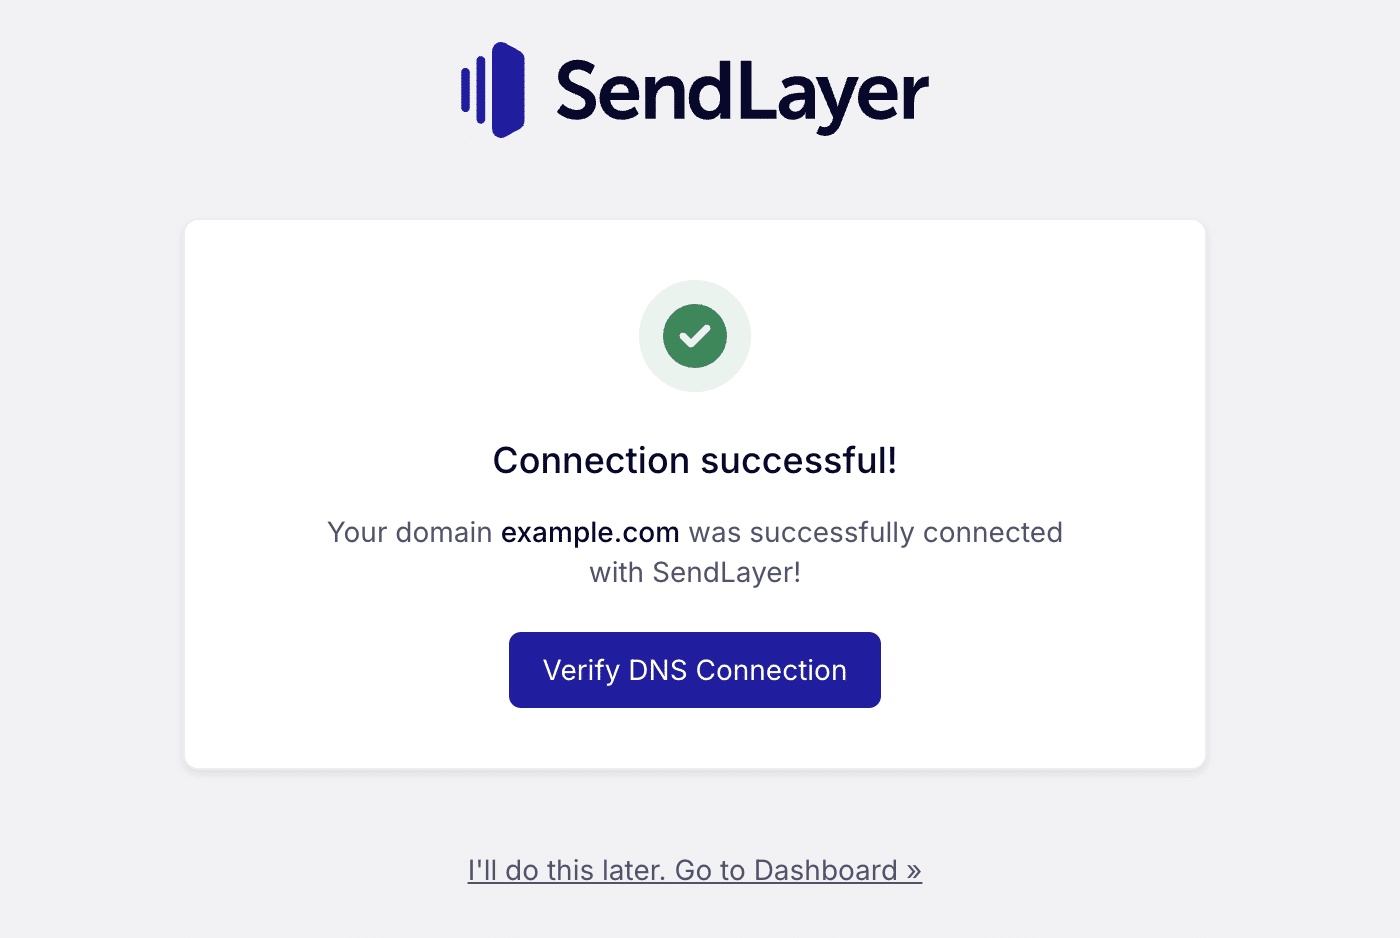
You’ll be directed back to the domain setup page with a success notification. You can click the Verify DNS Connection to check the status of the DNS propagation.
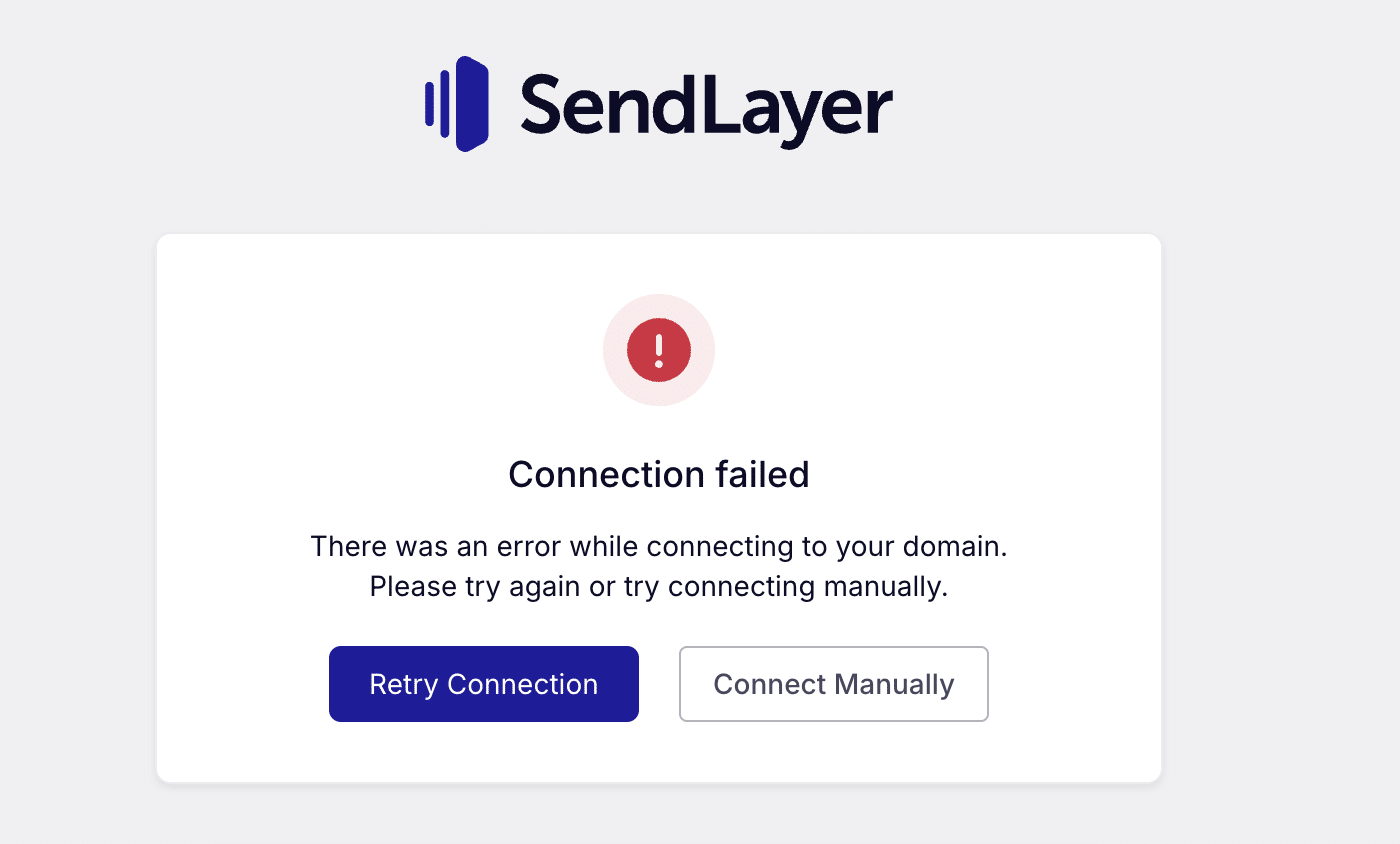
You might encounter a ‘Connection failed’ error. When this happens, you can either retry the connection or manually add the DNS records to your hosting account.
Manually Add DNS Records
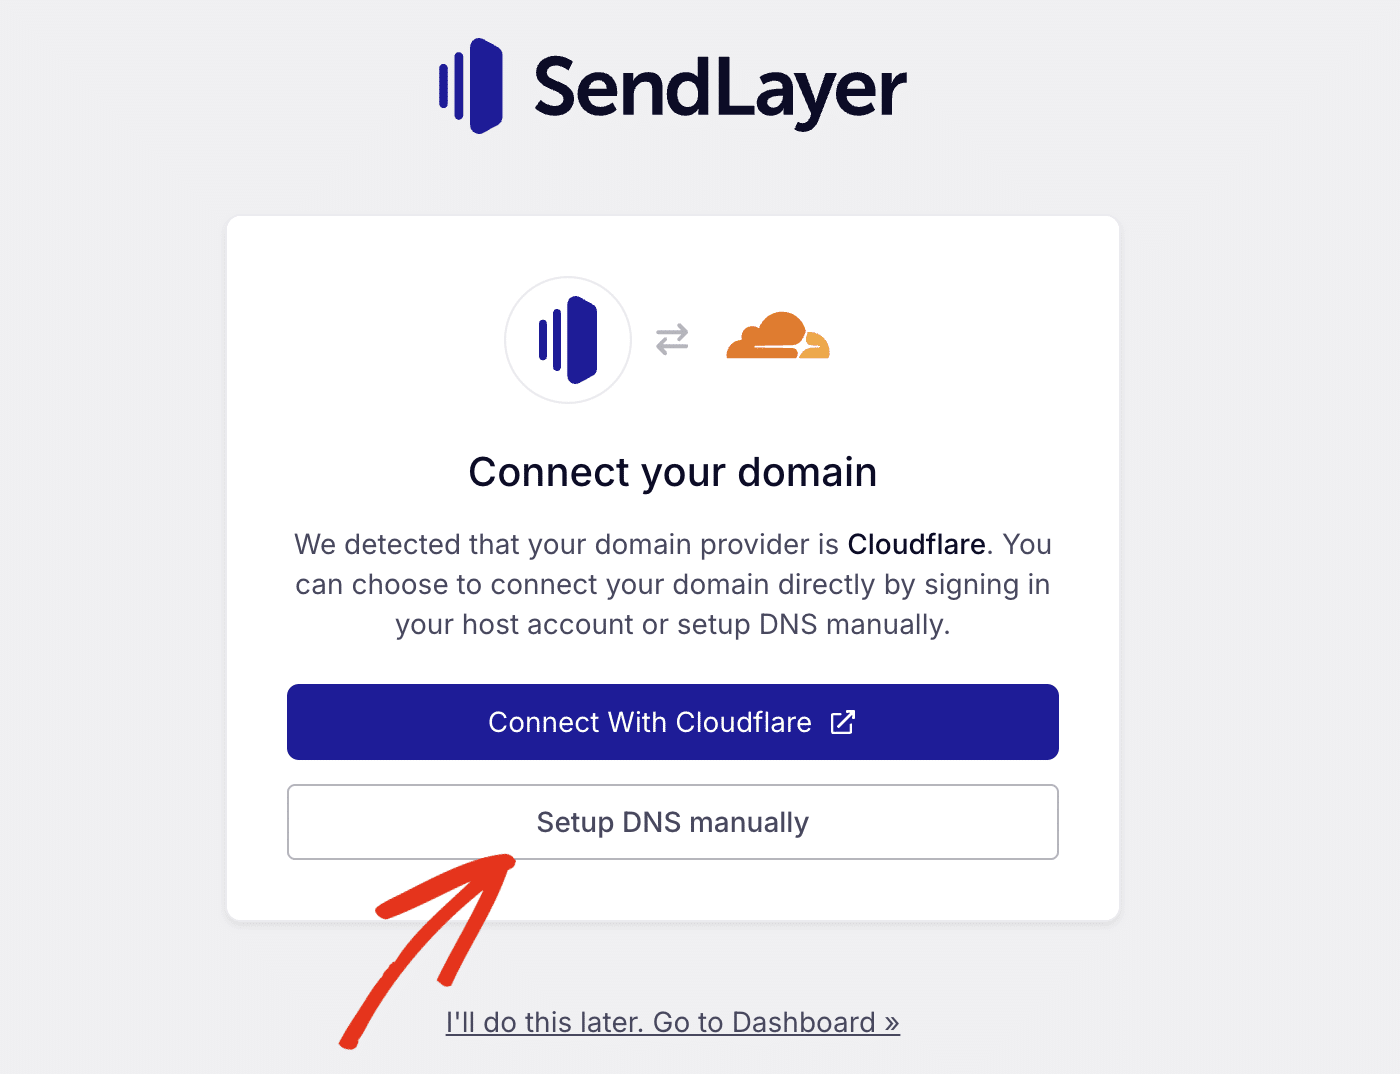
If you prefer to manually add the DNS records to your site, click the Setup DNS Manually button.
If SendLayer doesn’t detect your domain host, you’ll see the general DNS configuration for your domain.

You can click the choose your domain host link to select your domain host from the available options.

In the overlay that appears, click the Choose your domain host dropdown and select your domain service provider.

If you can’t find your domain host from the list, we recommend setting it to Other and using the general domain host DNS records.
To complete the domain authorization process, you’ll need to add each of the 5 DNS records to your site’s DNS settings. Be sure to add the TYPE, HOSTNAME, VALUE, and TTL for each record.
If you’re using Cloudflare to manage your DNS, you’ll also want to turn the Proxy Status off for each record you add.

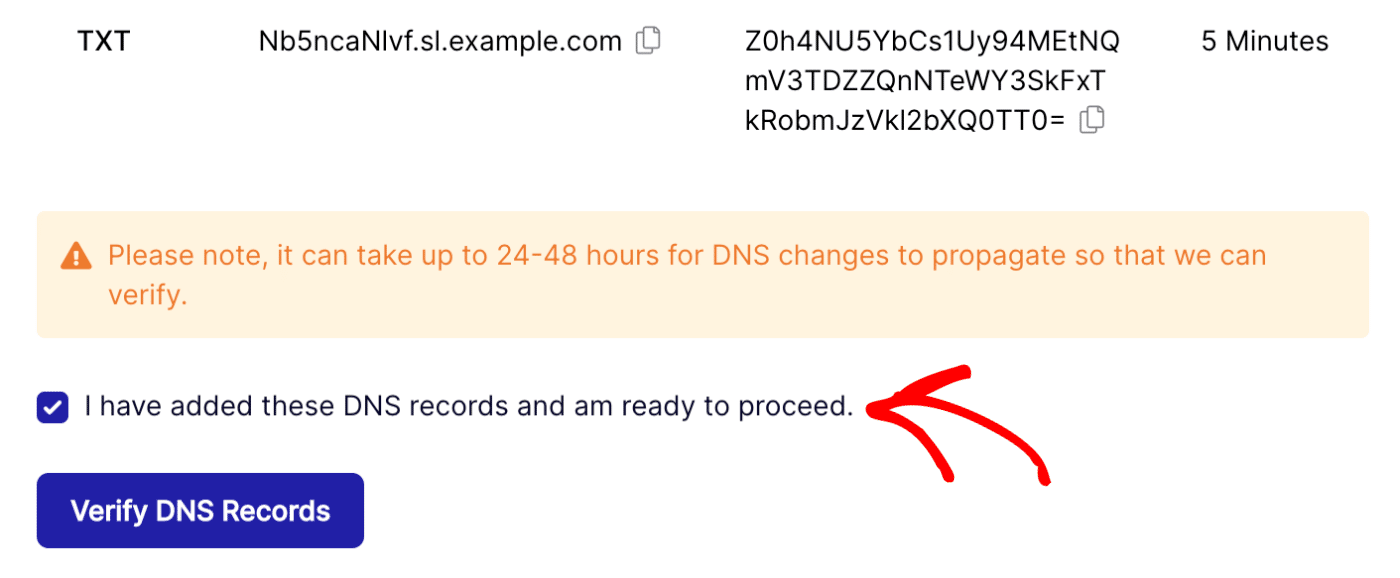
After you’ve added the DNS records to your site’s DNS settings, check the box next to I have added these DNS records and am ready to proceed.
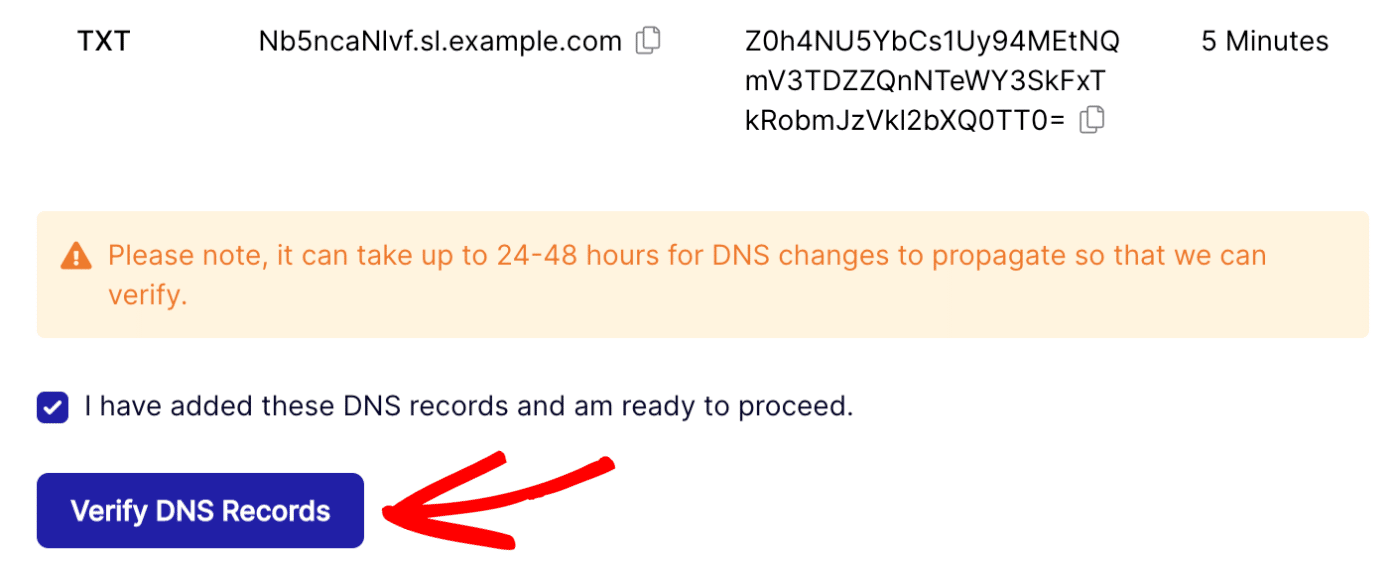
When you’re ready to proceed, click the Verify DNS Records button.
Note: It can take up to 24-48 hours for DNS changes to propagate.
Checking Your Domain Status
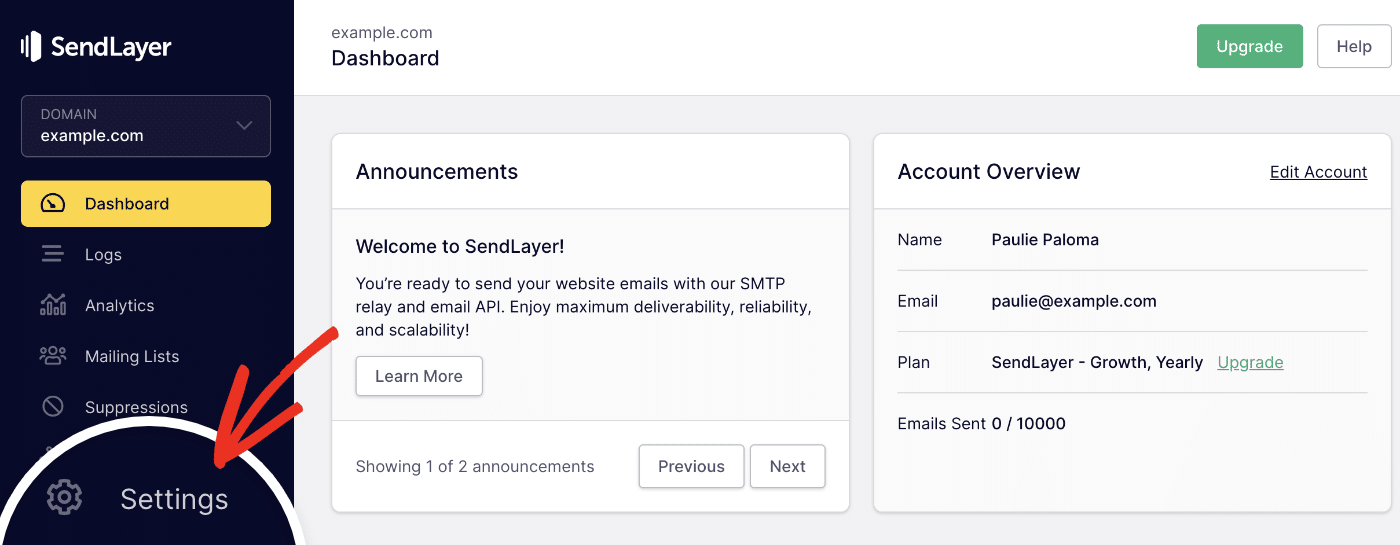
To check if your domain has been authorized, navigate to your SendLayer dashboard and click on Settings in the navigation menu.
On the next page, you’ll find your DNS records under the DNS Records & Settings tab.
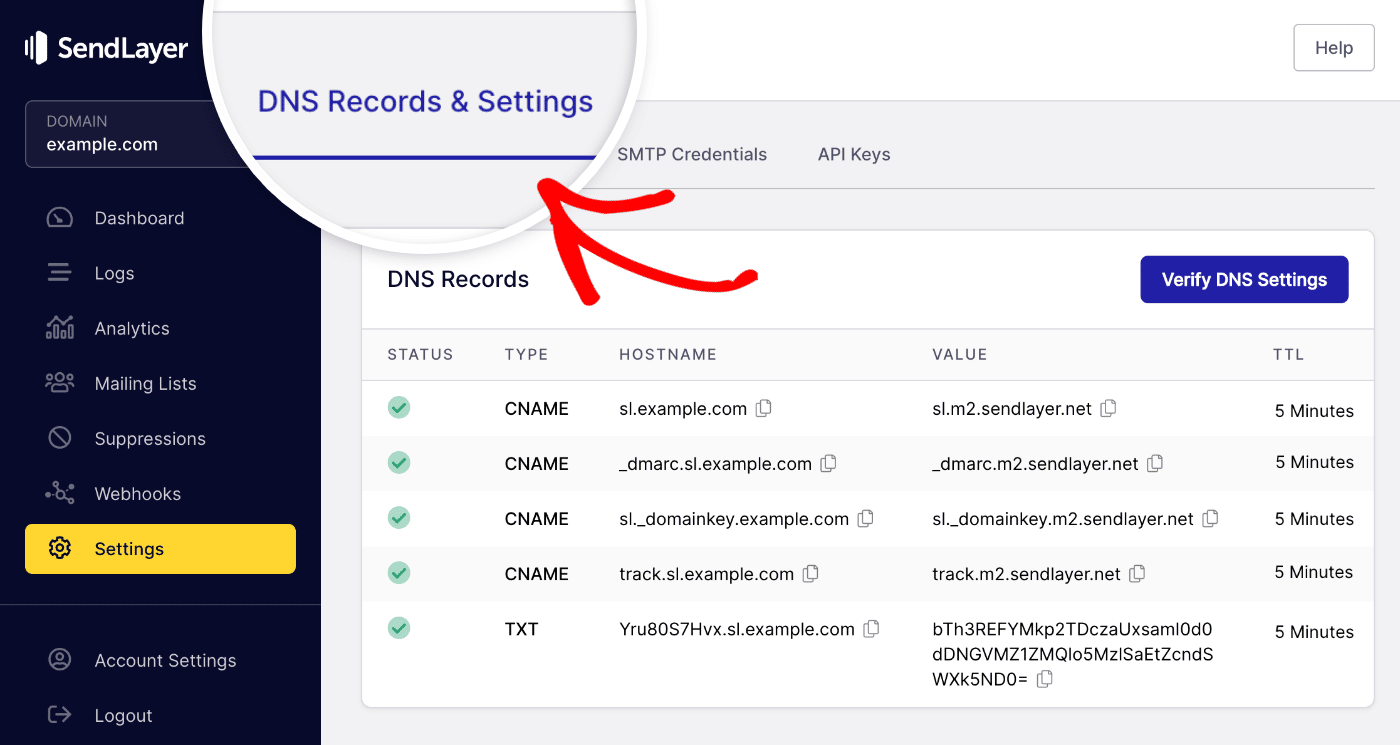
Here you’ll see a table with all of your DNS records in one place.
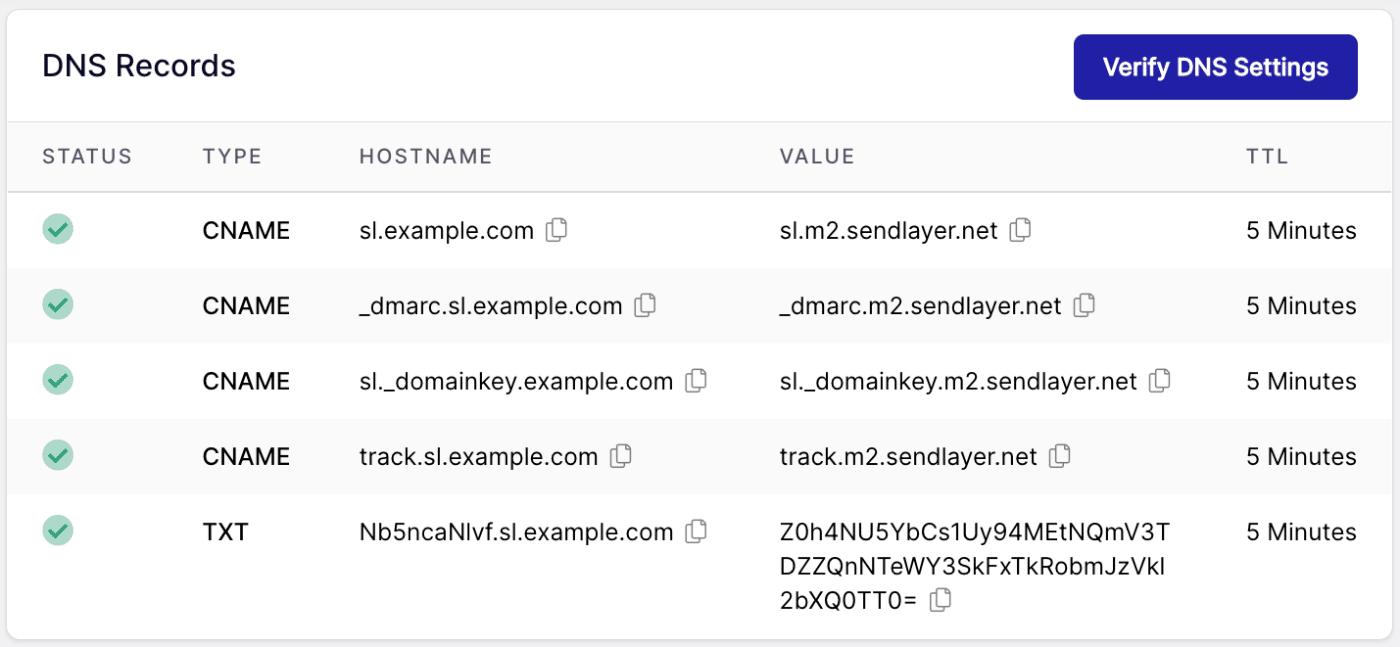
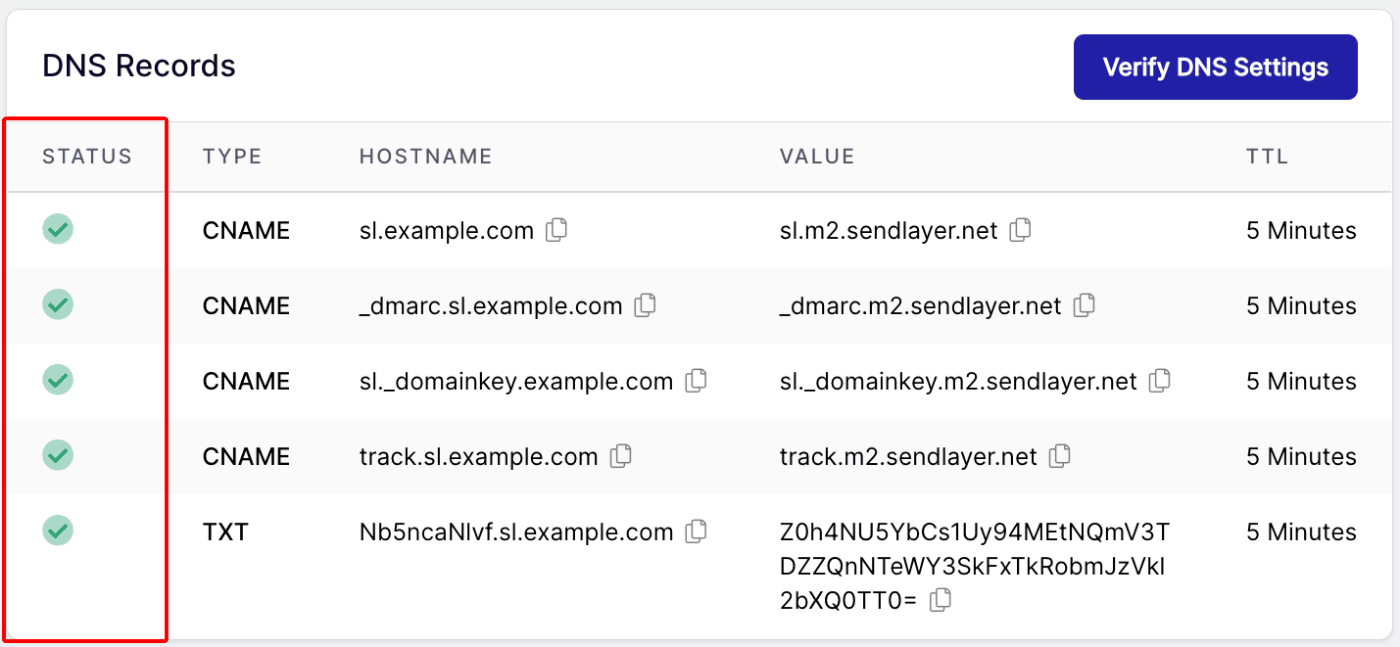
Once your domain has been successfully authorized, you’ll see green checkmarks next to each DNS record in the STATUS column.
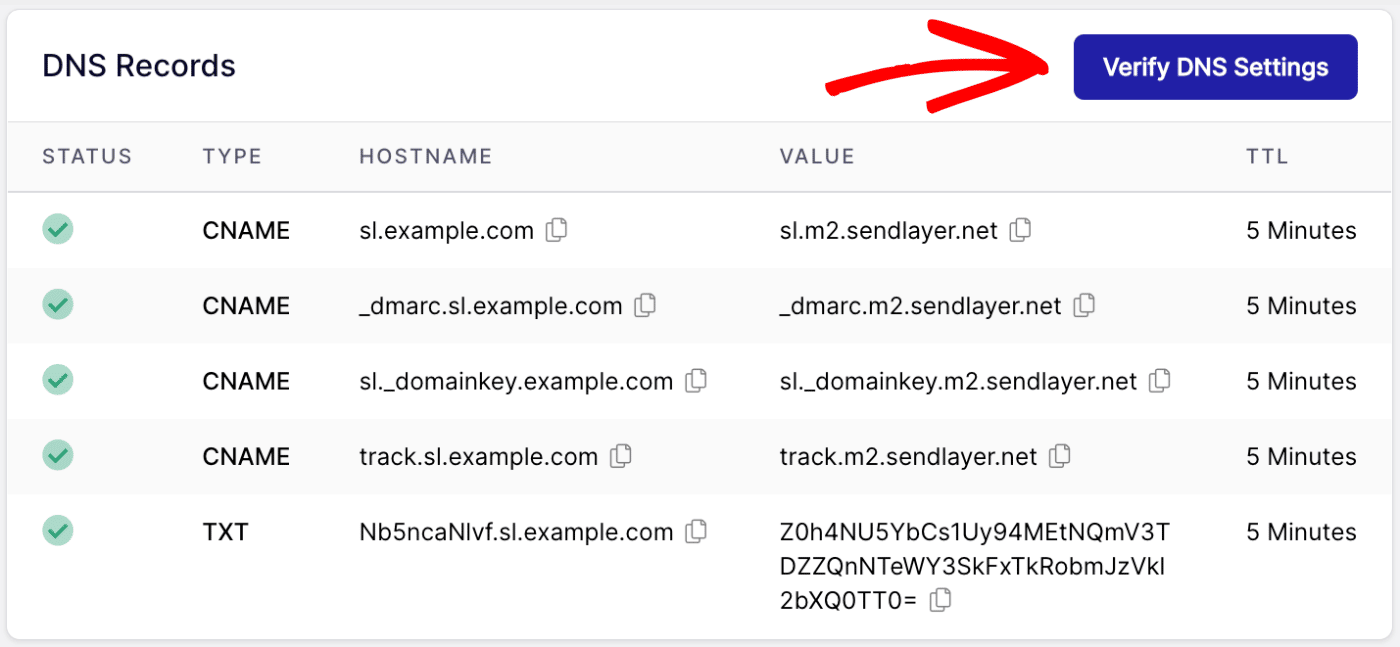
If at any point you’d like SendLayer to check your domain to make sure these records have been added, click the Verify DNS Settings button.
Frequently Asked Questions
These are answers to some of the top questions we see about authorizing sending domains in SendLayer.
Why are my DNS records not propagating after waiting for over 48 hours?
This is a common issue that can occur if your DNS records aren’t properly added. Some hosting providers automatically append your domain name to the Hostname field when adding the record. If so, you’ll need to remove the domain name from the record before adding it. For instance, enter sl in the Hostname field instead of sl.example.com.
That’s it! Now you know how to authorize your domain.
Next, would you like to see more details on adding DNS records to your site? Check out our tutorial on completing your domain setup for more information.